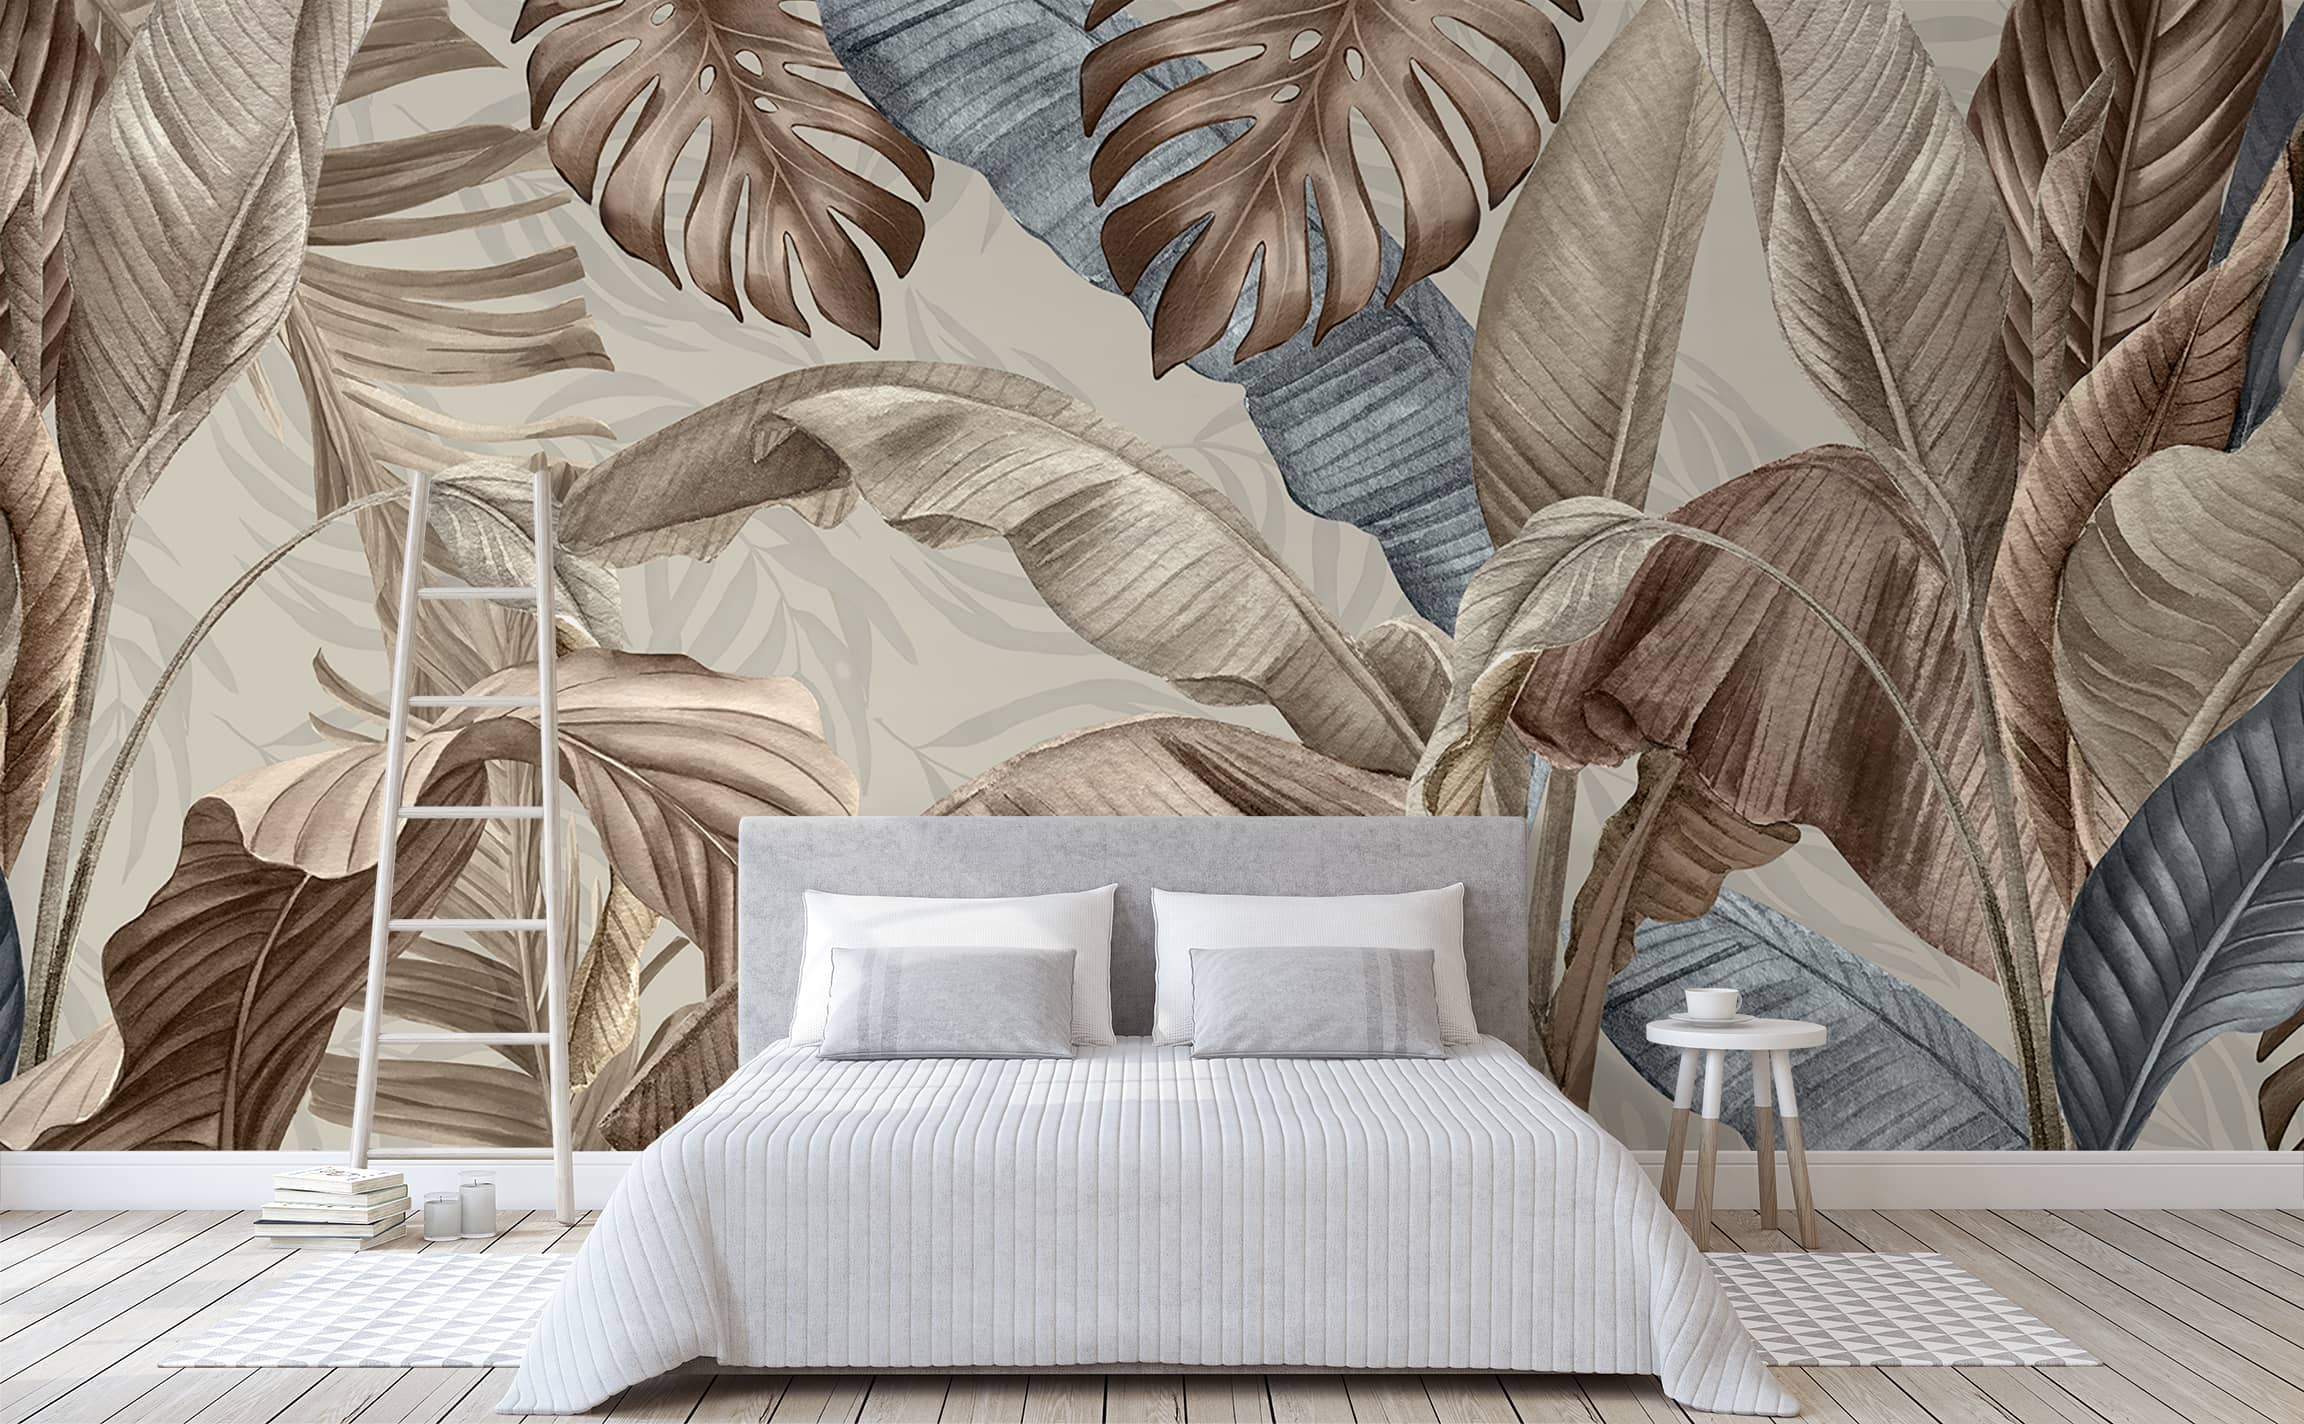
Oprea's Oasis
Vintage Tropical Leaves Pattern Wall Mural | Oprea's Oasis
Oprea's Oasis
Vintage Tropical Leaves Pattern Wall Mural | Oprea's Oasis
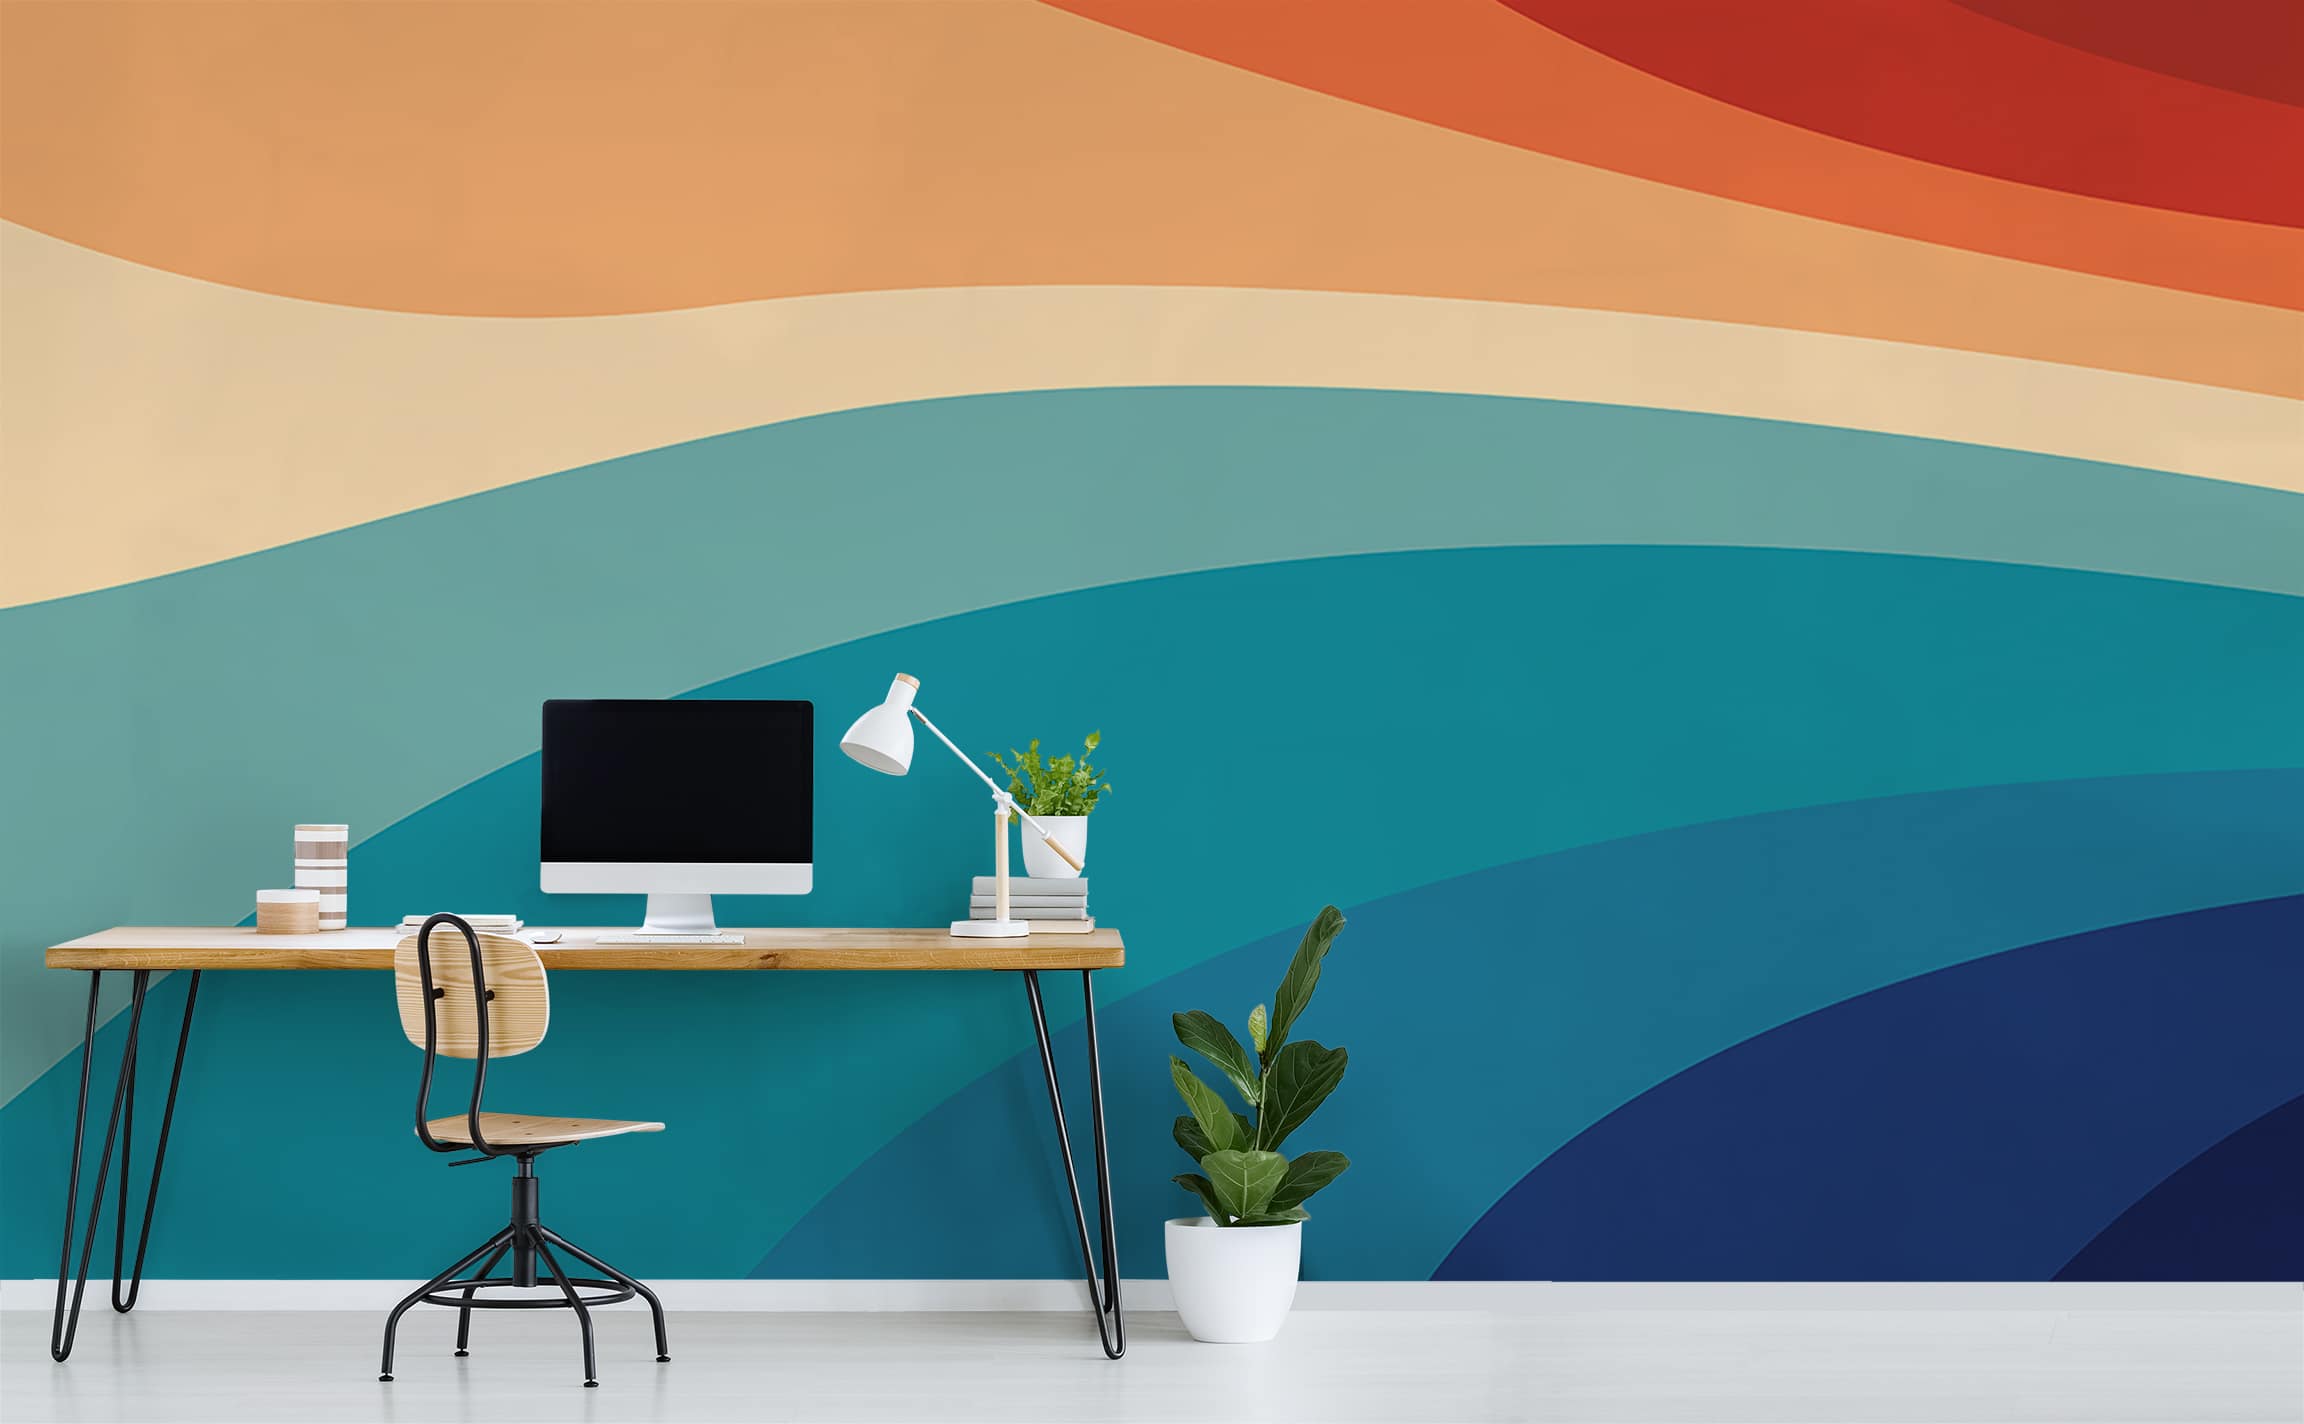
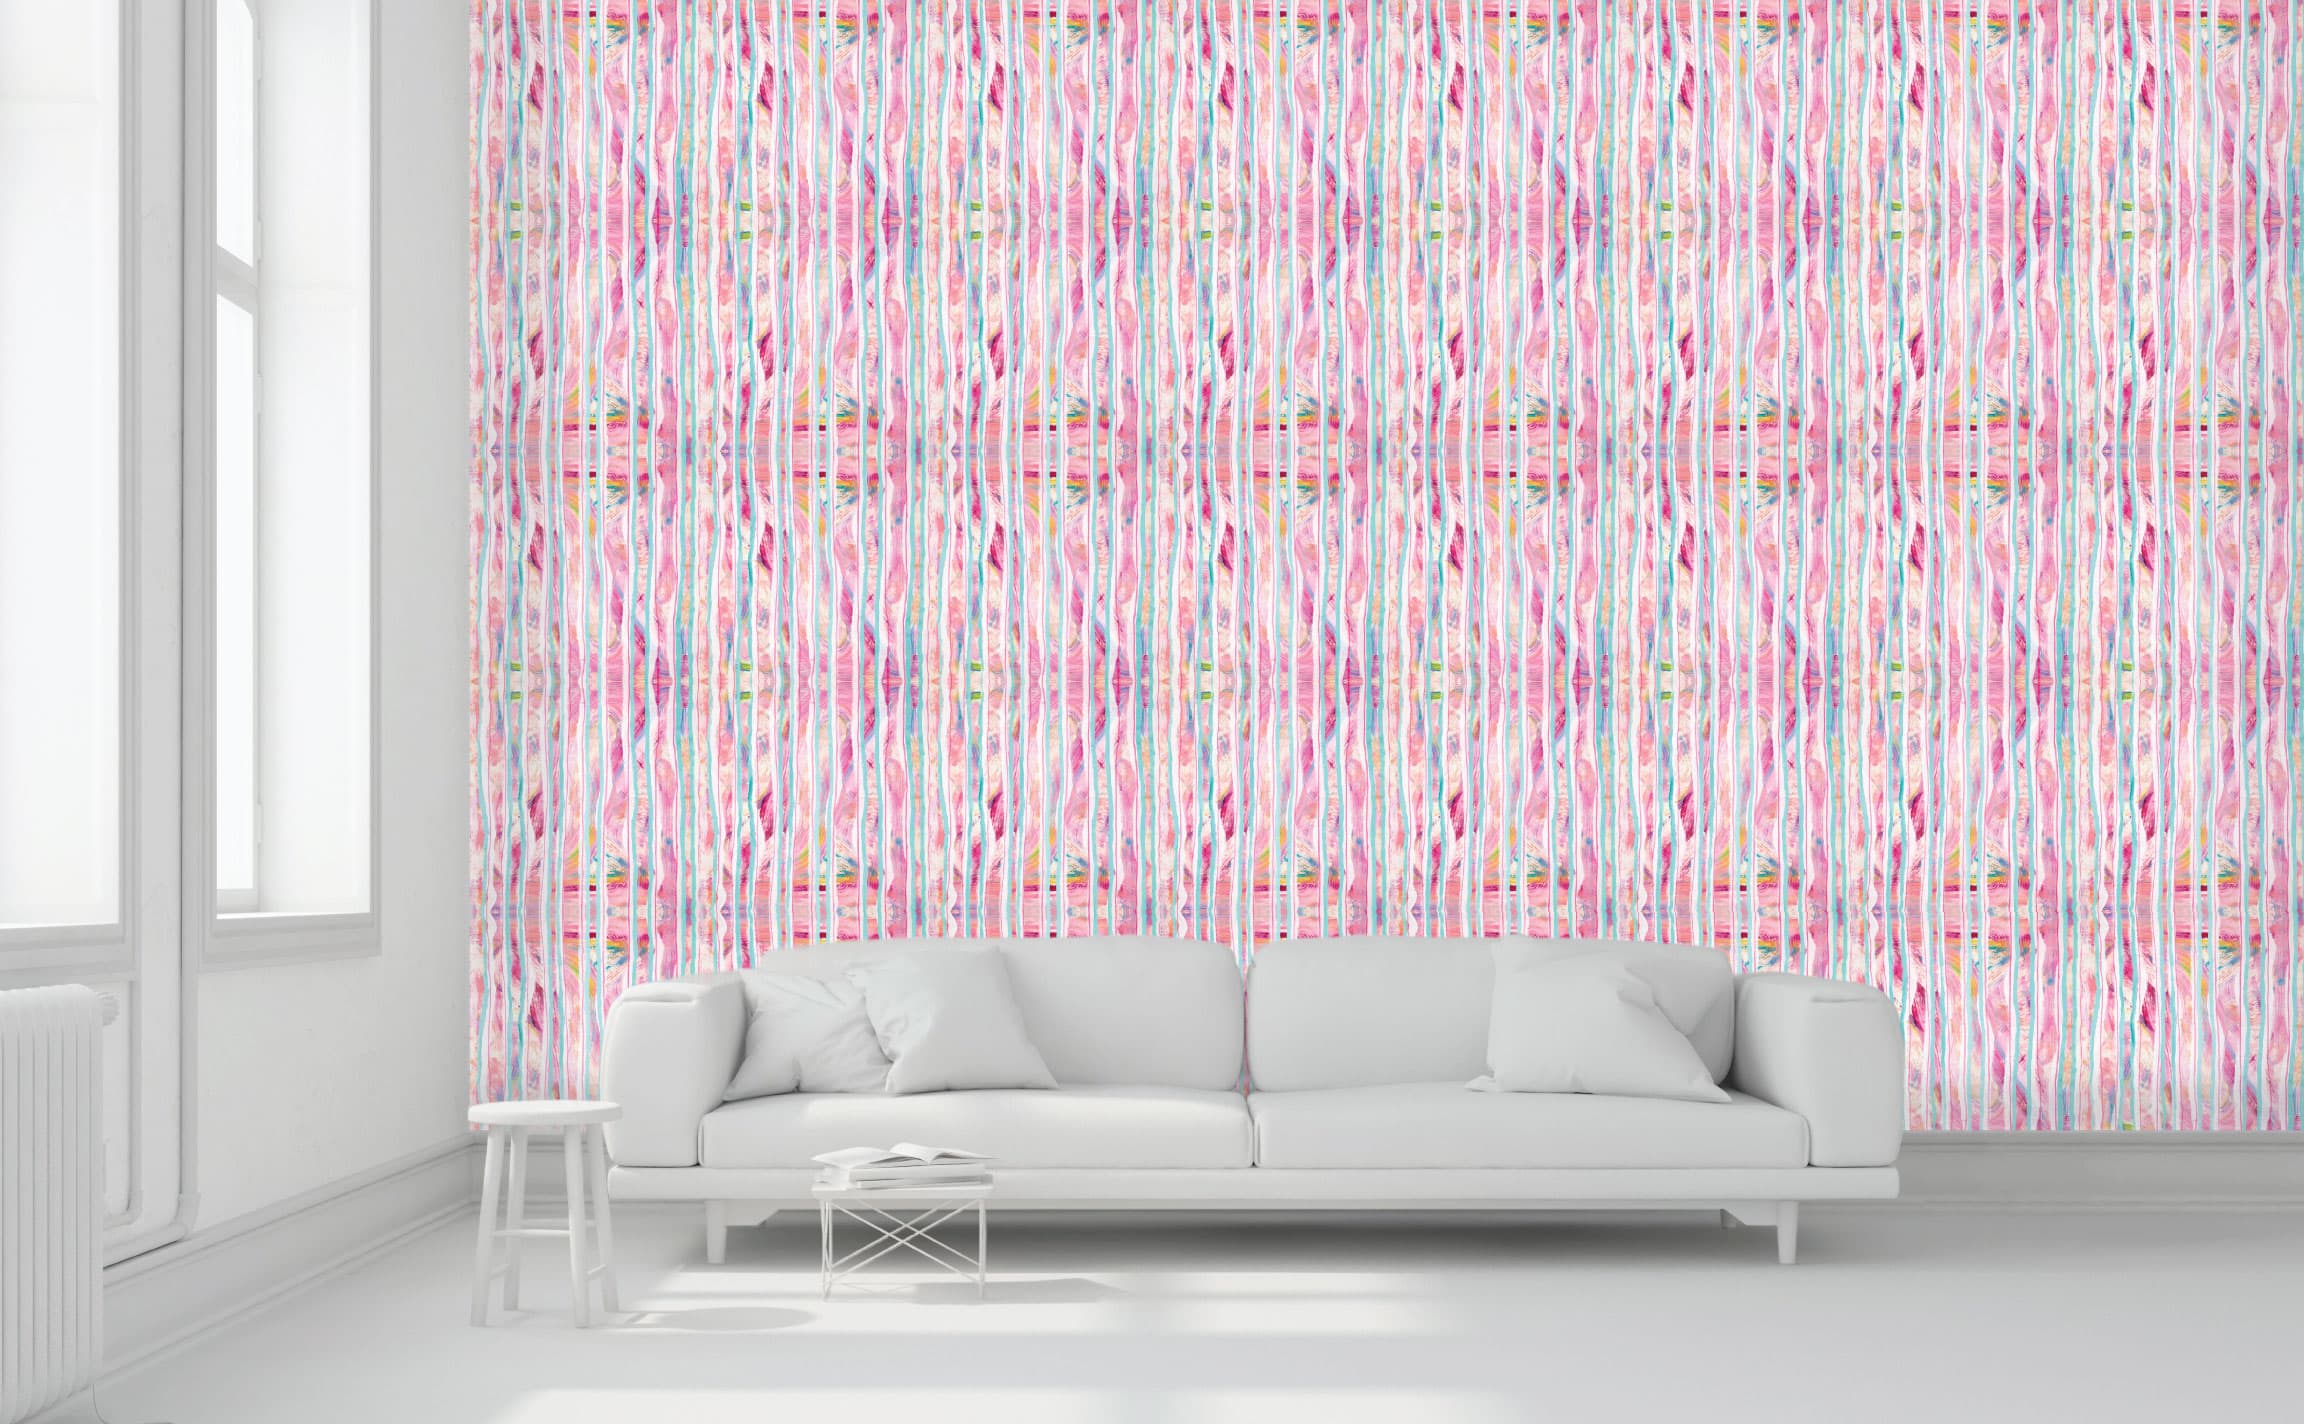
Vintage Rainbow
This abstract rainbow mural is perfect blend of nostalgia and modern design Pattern Mural
Vintage Rainbow
This abstract rainbow mural is perfect blend of nostalgia and modern design Pattern Mural
Vintage Rainbow
This abstract rainbow mural is perfect blend of nostalgia and modern design Pattern Mural
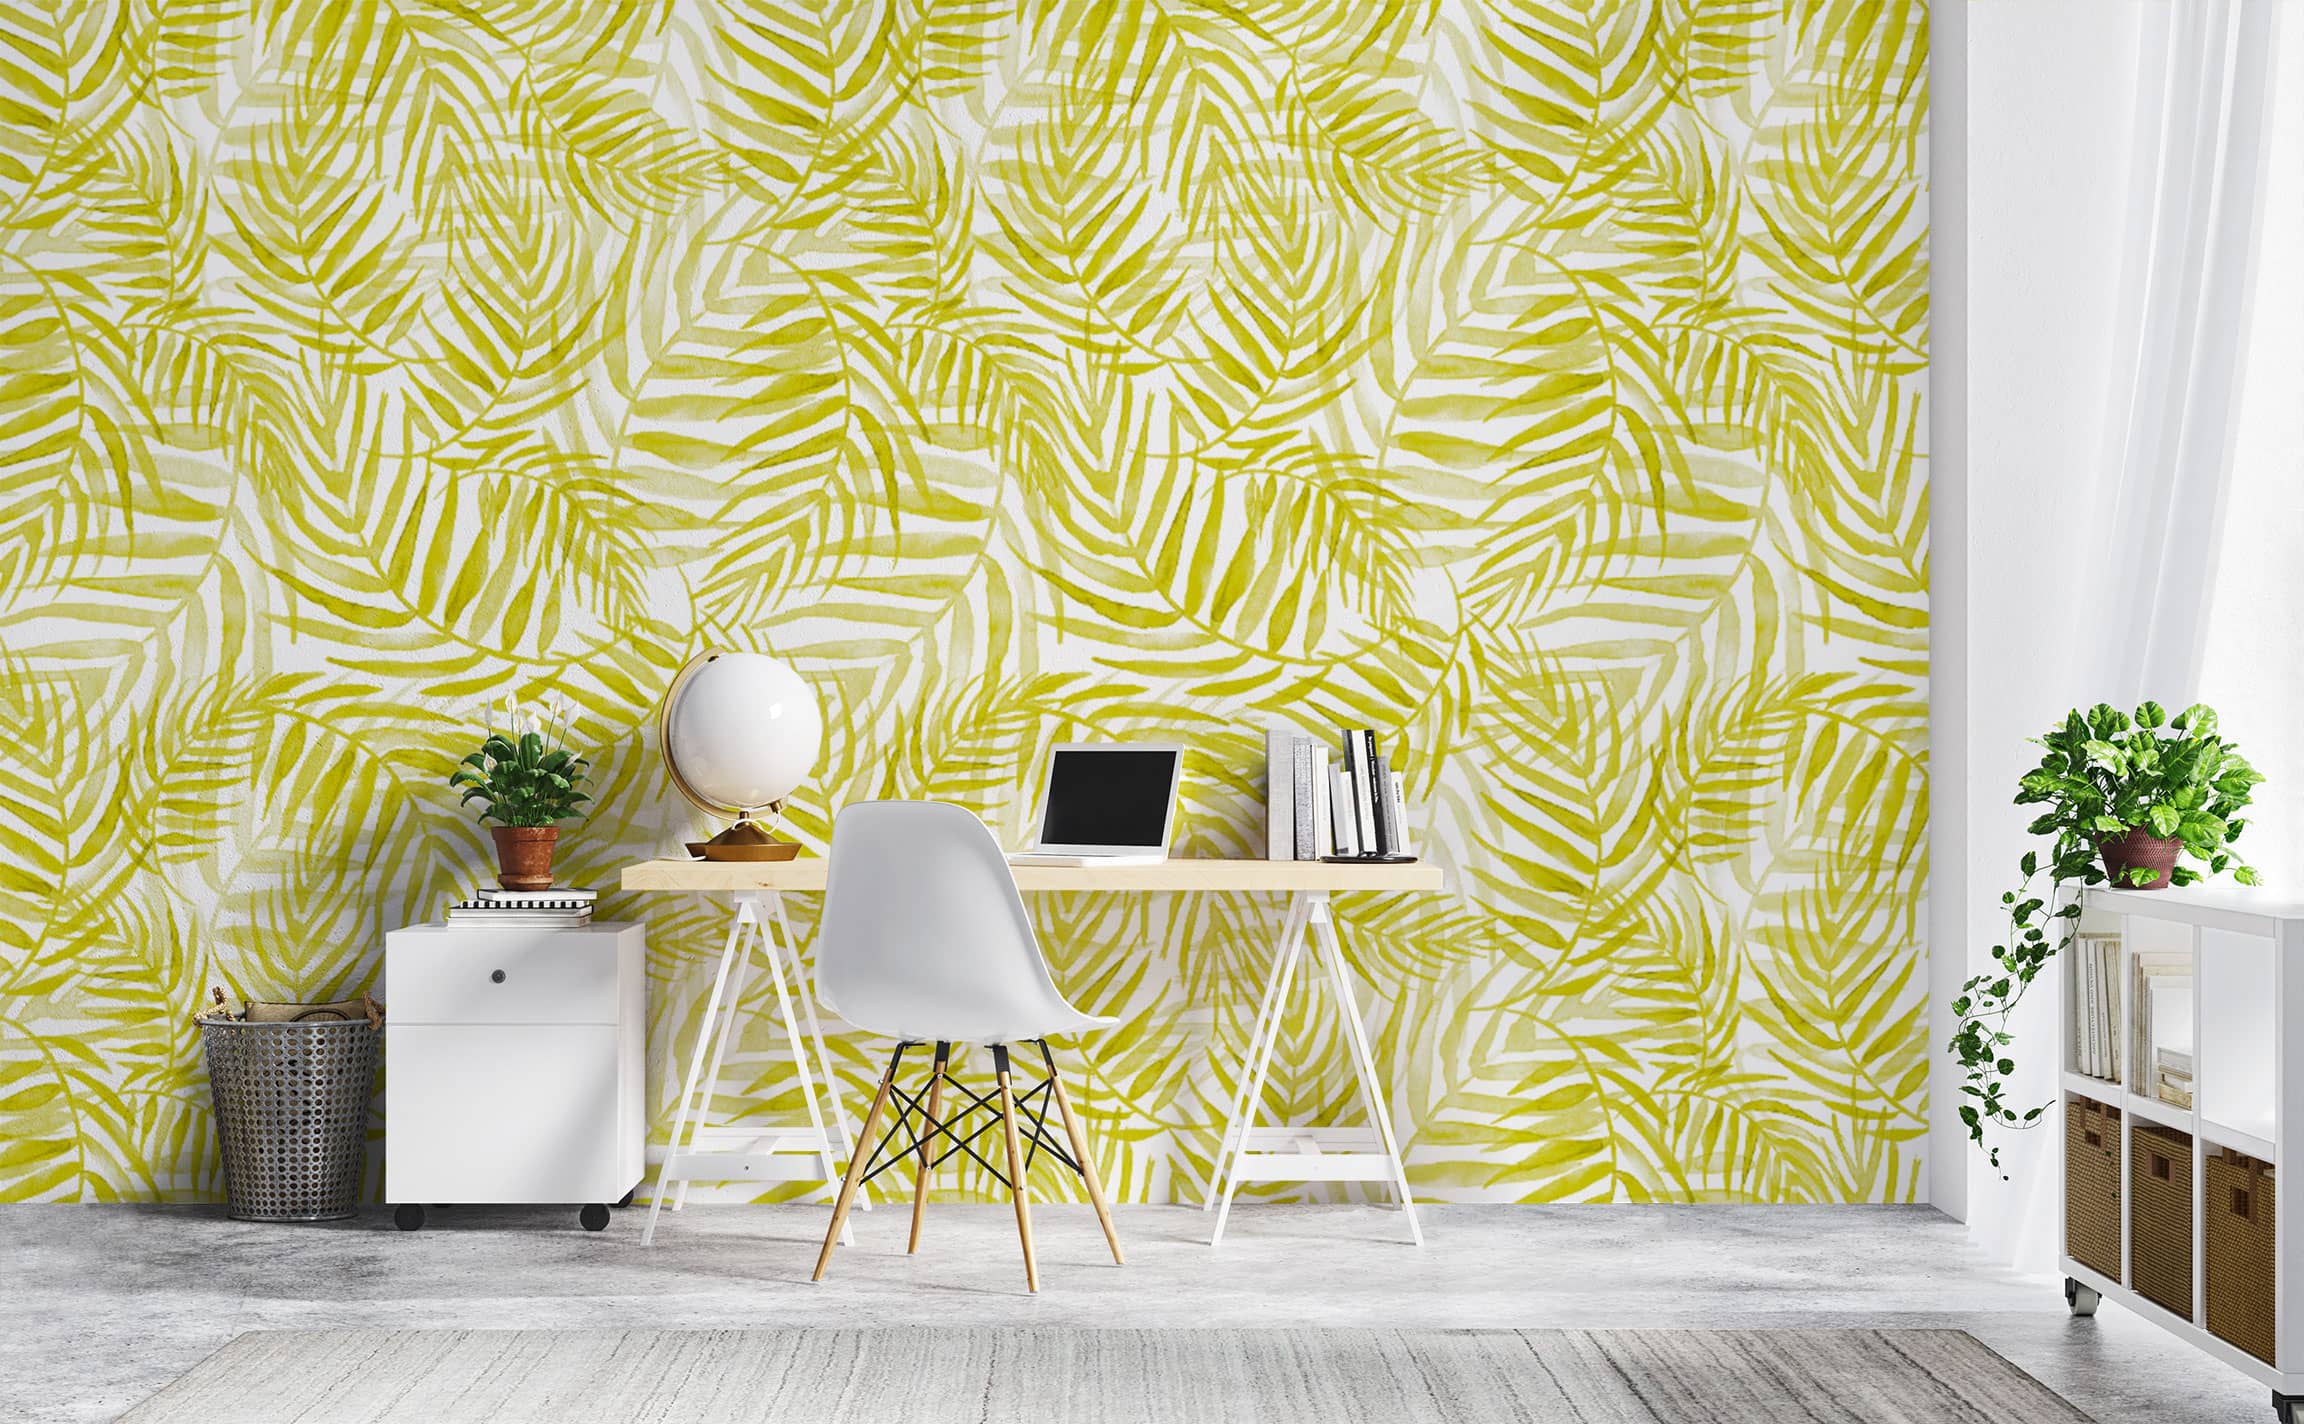
Kort’s Paradise
Escape the ordinary and bask in a daily dose of tropical tranquility with painterly Yellow Palms Mural
Kort’s Paradise
Escape the ordinary and bask in a daily dose of tropical tranquility with painterly Yellow Palms Mural
Kort’s Paradise
Escape the ordinary and bask in a daily dose of tropical tranquility with painterly Yellow Palms Mural
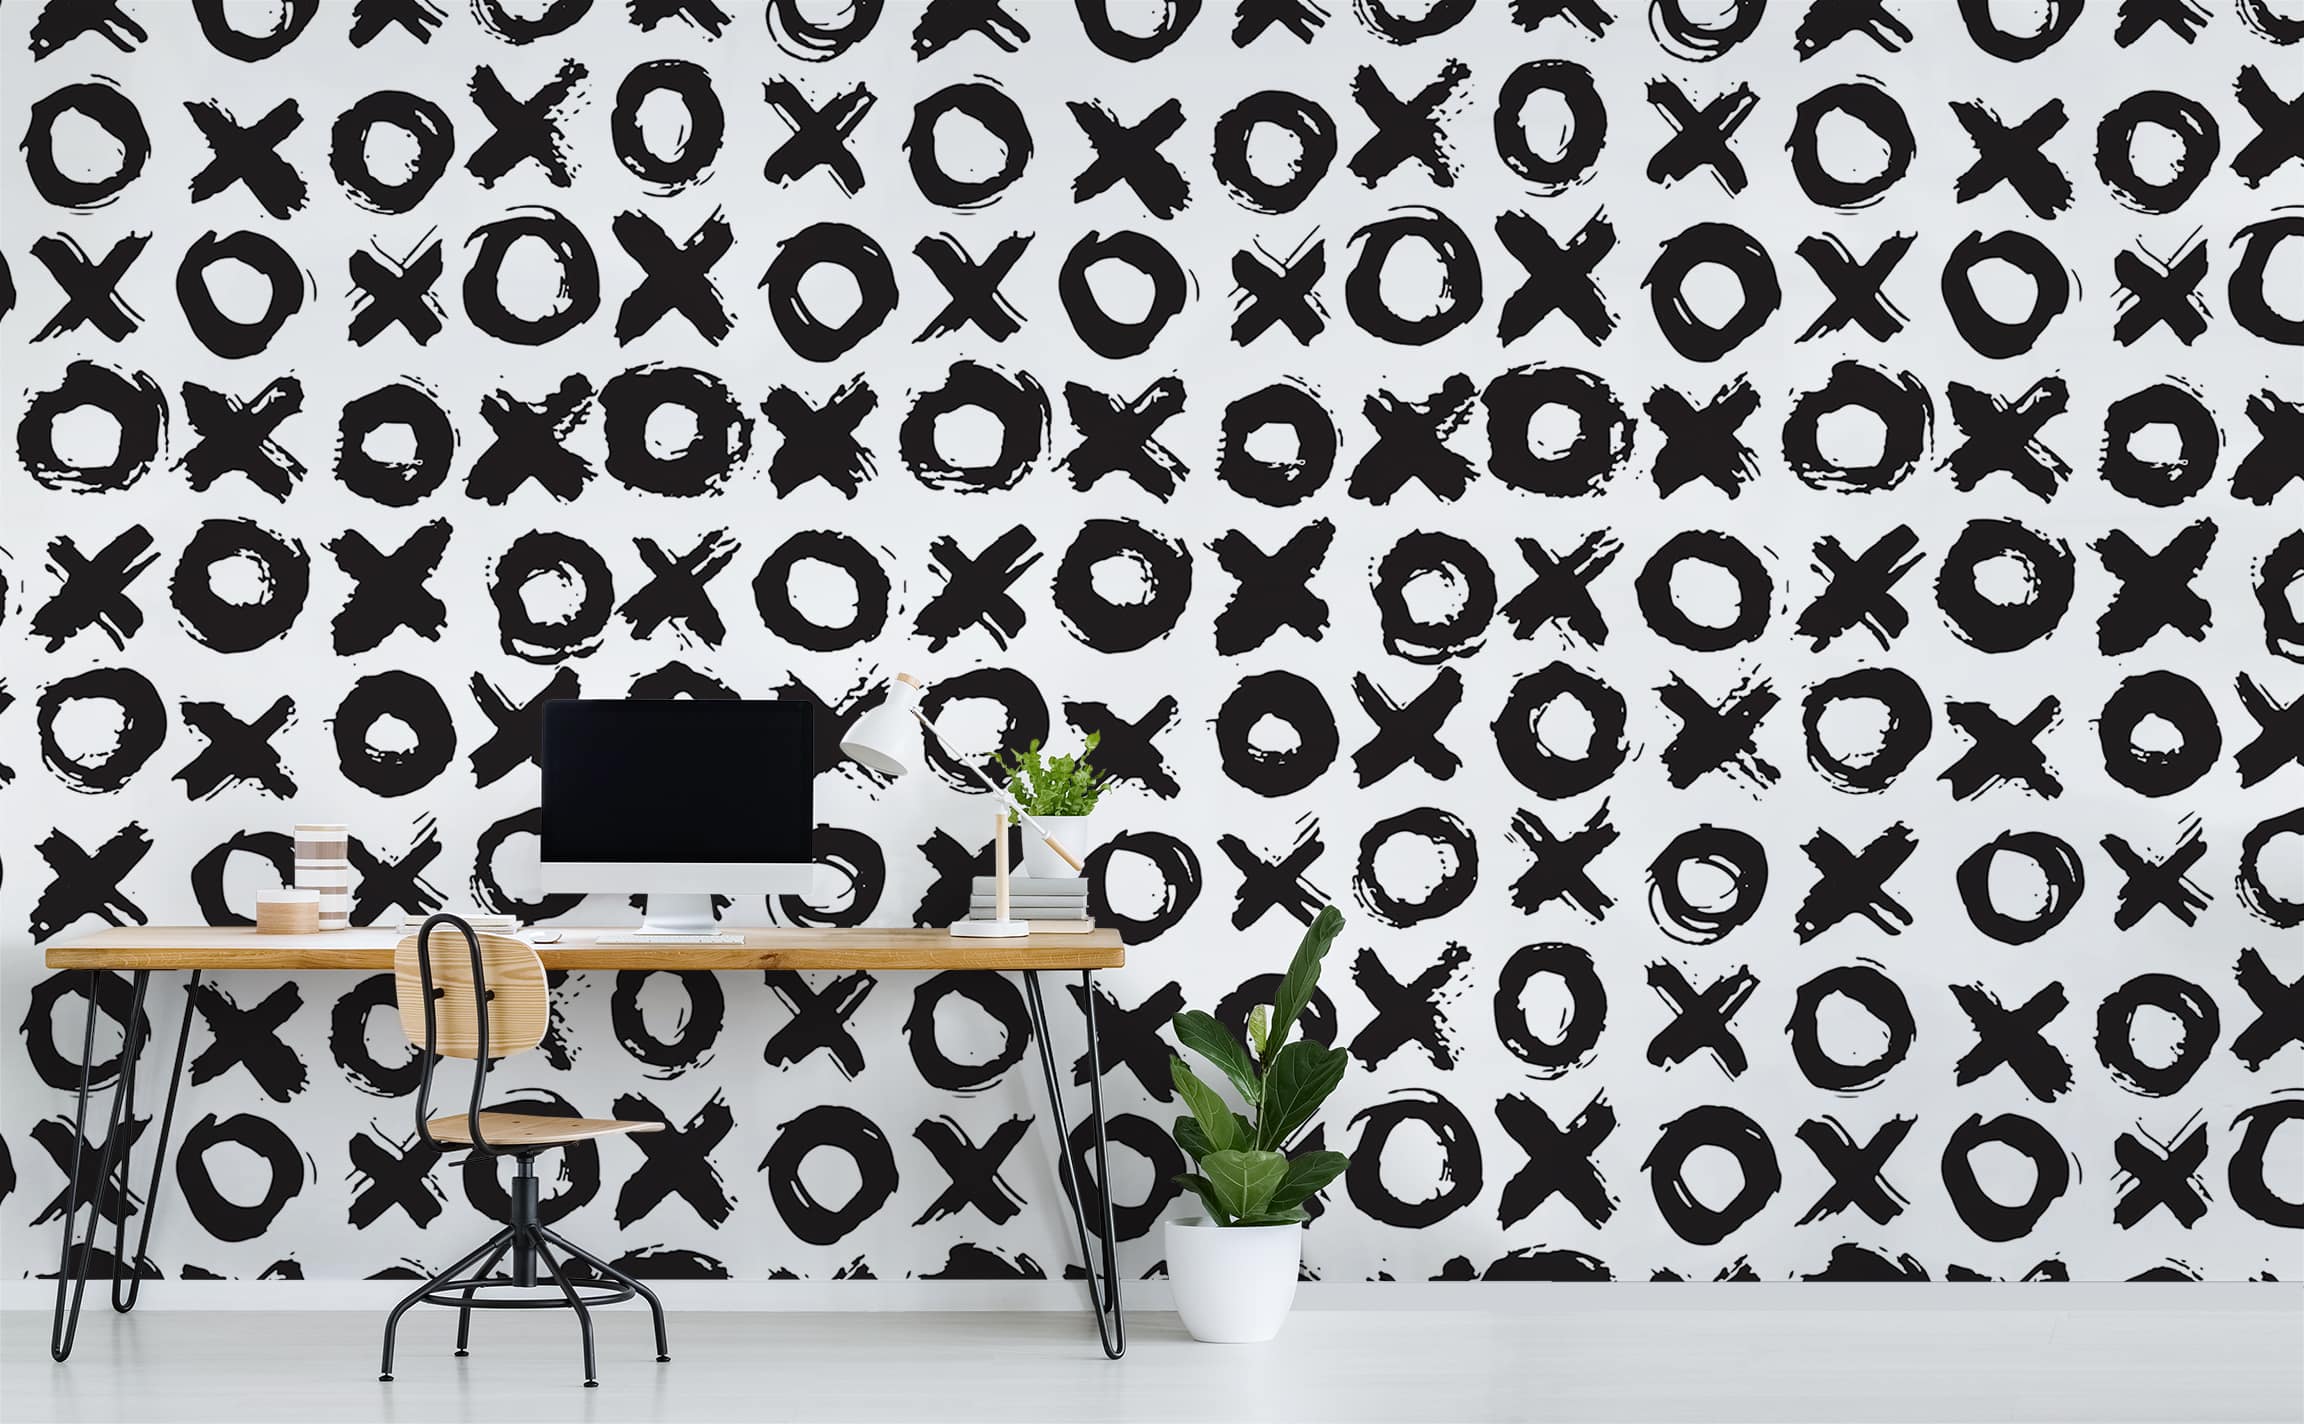
With Love XO
Geometric X and O seamless pattern in white and black Pattern Mural
With Love XO
Geometric X and O seamless pattern in white and black Pattern Mural
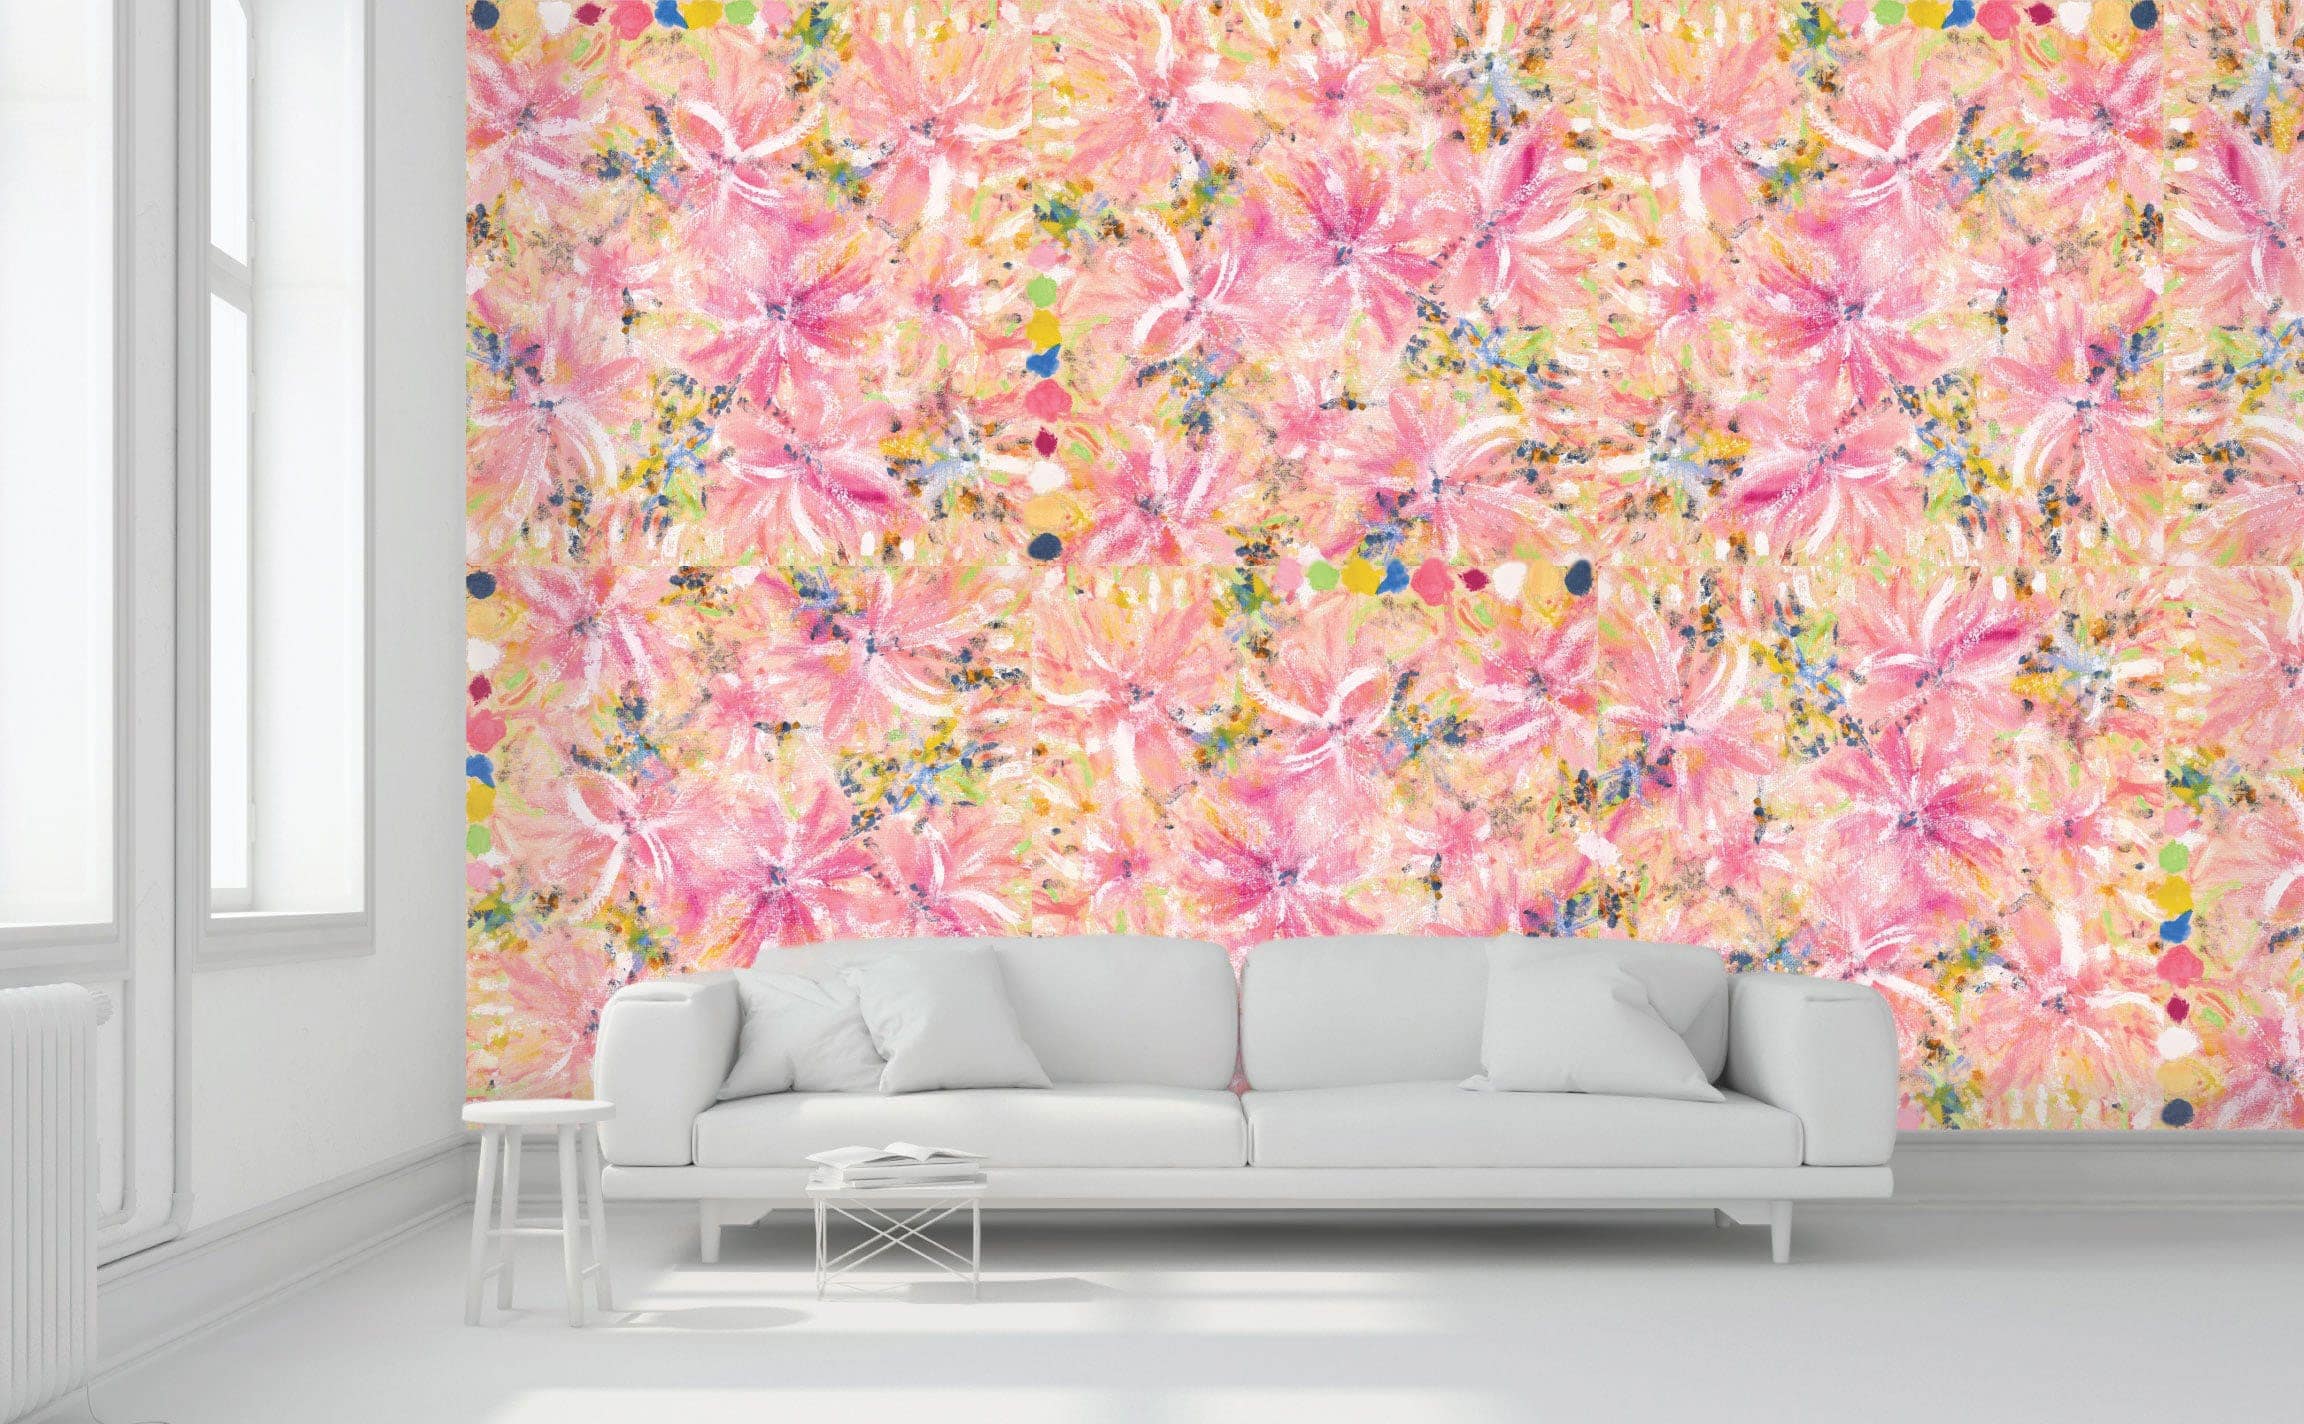
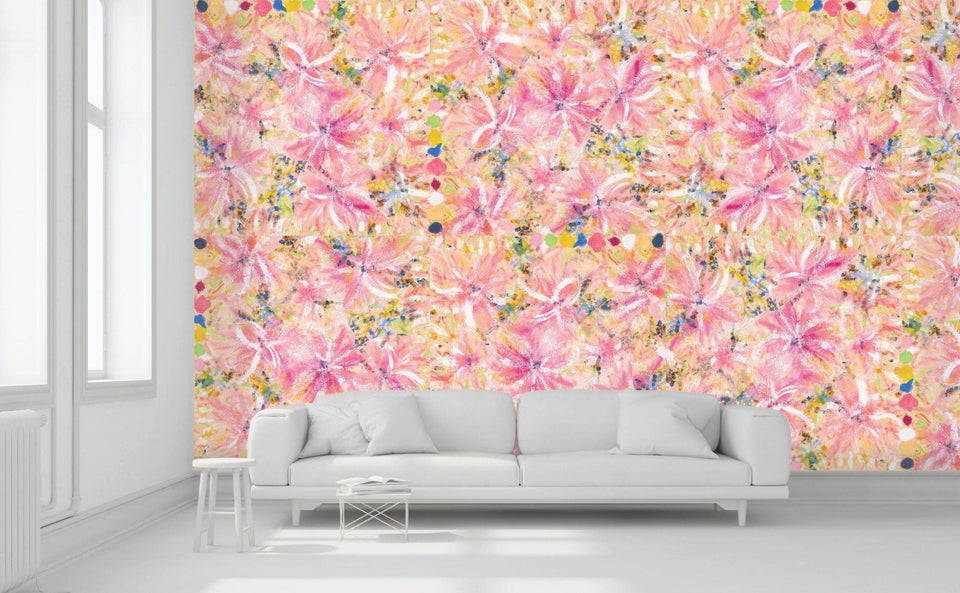
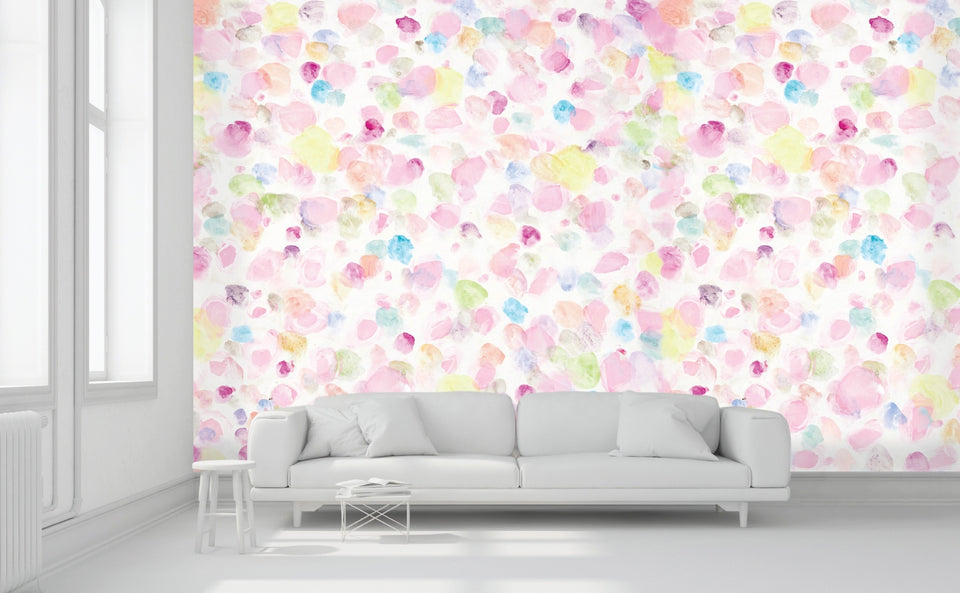
Painted Petals
painted and organic soft brushy floral. Hand painted artwork by Tiffany Pratt, from her "In The Studio Collection" Murals
Painted Petals
painted and organic soft brushy floral. Hand painted artwork by Tiffany Pratt, from her "In The Studio Collection" Murals
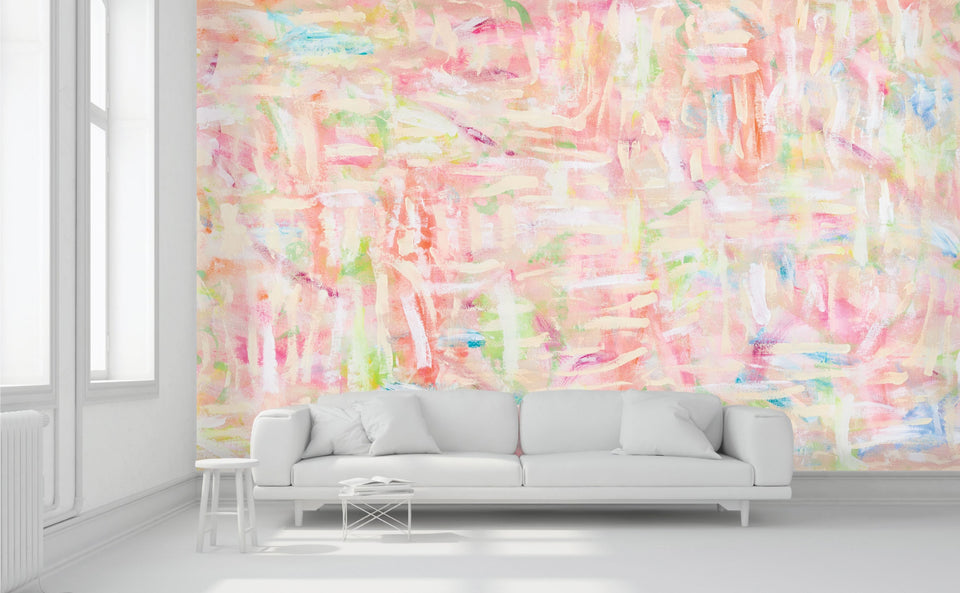
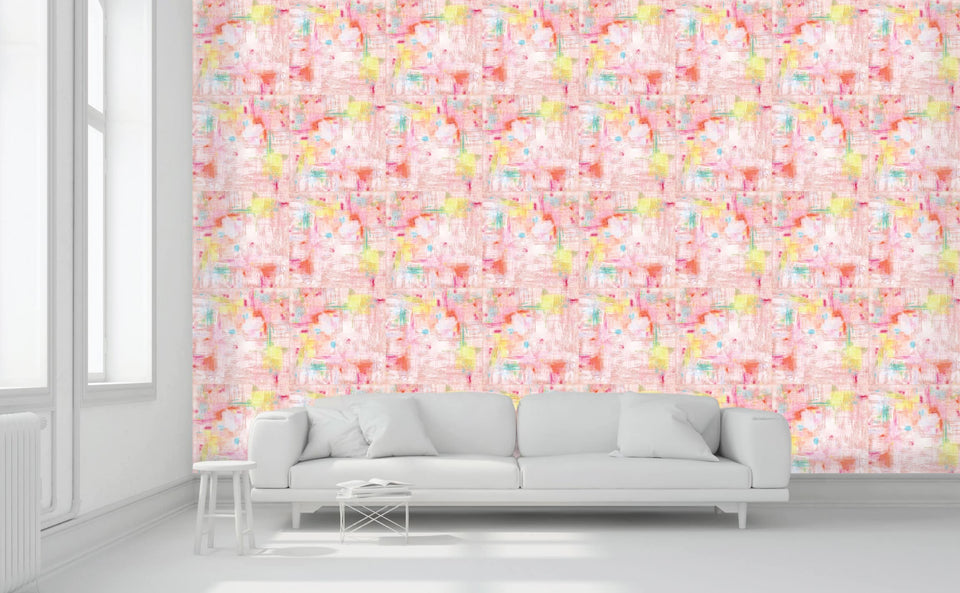
Trippy Scrub
Big brushed multi-coloured strokes and stripes. Hand painted artwork by Tiffany Pratt, from her "In The Studio Collection" Murals
Trippy Scrub
Big brushed multi-coloured strokes and stripes. Hand painted artwork by Tiffany Pratt, from her "In The Studio Collection" Murals
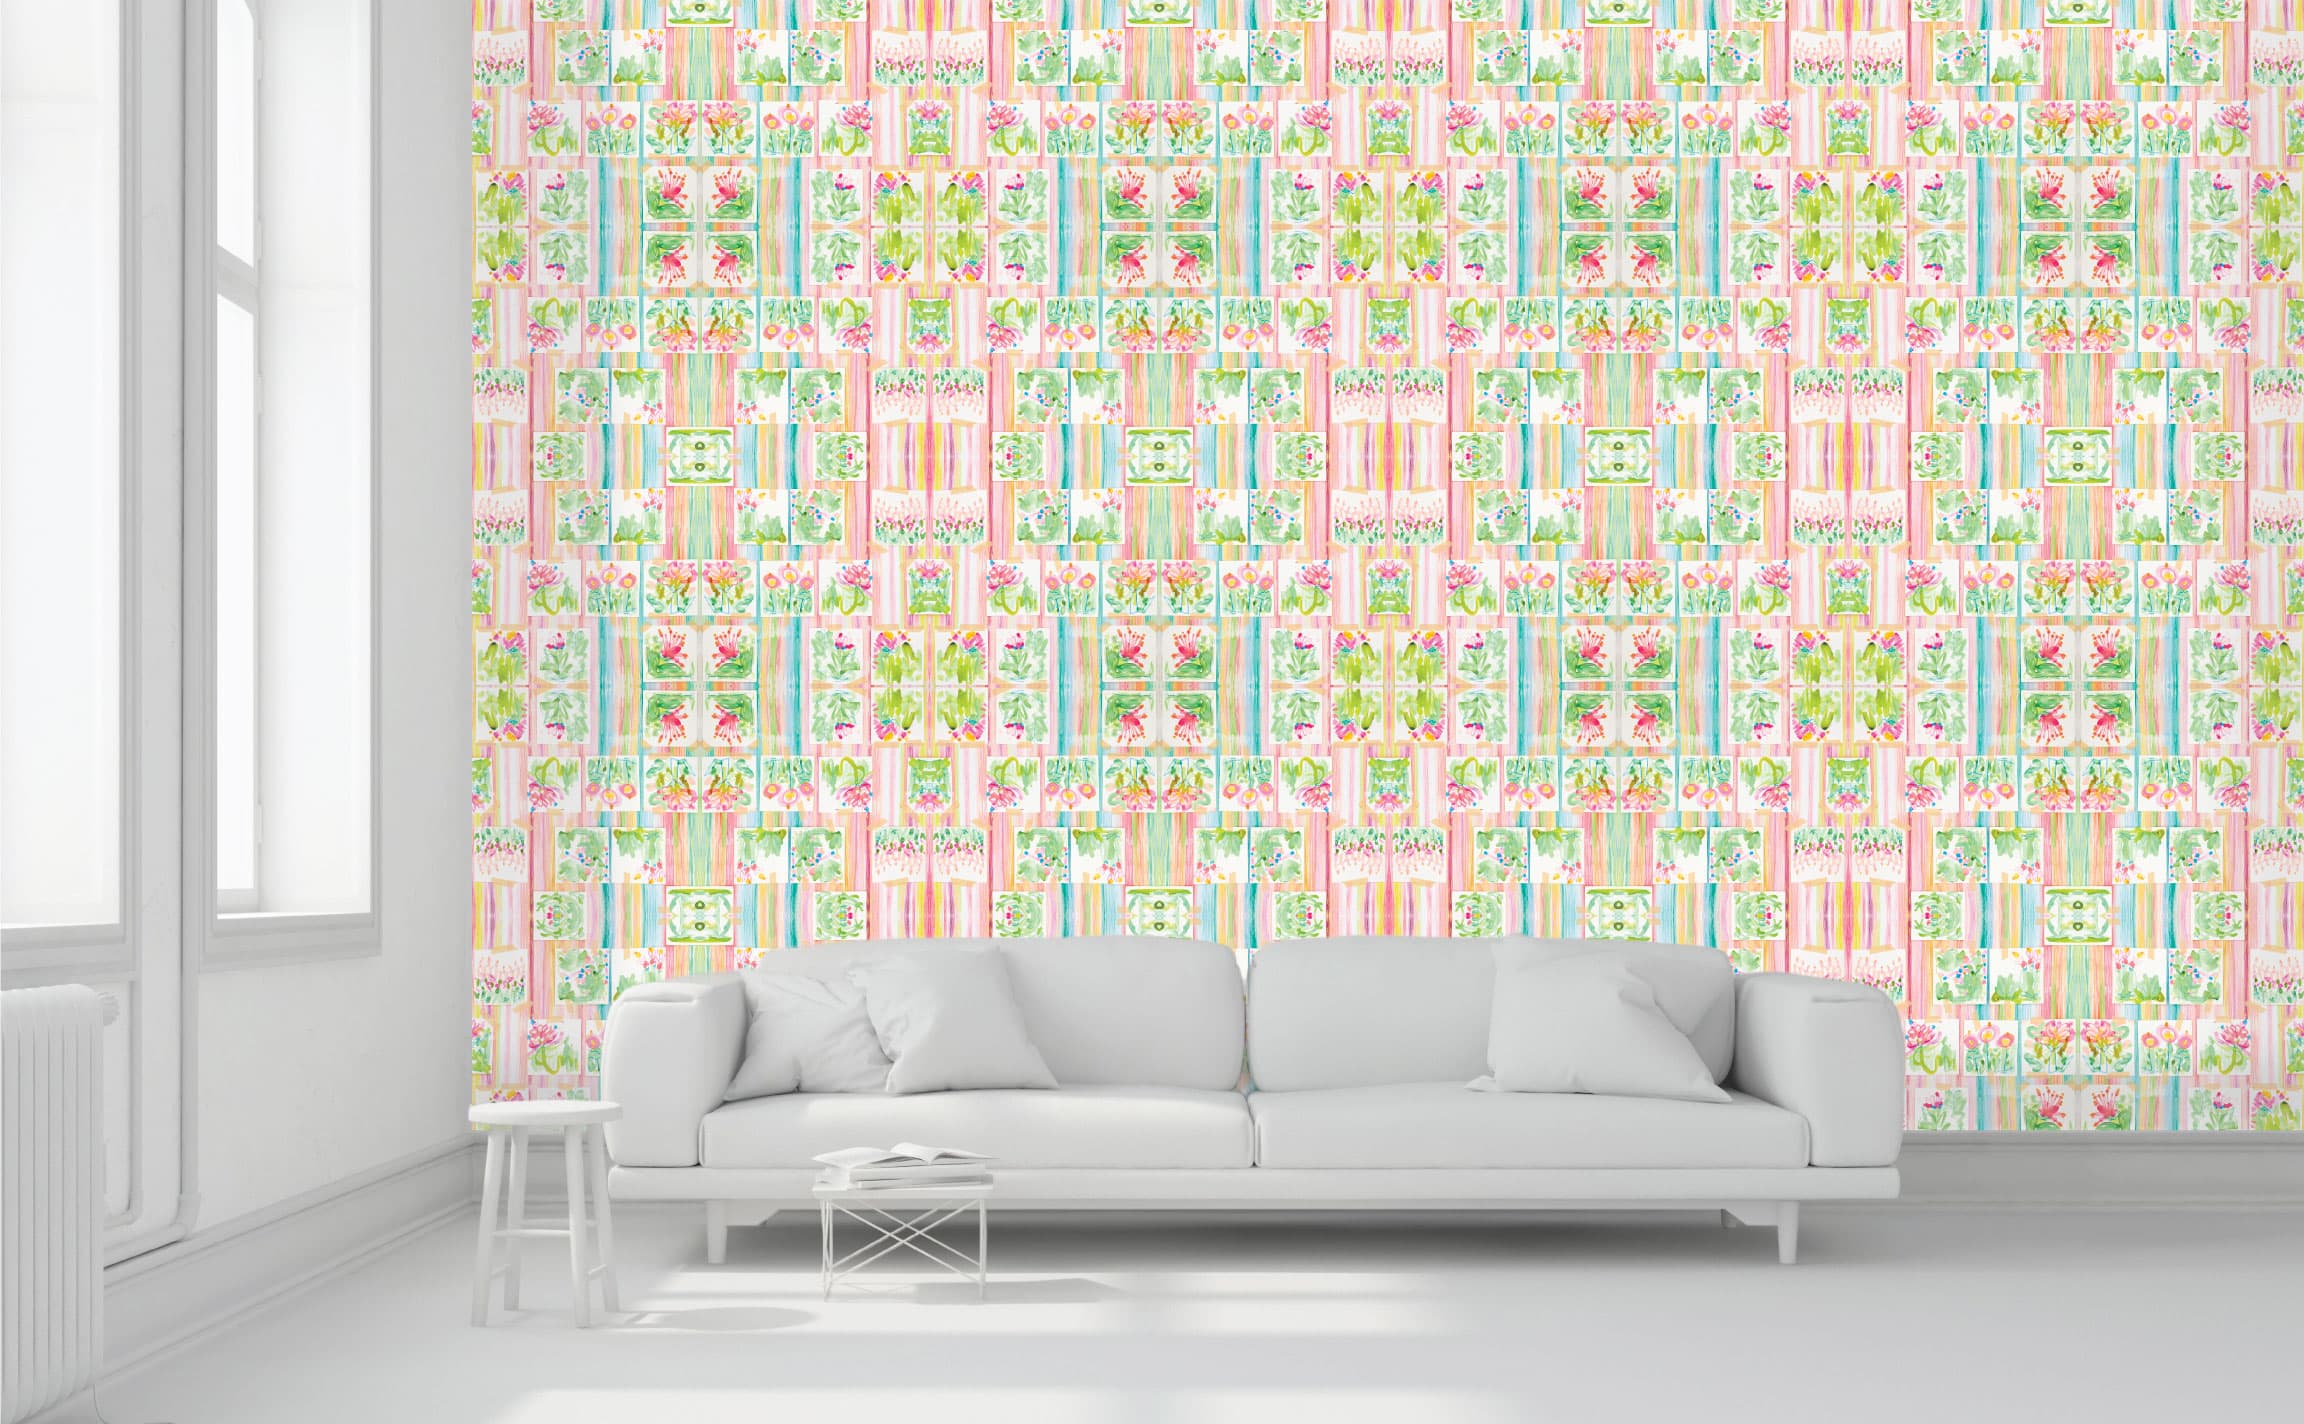
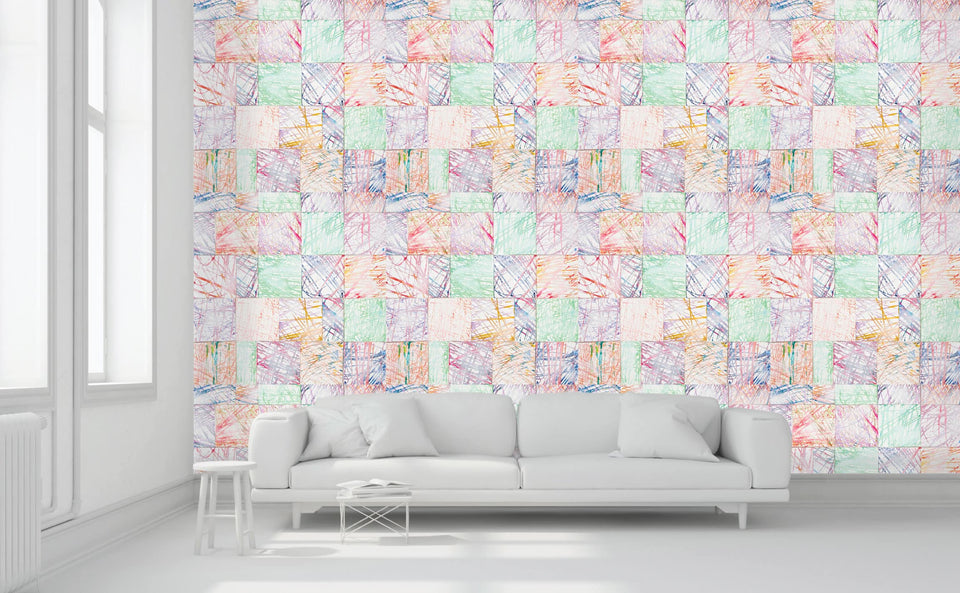
Scrub Wacky Botanicals
Colorful wacky botanicals with a hit of quirky. Hand Painted Artwork By Tiffany Pratt From Her "In The Studio Collection" Murals
Scrub Wacky Botanicals
Colorful wacky botanicals with a hit of quirky. Hand Painted Artwork By Tiffany Pratt From Her "In The Studio Collection" Murals
With Love XO
Geometric X and O seamless pattern in cream and black Pattern Wallpaper
With Love XO
Geometric X and O seamless pattern in cream and black Pattern Wallpaper
Midnight Promenade
Opulent Asian-inspired tiger and peacock Pattern Wallpaper
Midnight Promenade
Opulent Asian-inspired tiger and peacock Pattern Wallpaper
Midnight Promenade
Opulent Asian-inspired tiger and peacock Pattern Wallpaper
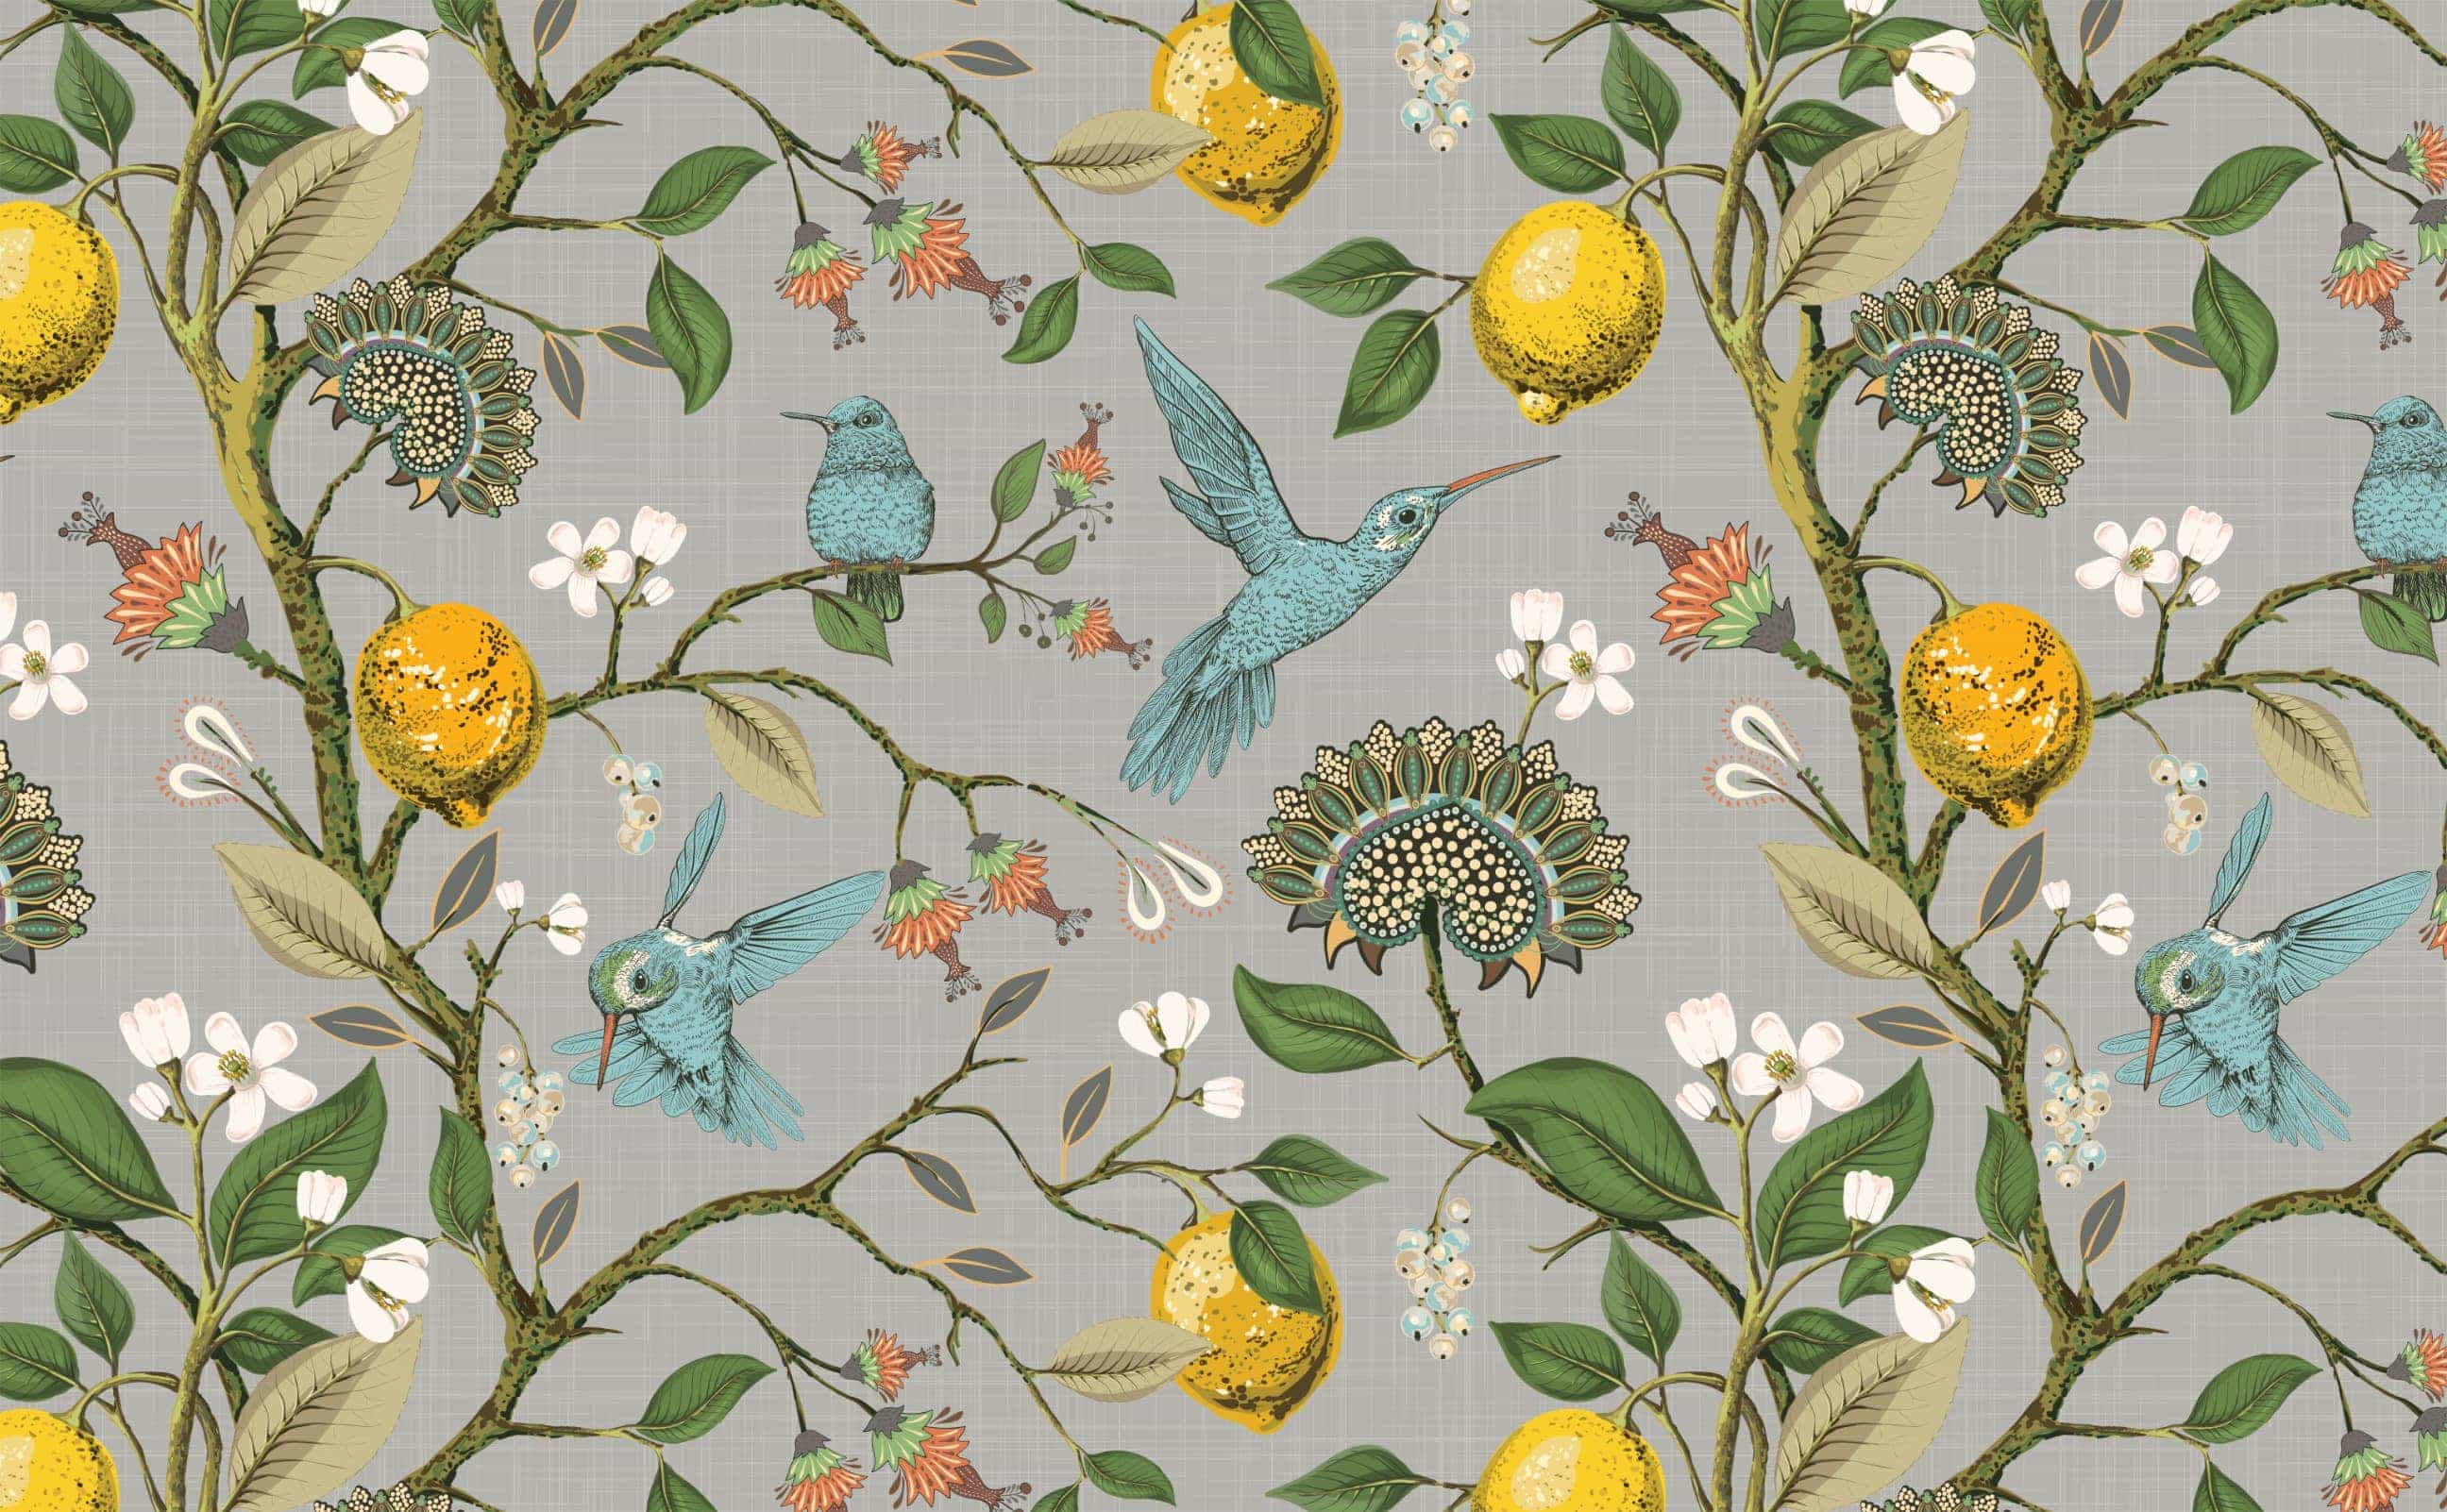
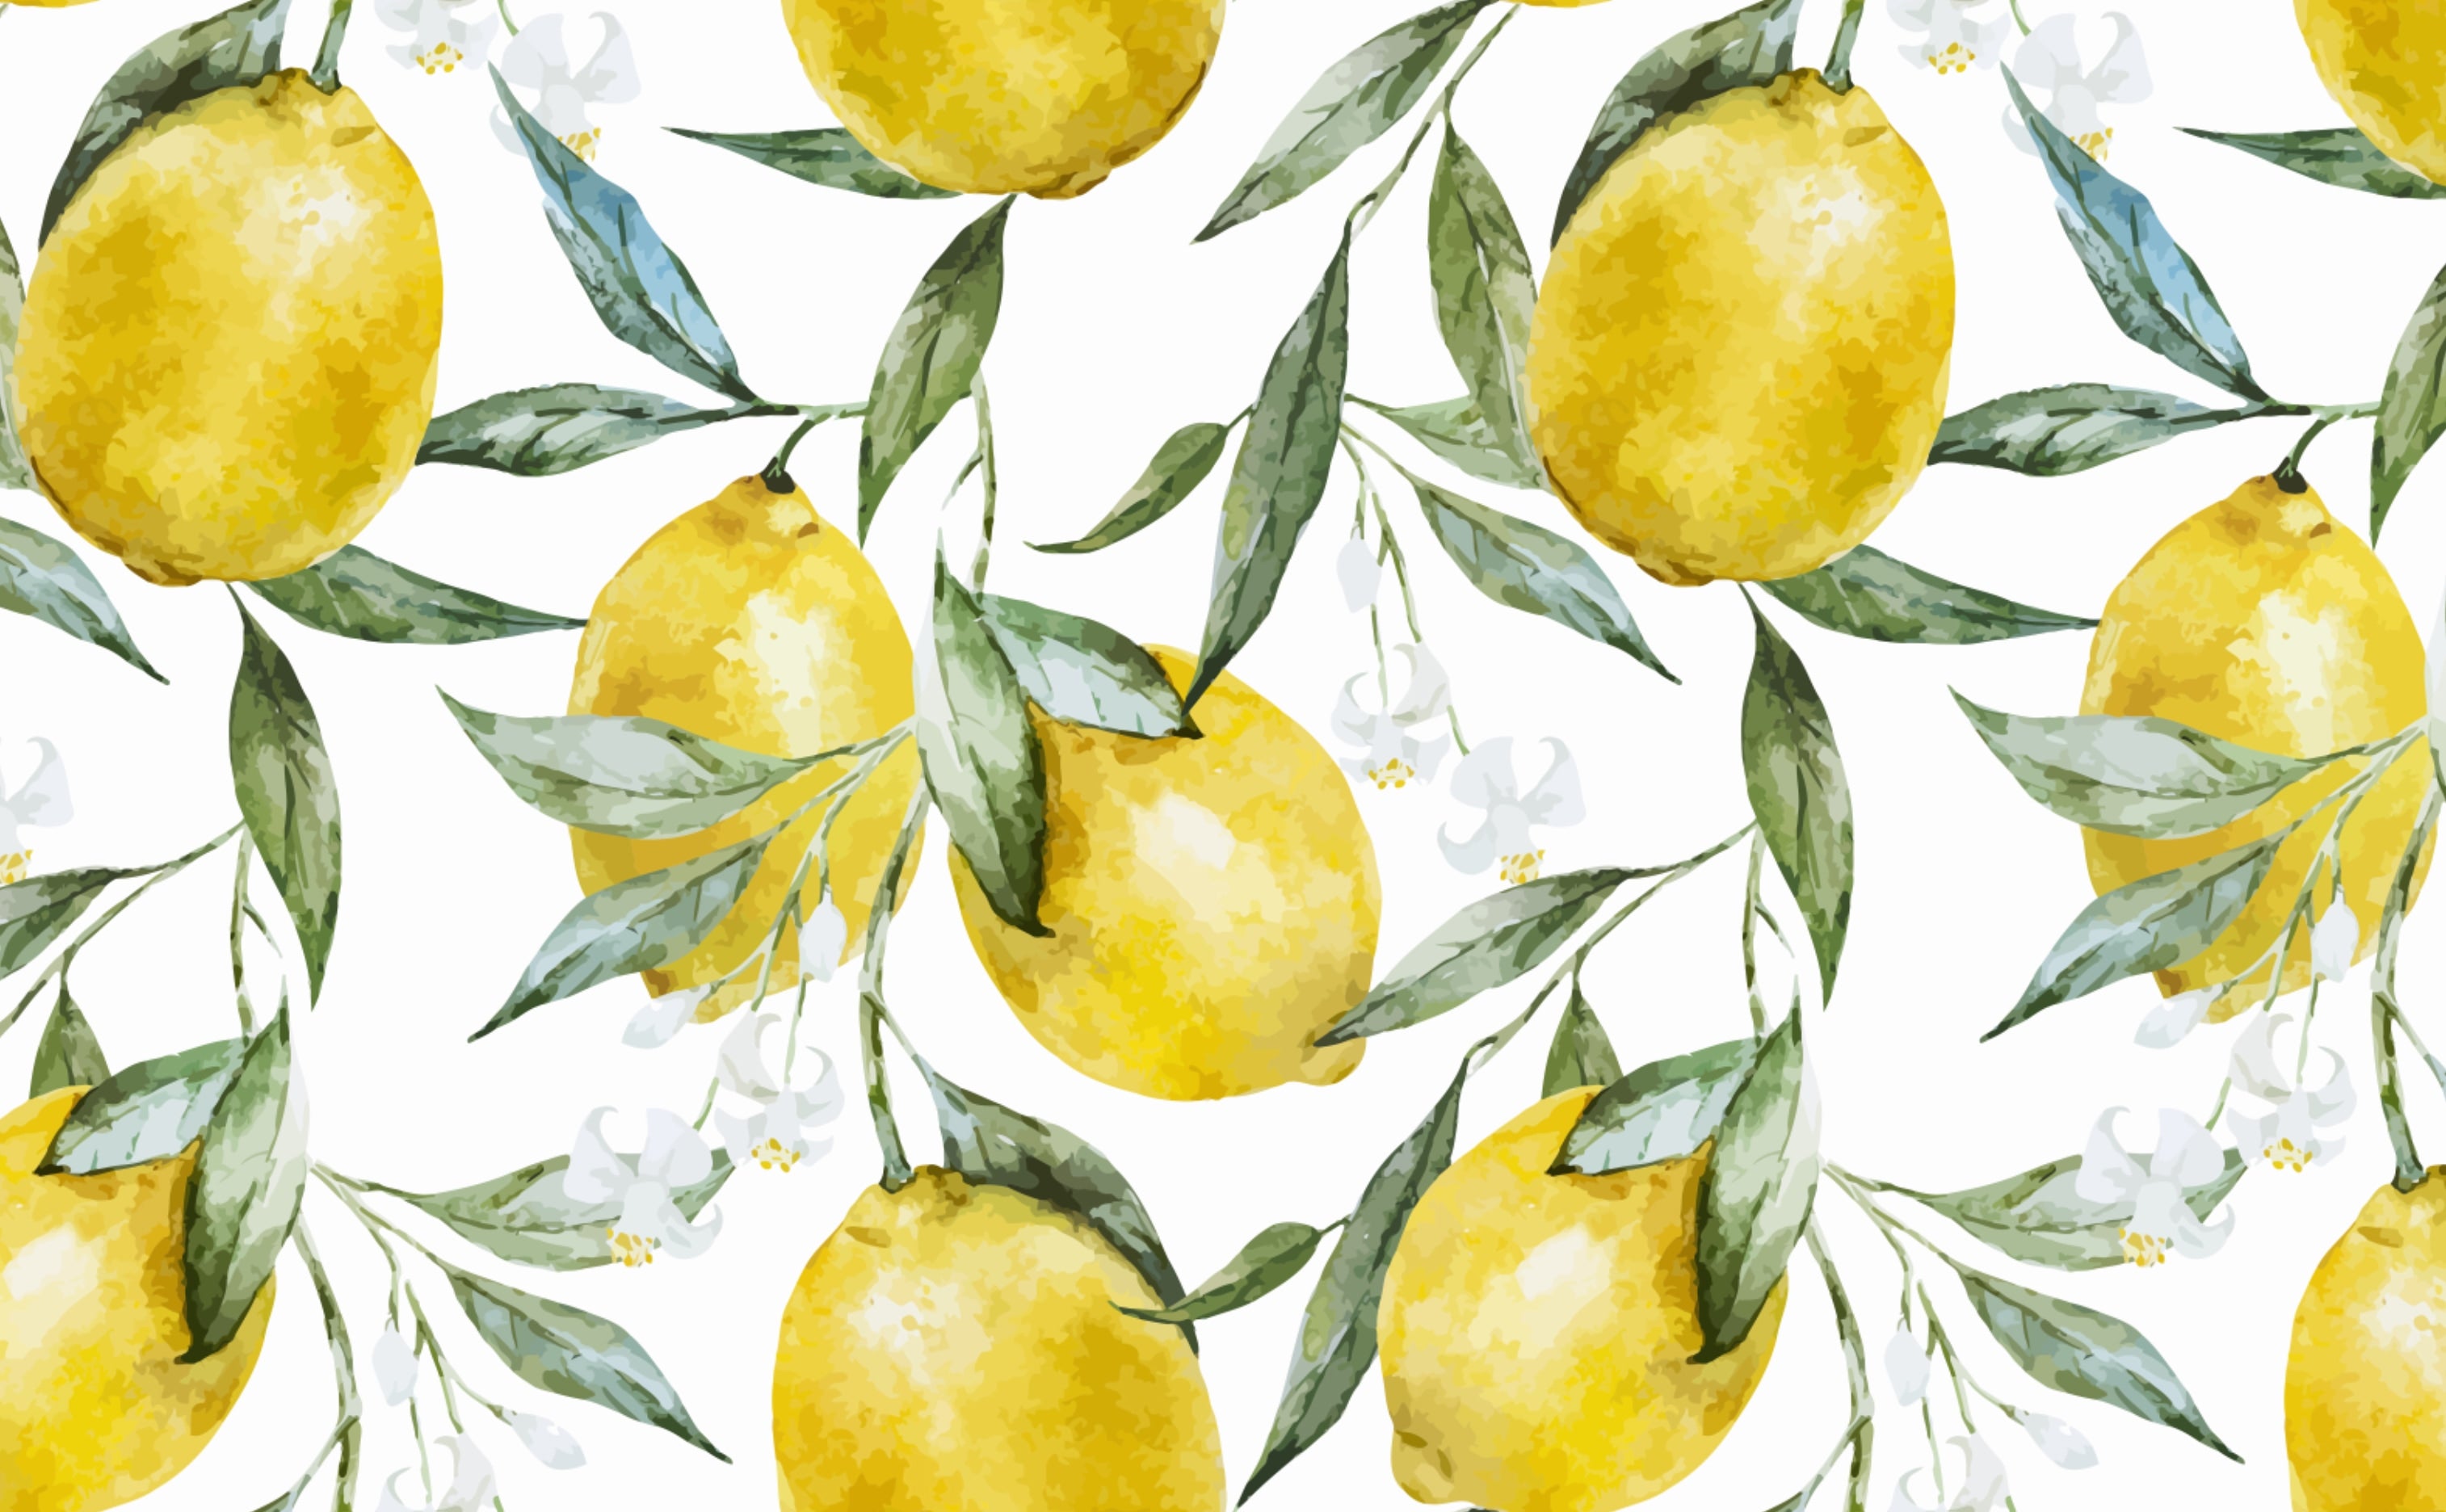
Lemon Blossom
Romantic lemon tree garden Pattern Wallpaper
Lemon Blossom
Romantic lemon tree garden Pattern Wallpaper
Lemon Blossom
Romantic lemon tree garden Pattern Wallpaper
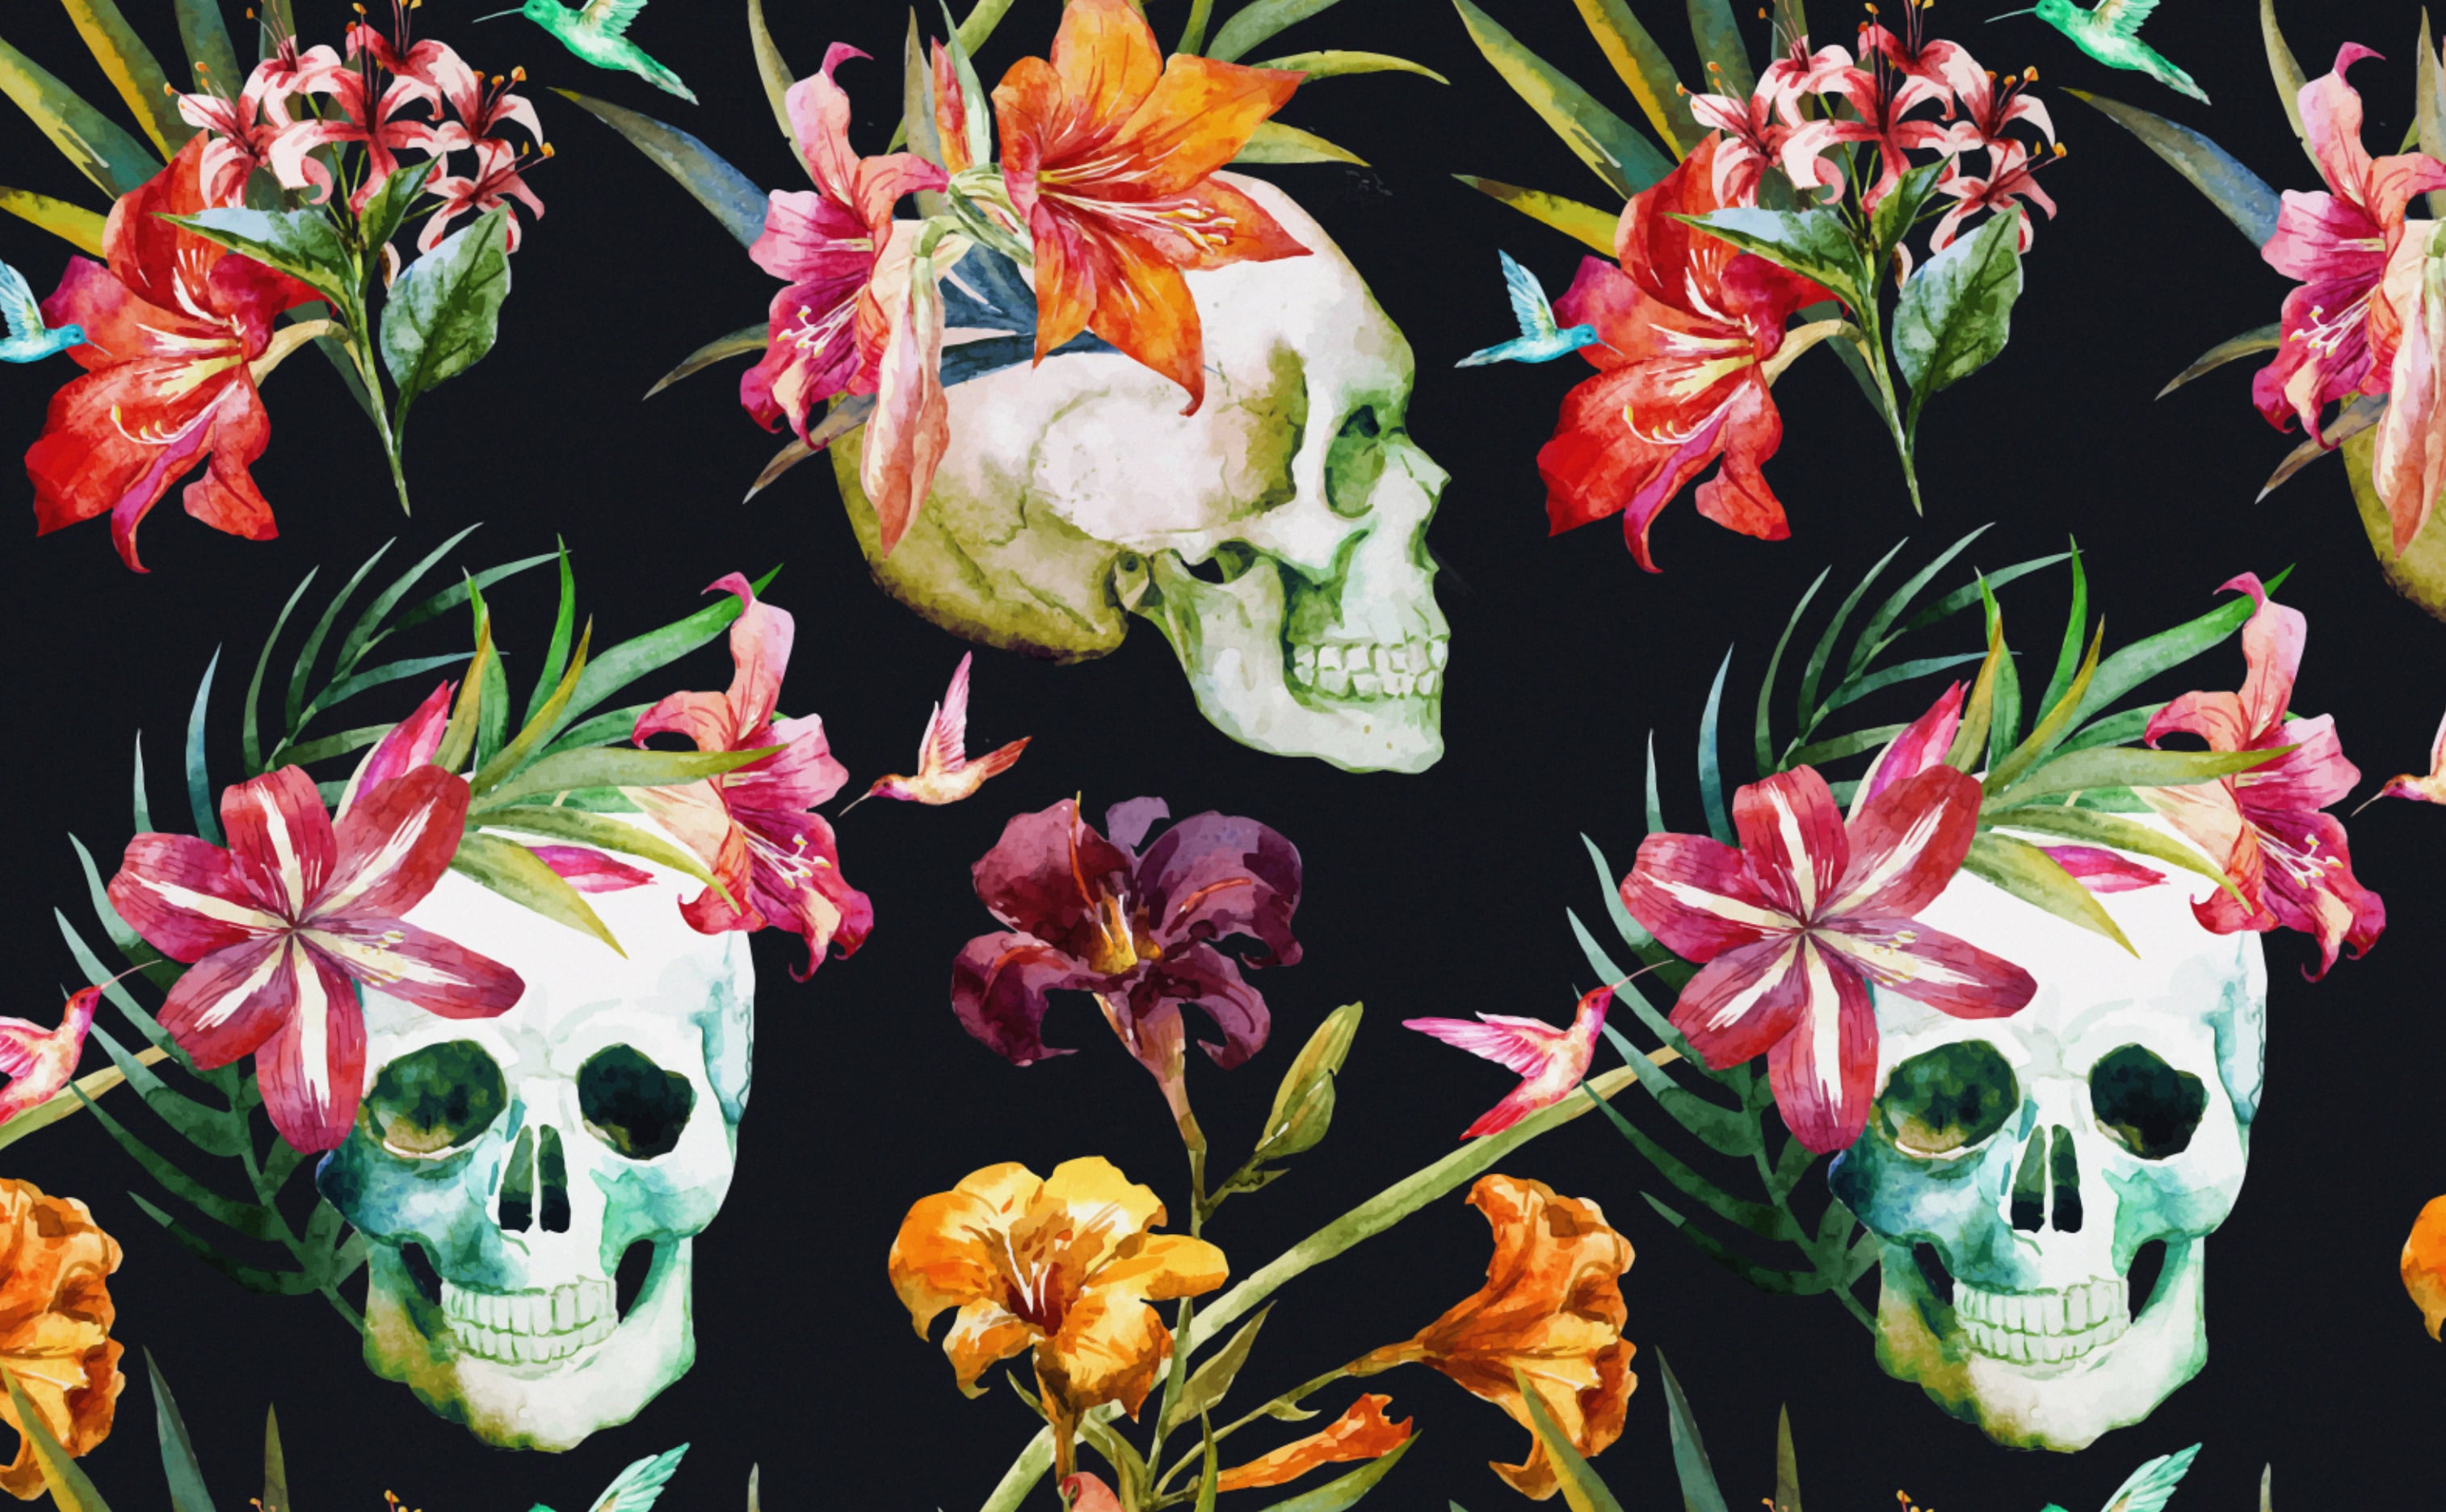
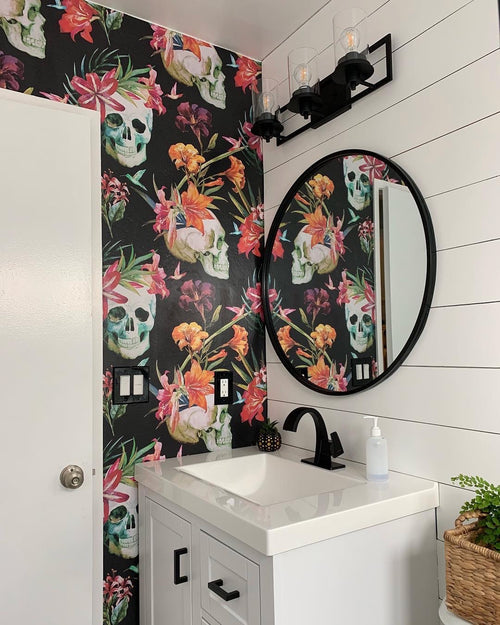
Buried Treasure
Flowers & Skulls Wallpaper
Buried Treasure
Flowers & Skulls Wallpaper
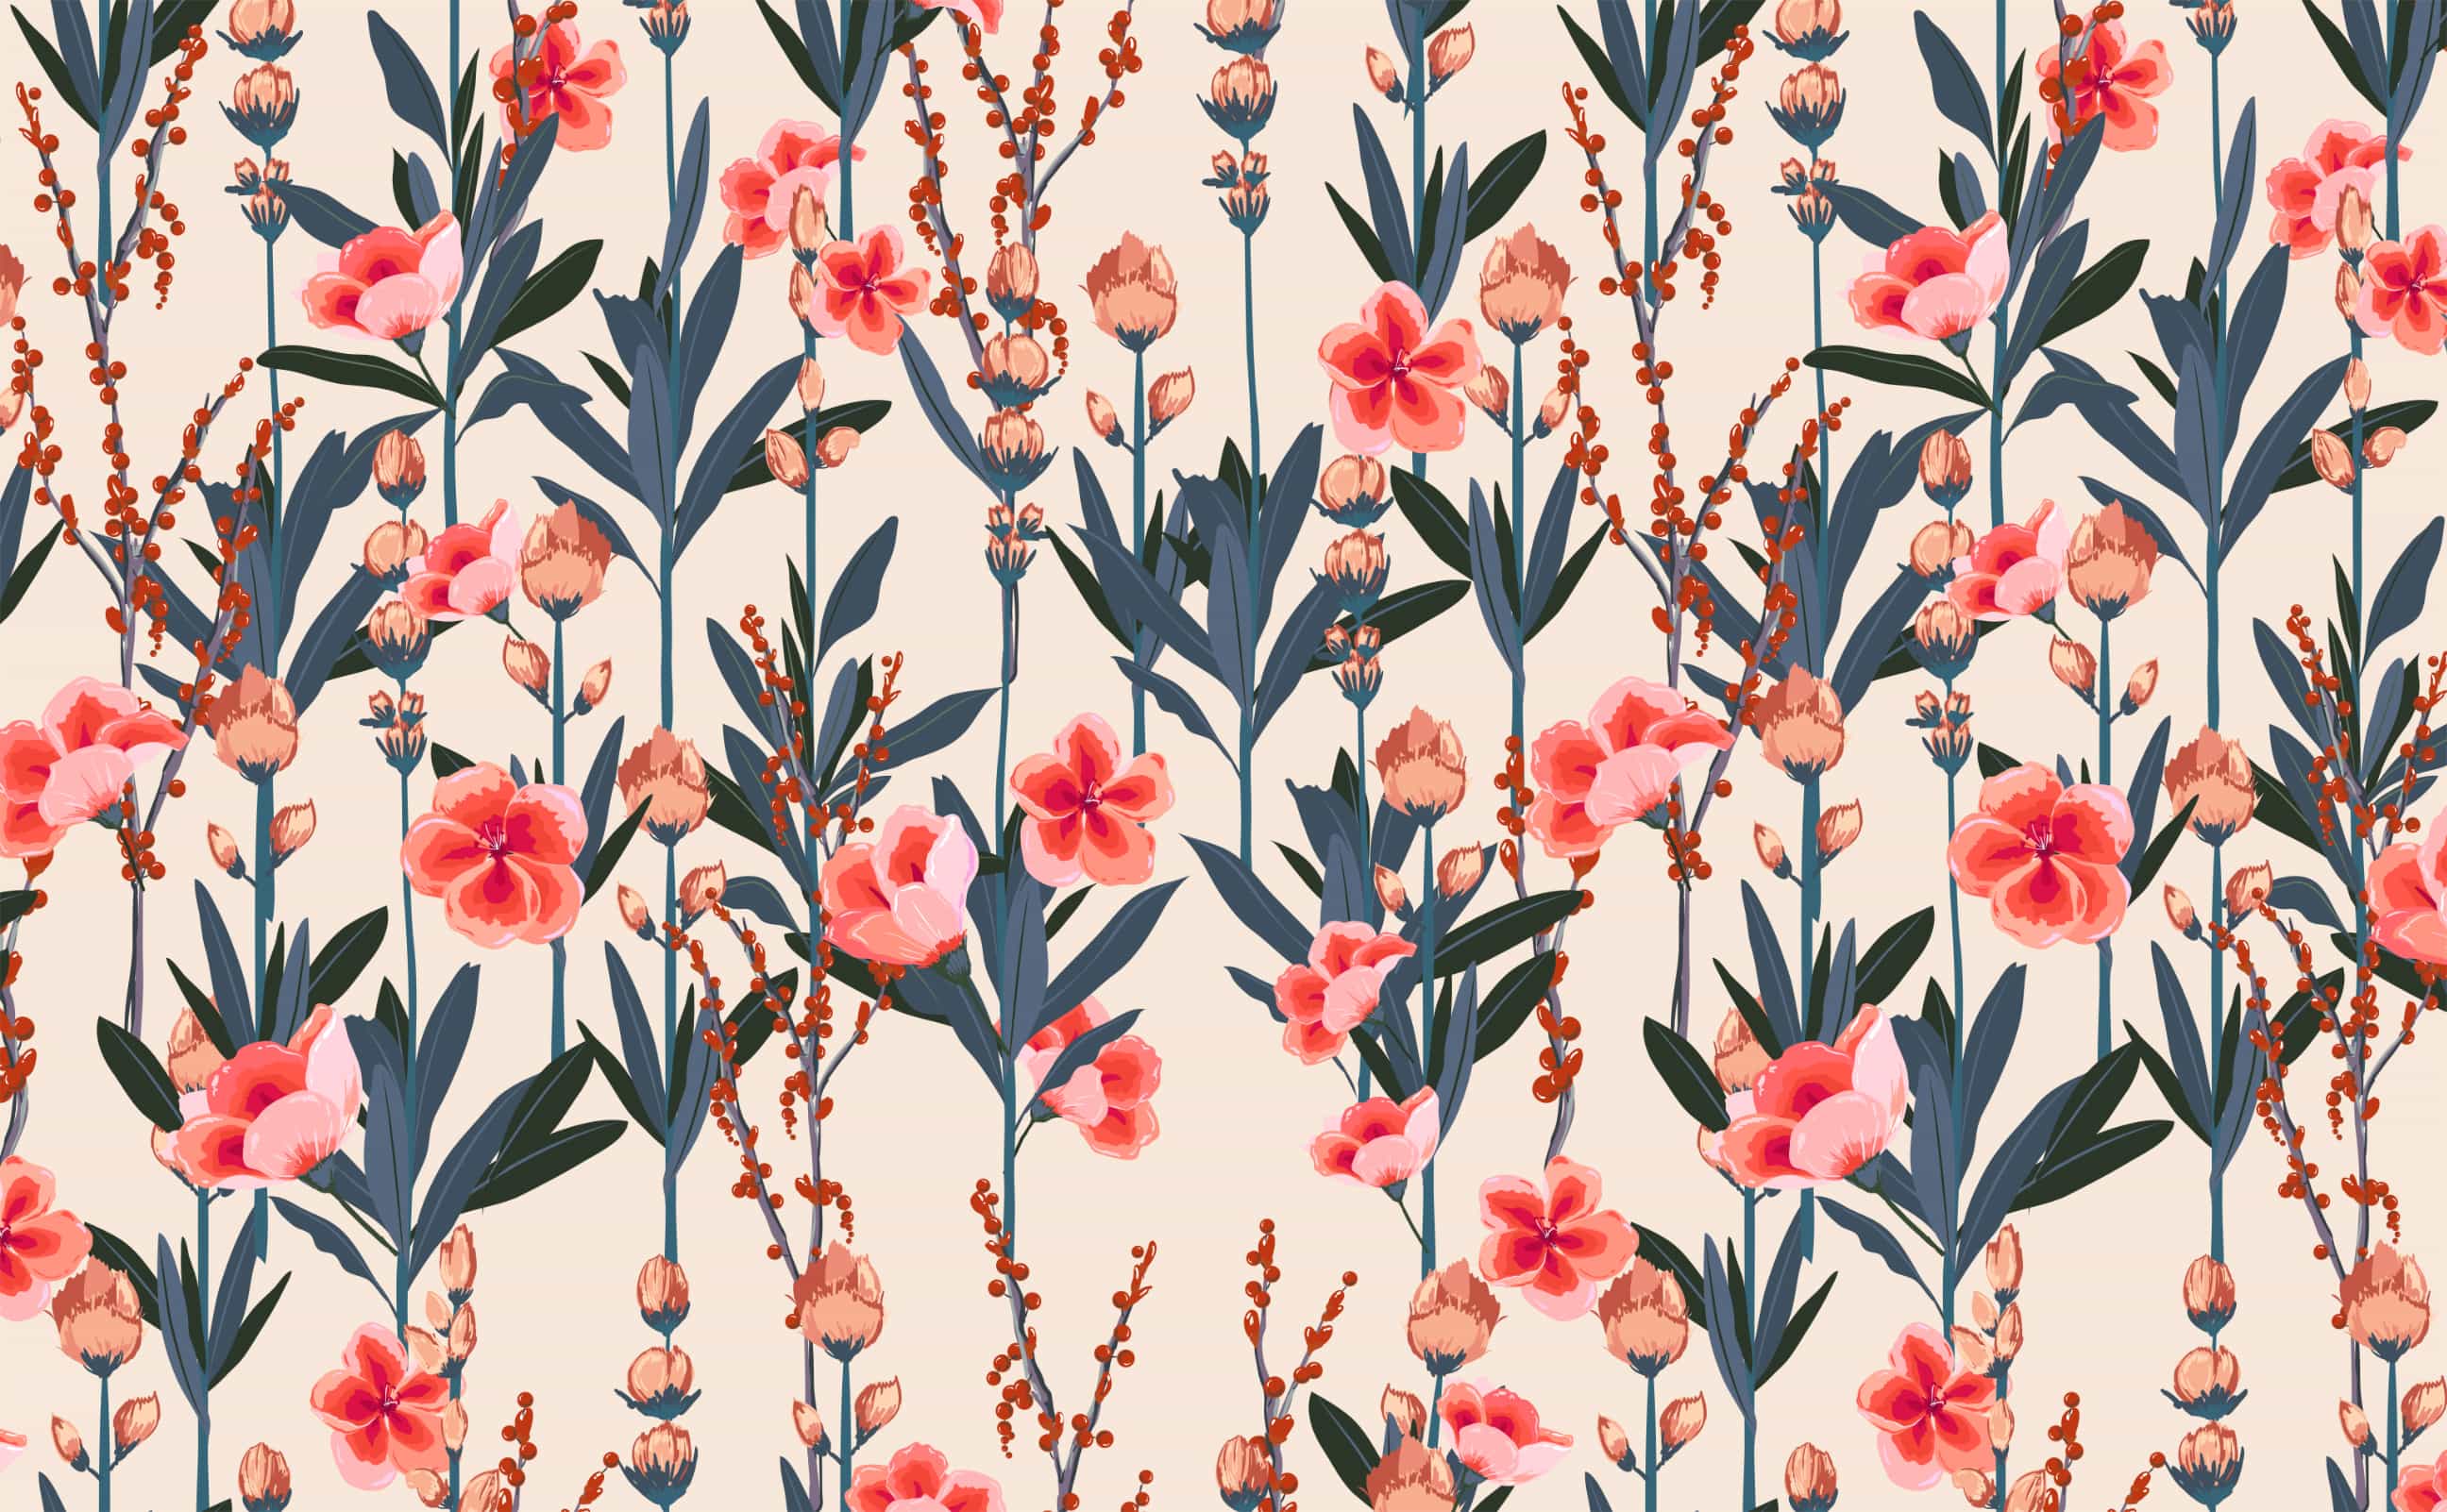
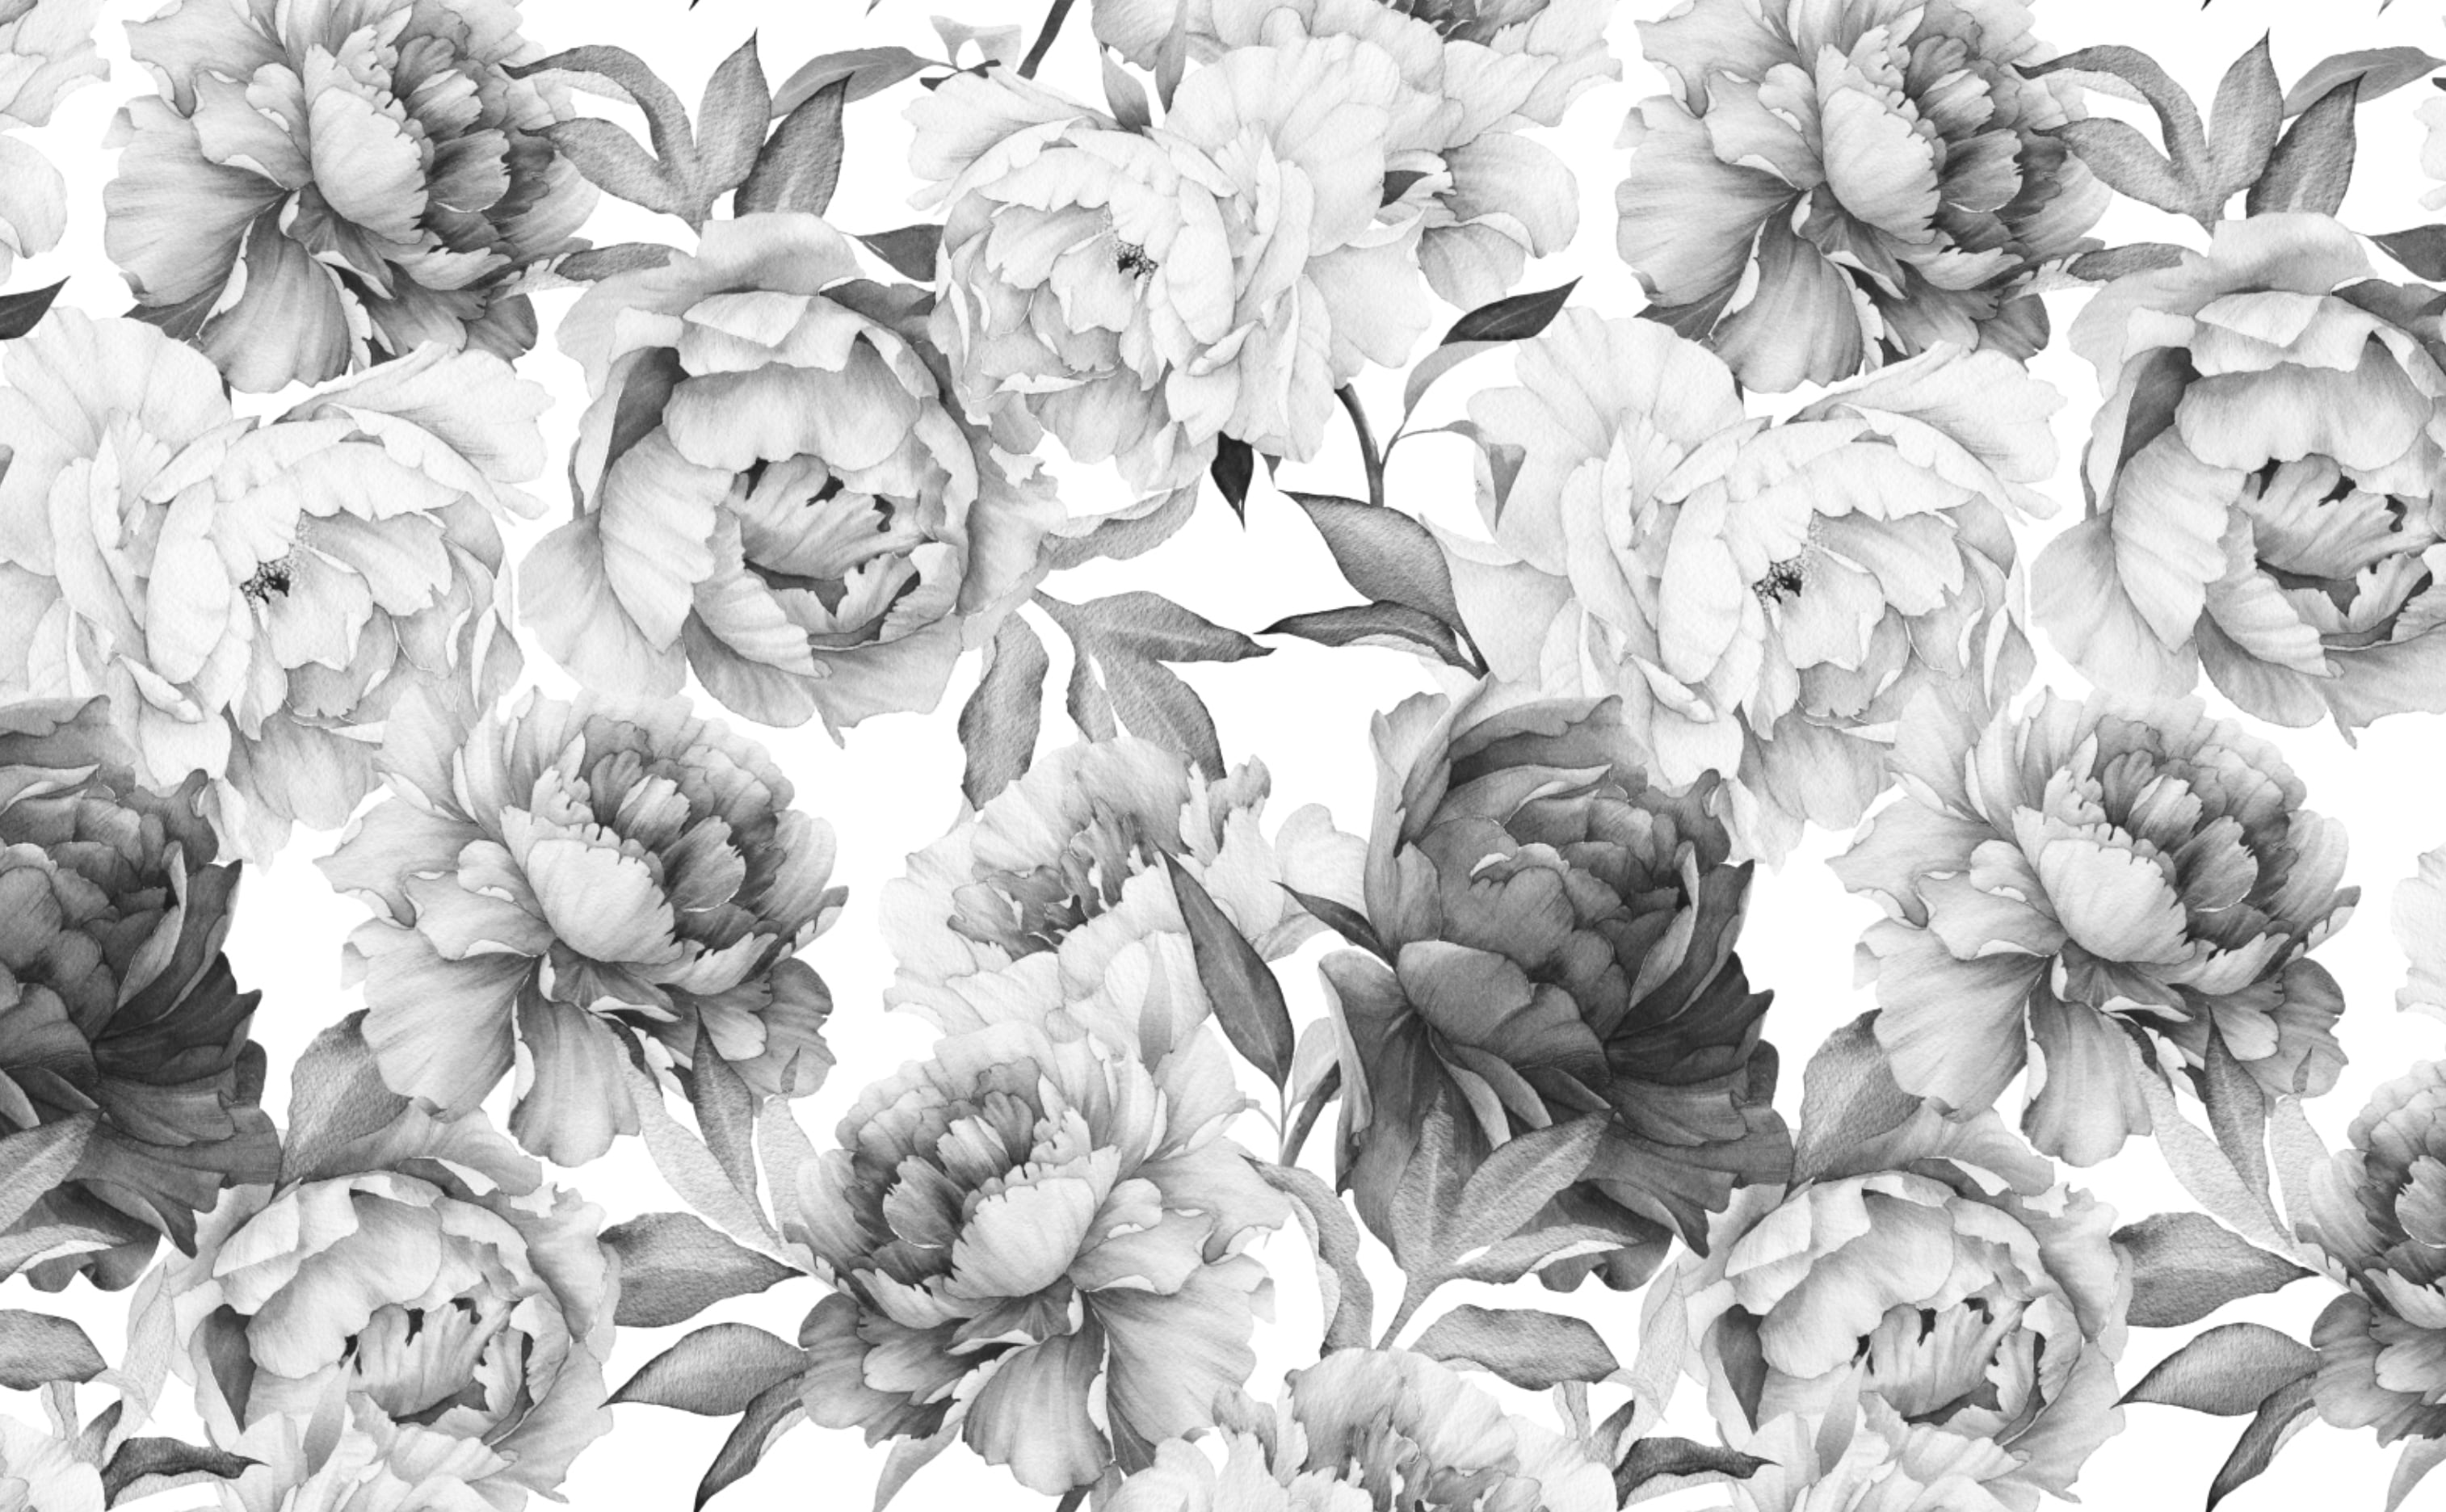
Clara
Bold Floral Pattern Wallpaper
Clara
Bold Floral Pattern Wallpaper
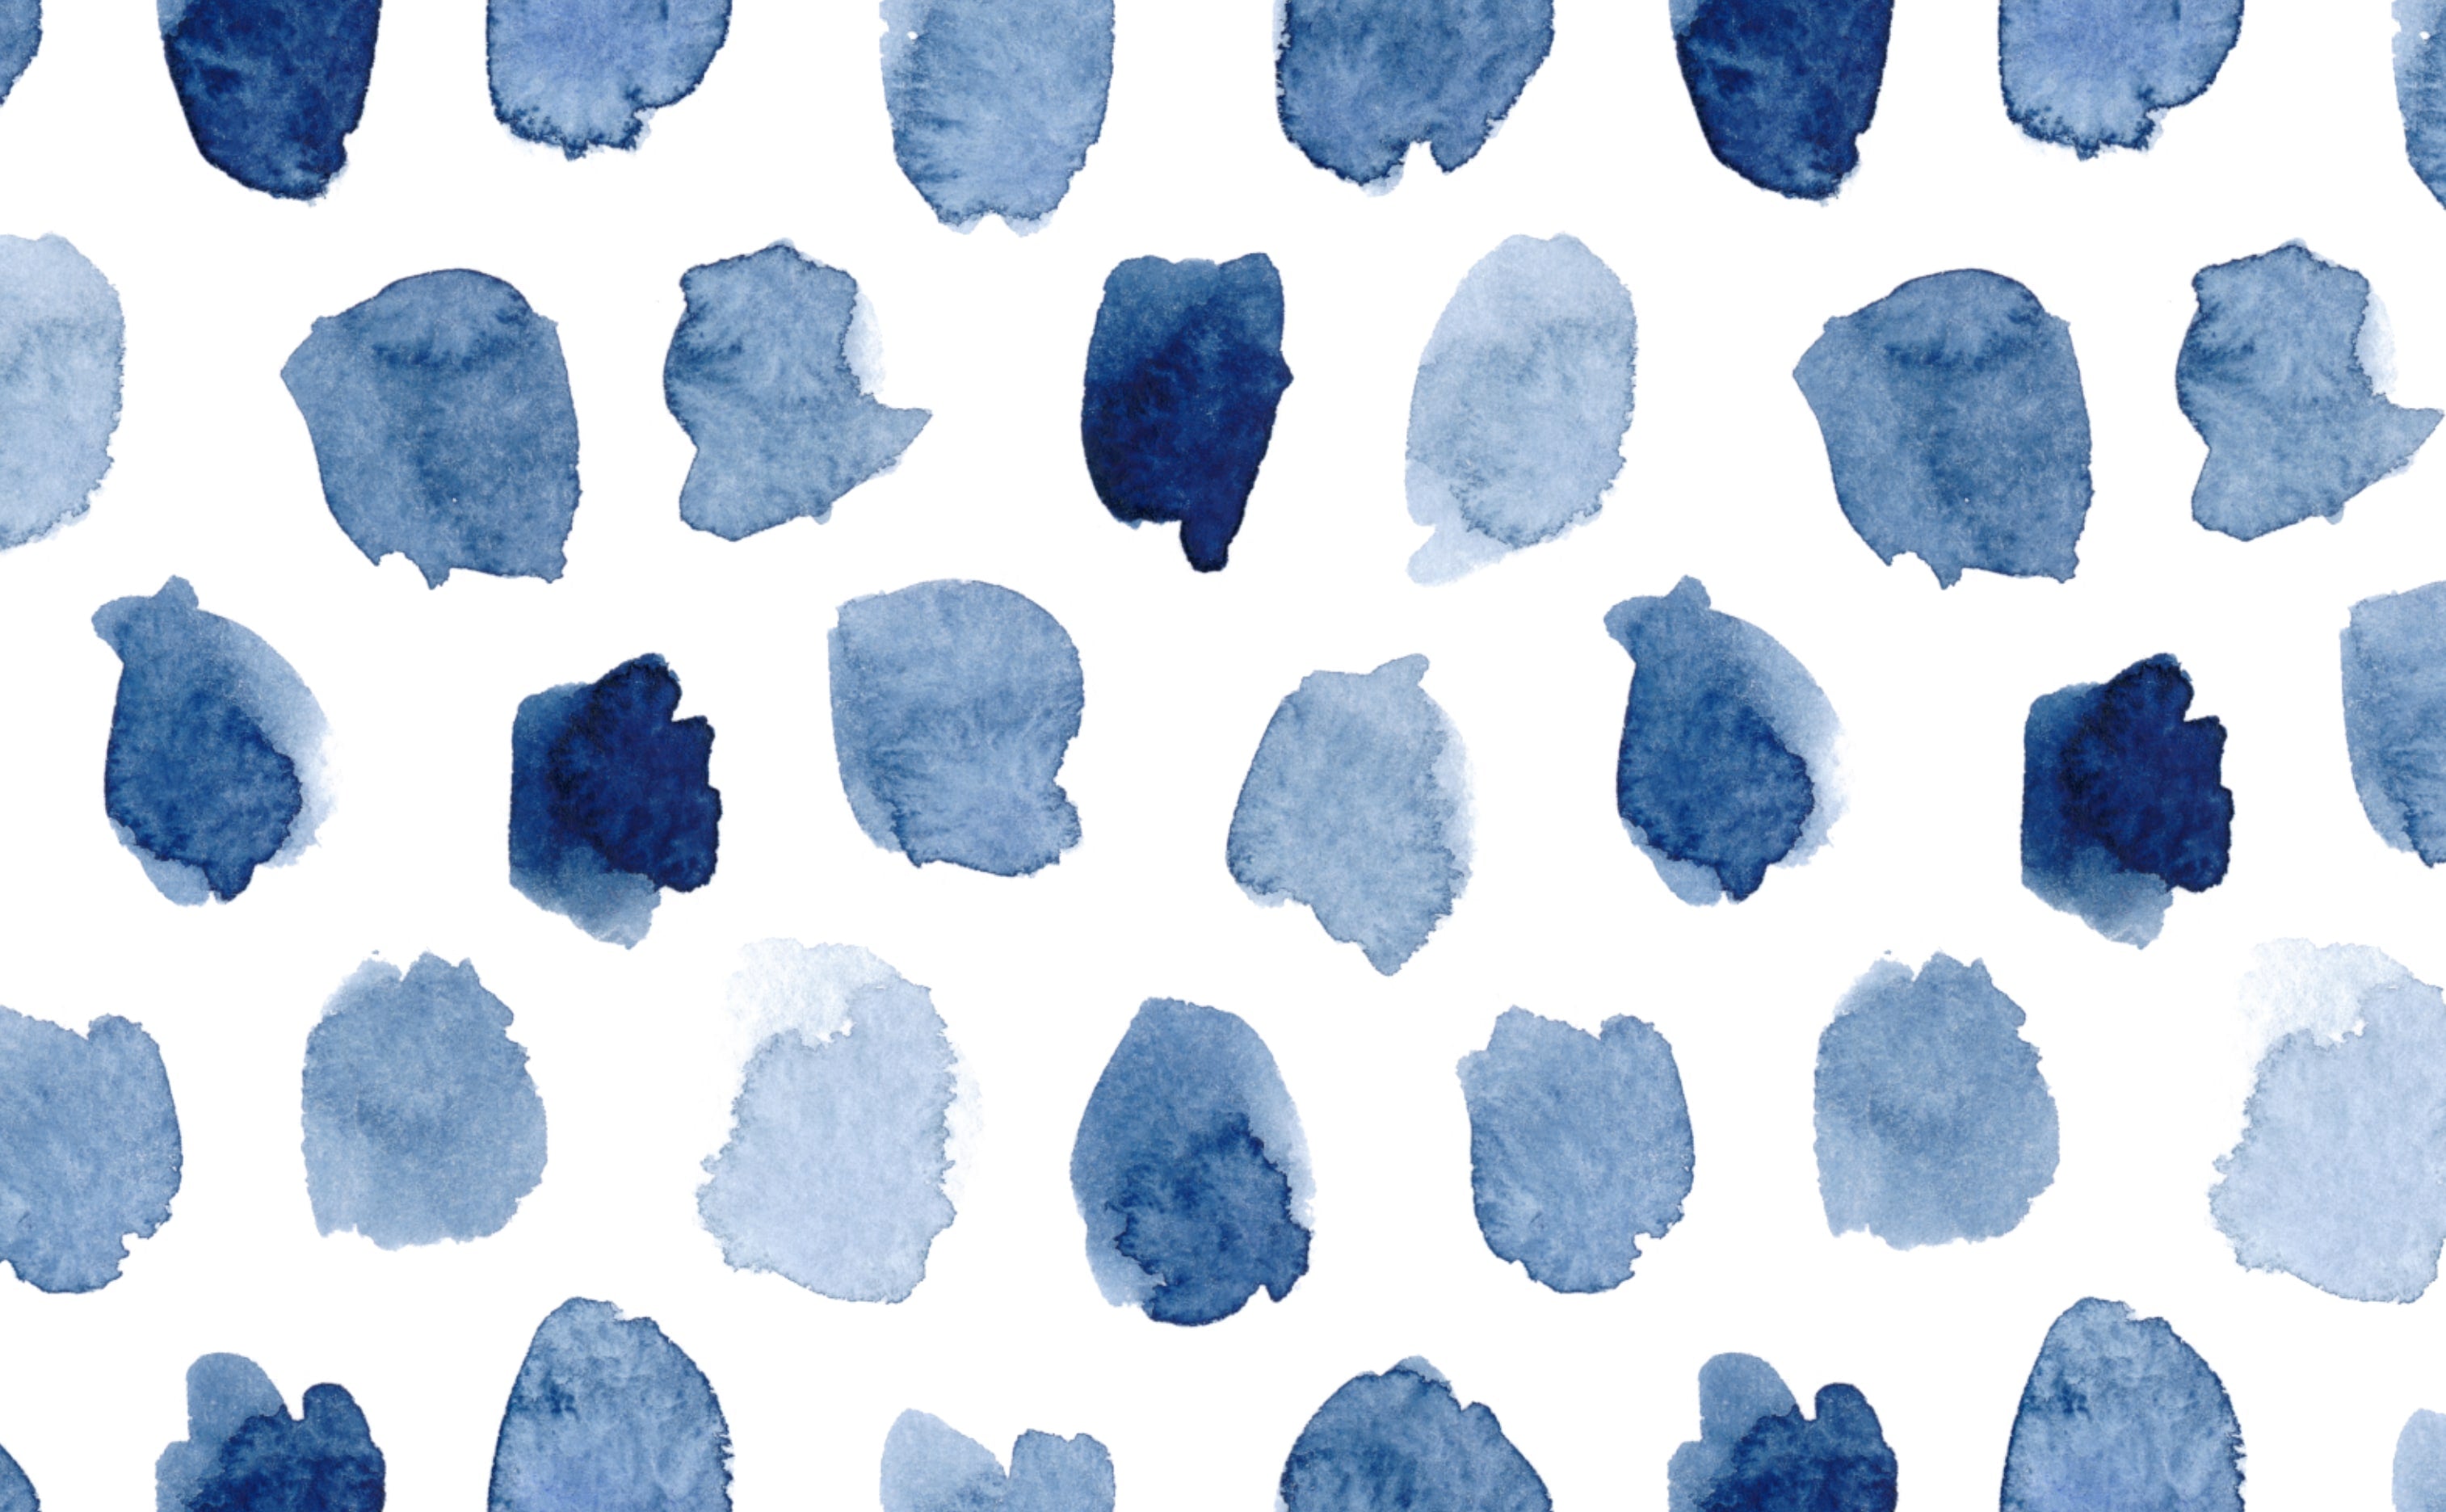
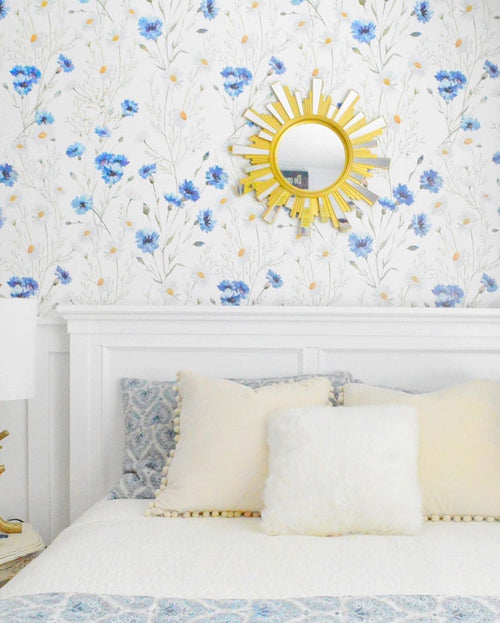
Outside the Lines
Blue Watercolor Pattern Wallpaper
Outside the Lines
Blue Watercolor Pattern Wallpaper
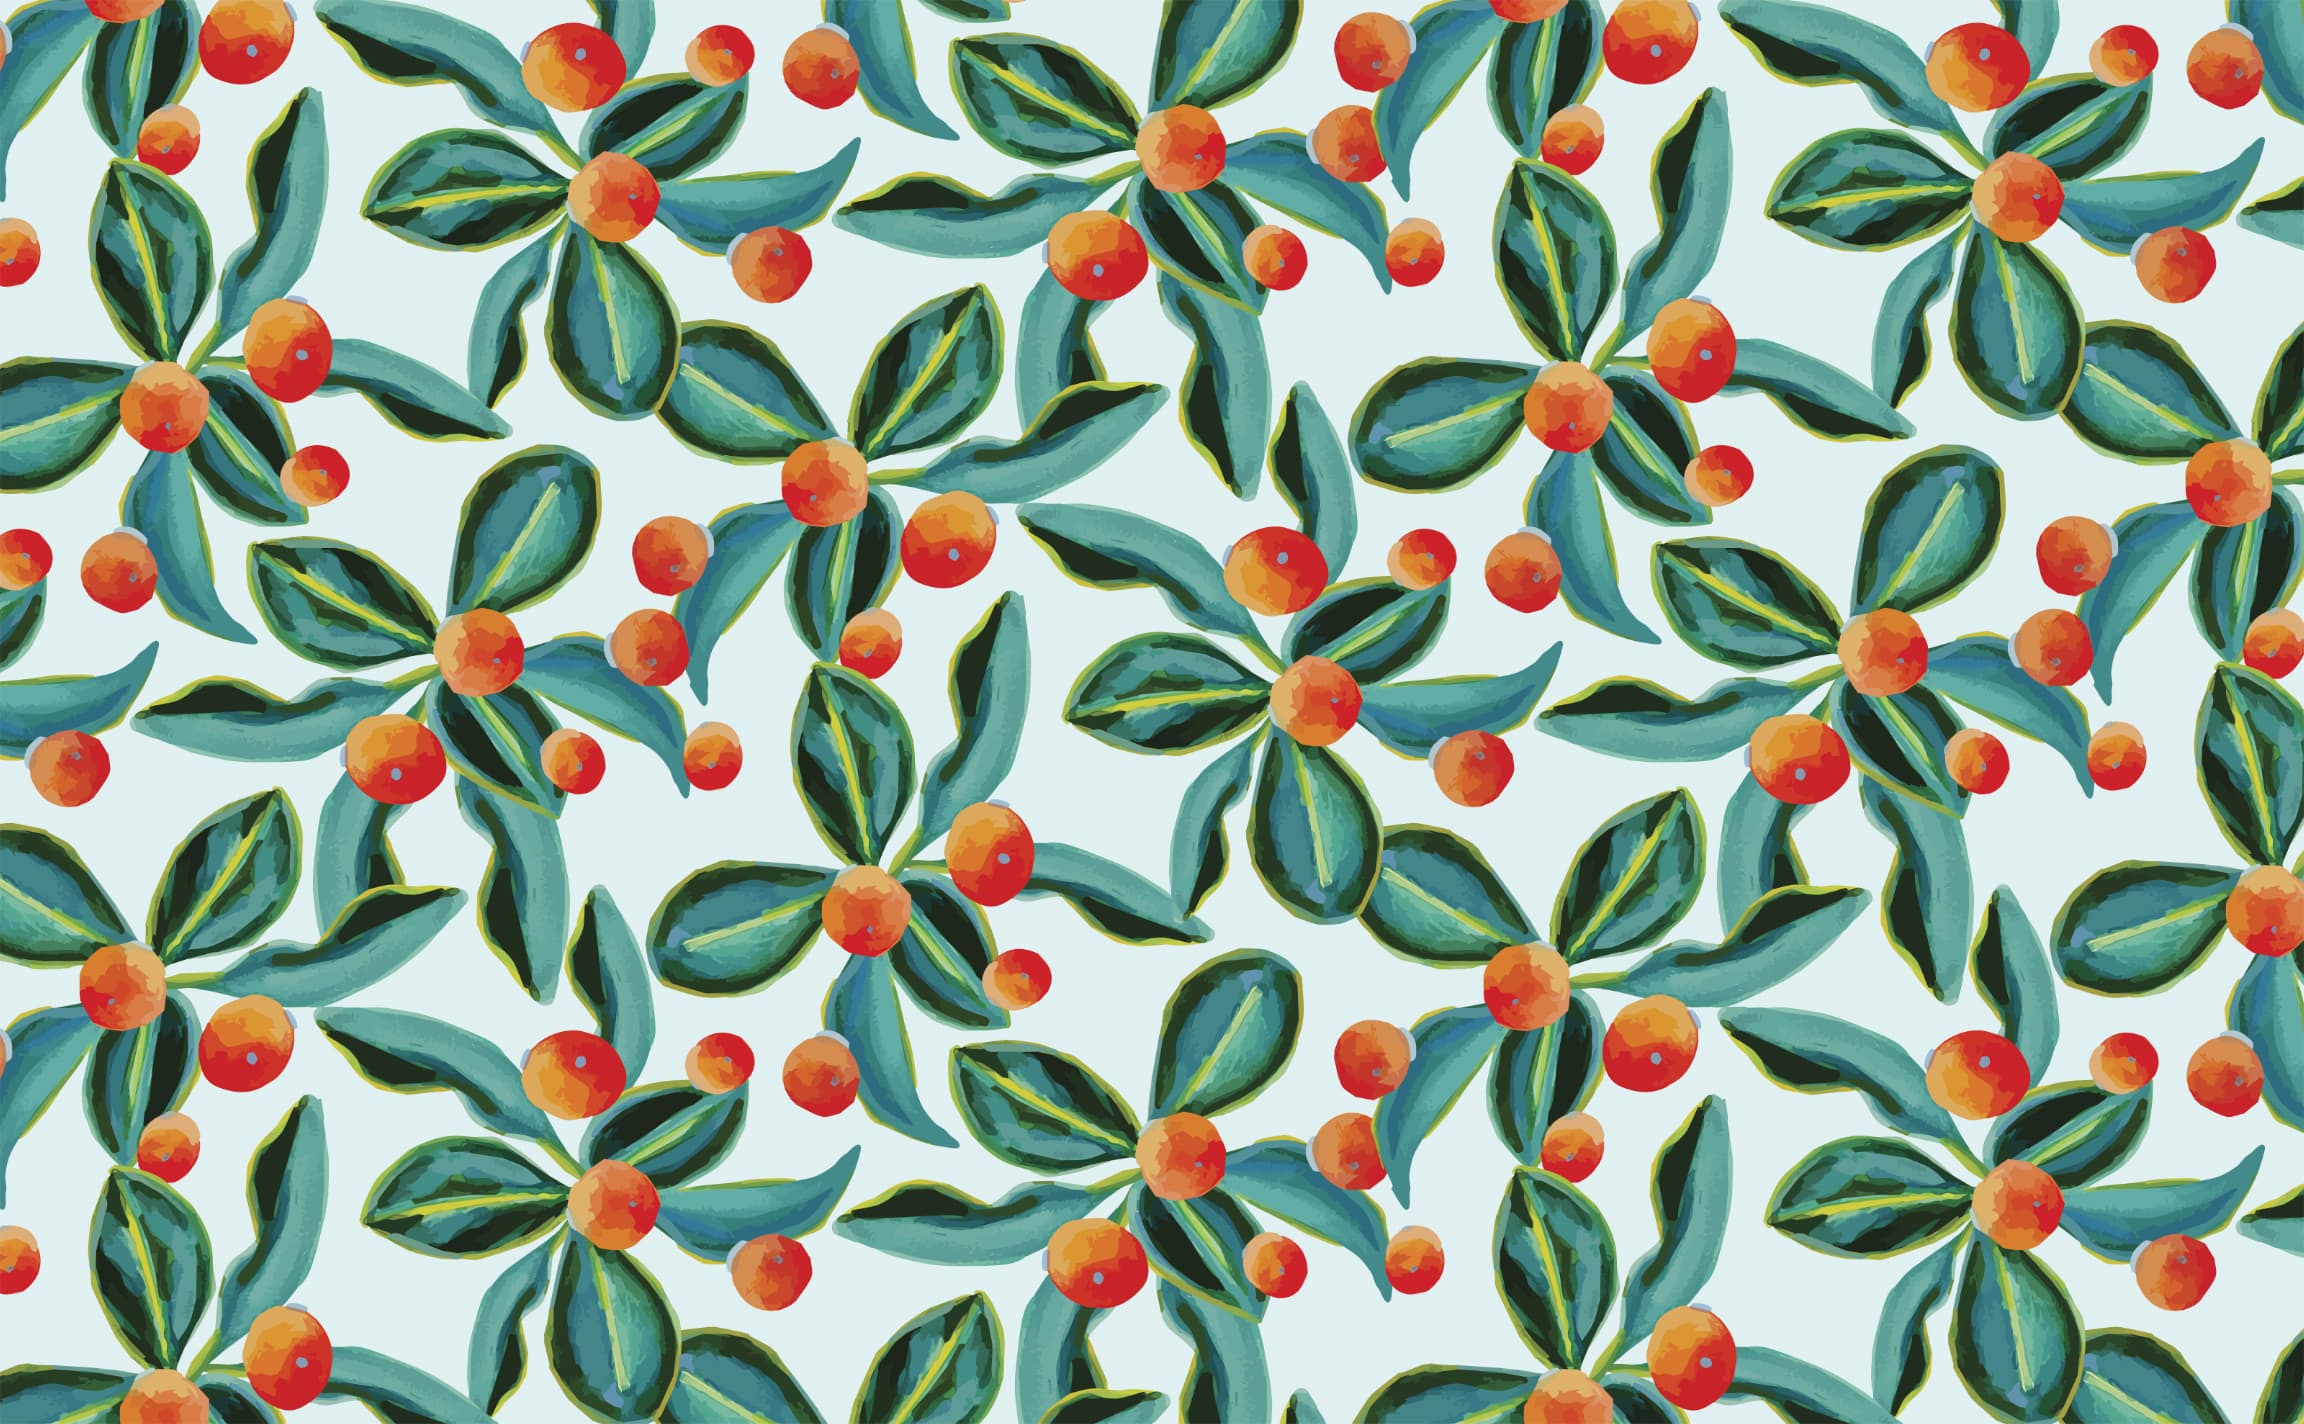
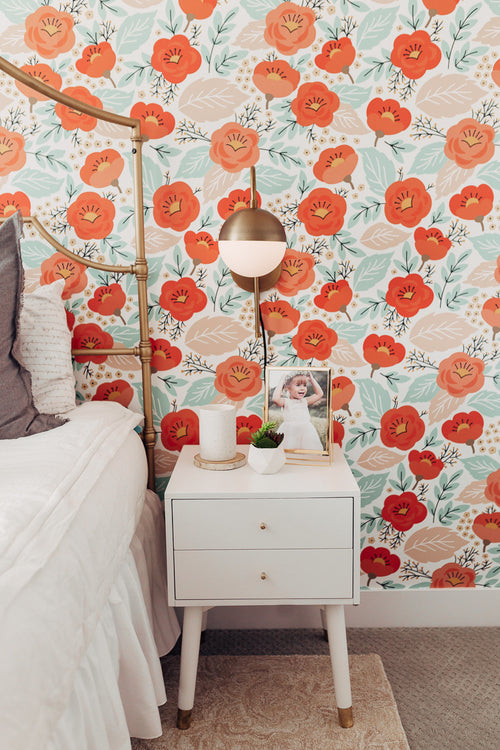
Uplifting Oranges in Blue Sky
Light and dark toned oranges with green leaves and blue sky background Pattern Wallpaper
Uplifting Oranges in Blue Sky
Light and dark toned oranges with green leaves and blue sky background Pattern Wallpaper
Palais de Deco
White and gold geometric floral motif art deco Pattern Wallpaper
Palais de Deco
White and gold geometric floral motif art deco Pattern Wallpaper
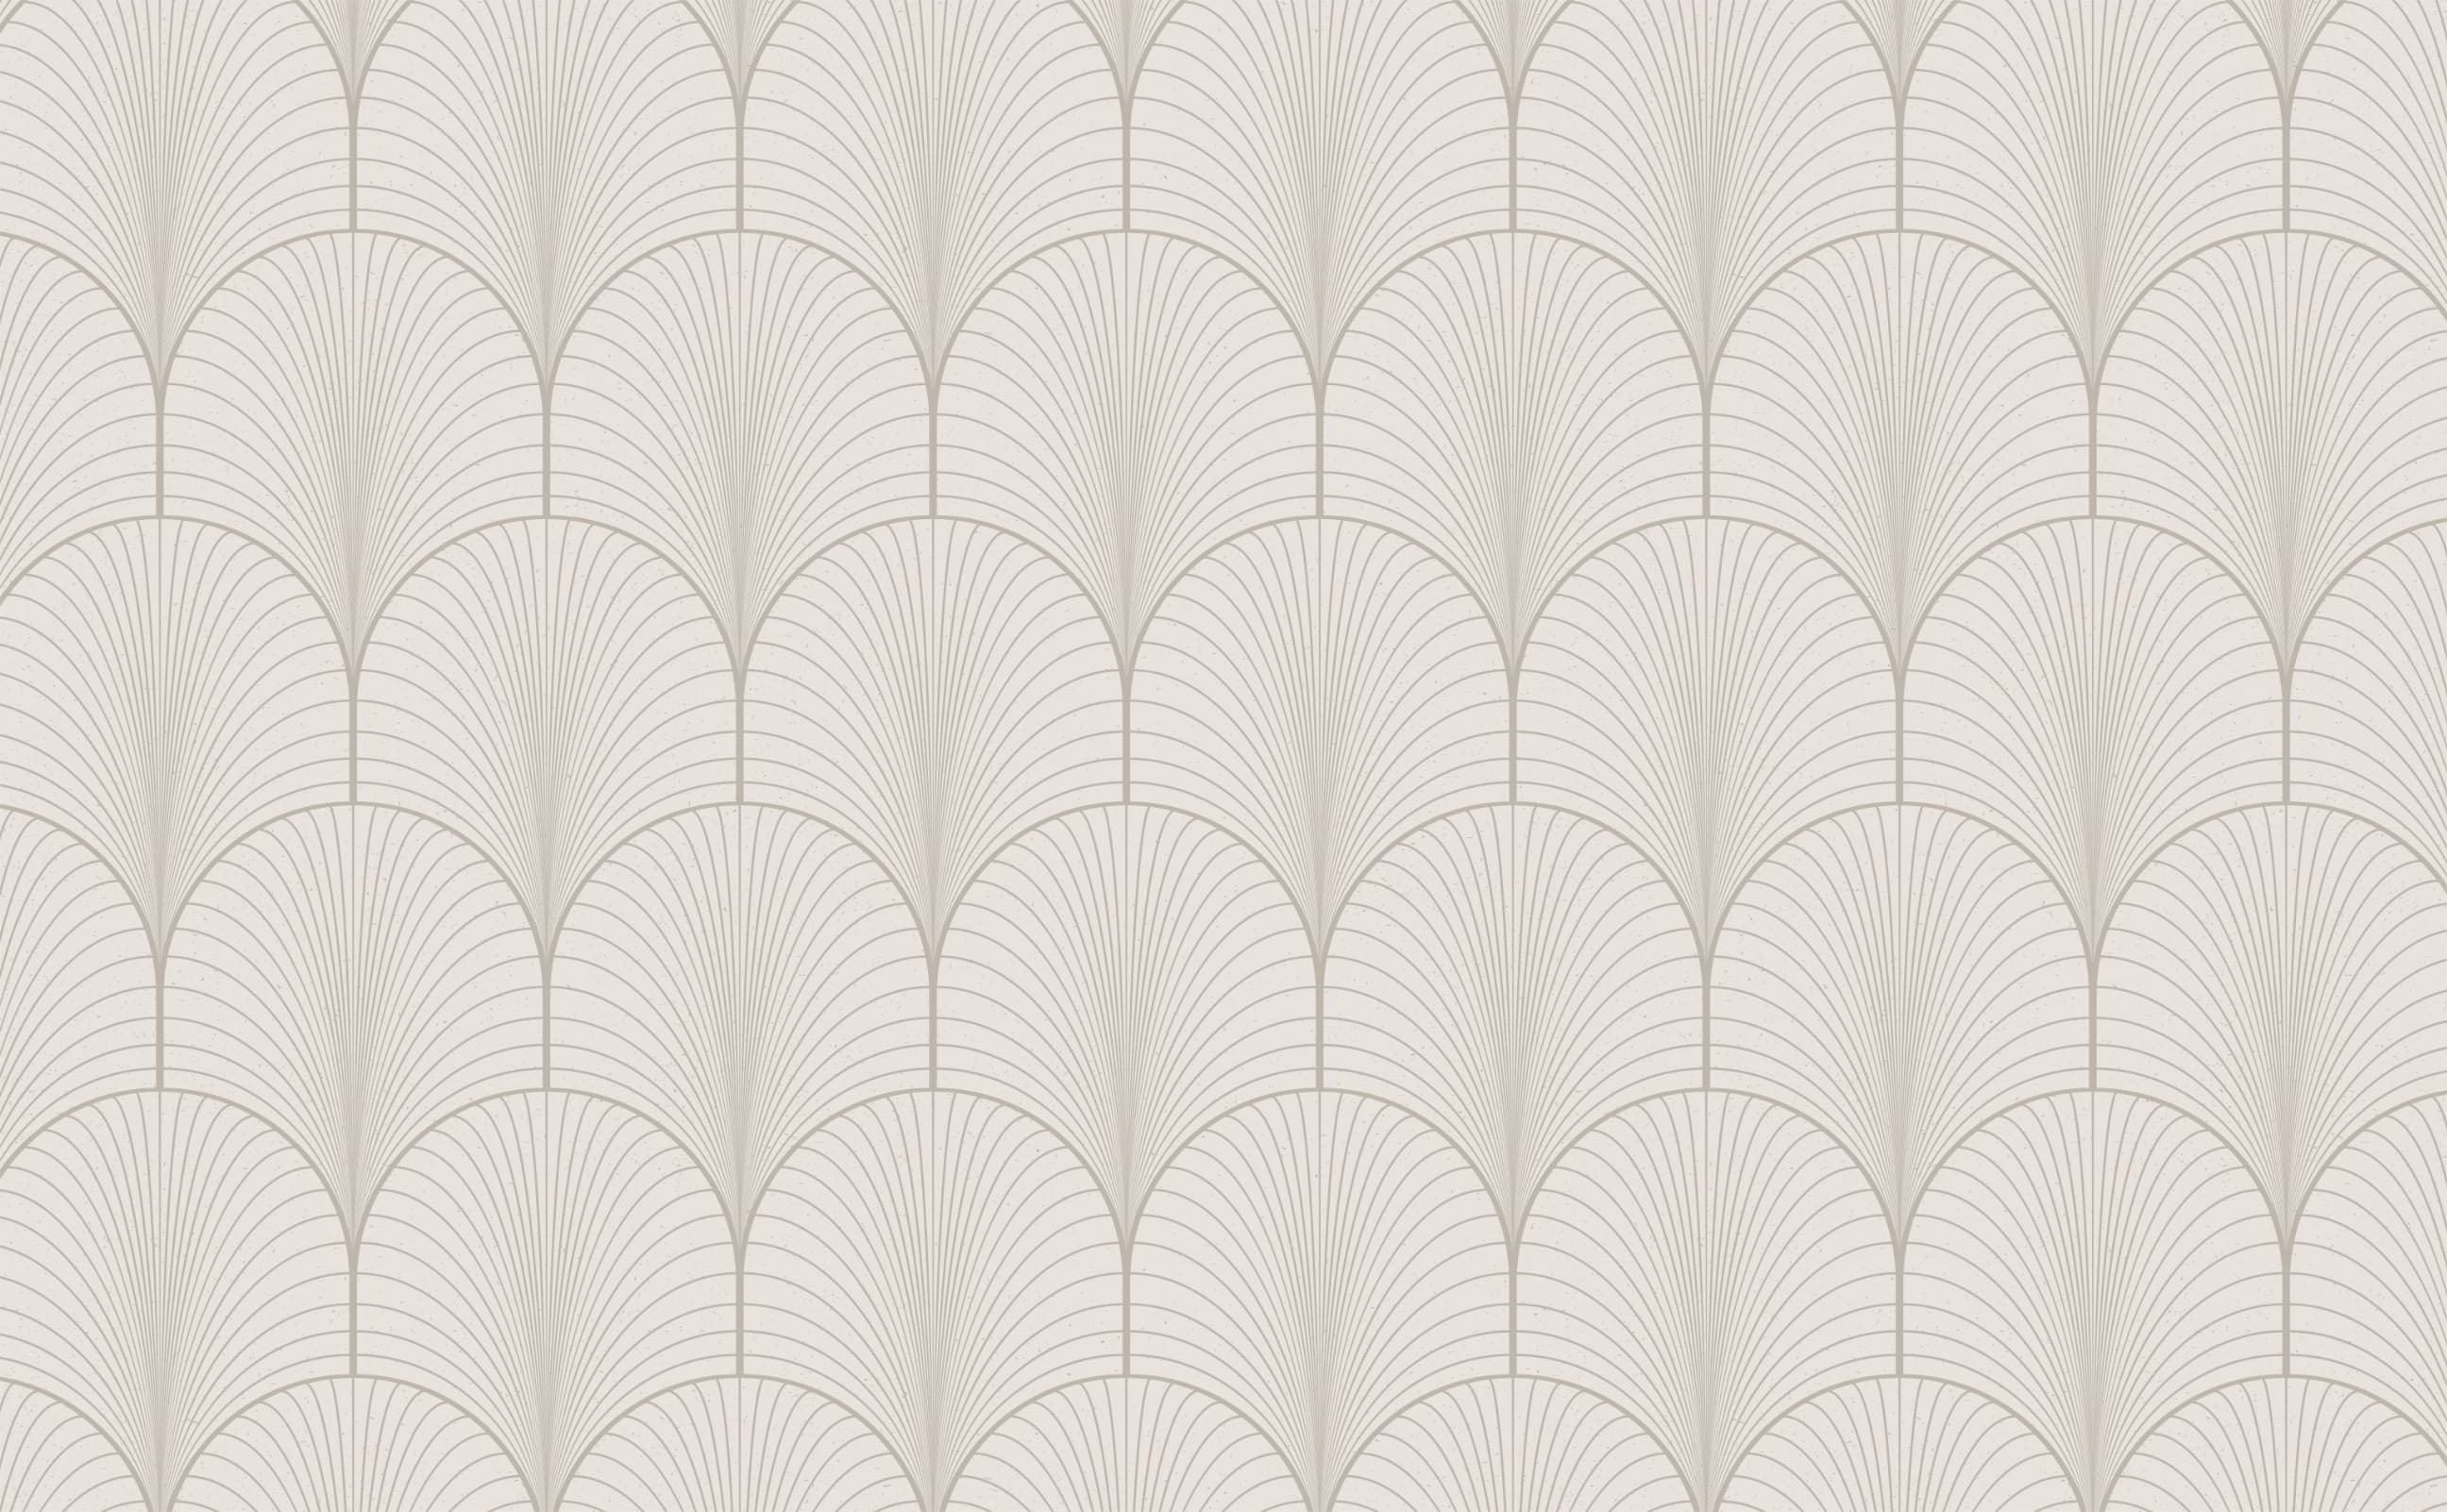
Miami Deco
Off-white beige art deco fountain motif Pattern Wallpaper
Miami Deco
Off-white beige art deco fountain motif Pattern Wallpaper
Miami Deco
Off-white beige art deco fountain motif Pattern Wallpaper
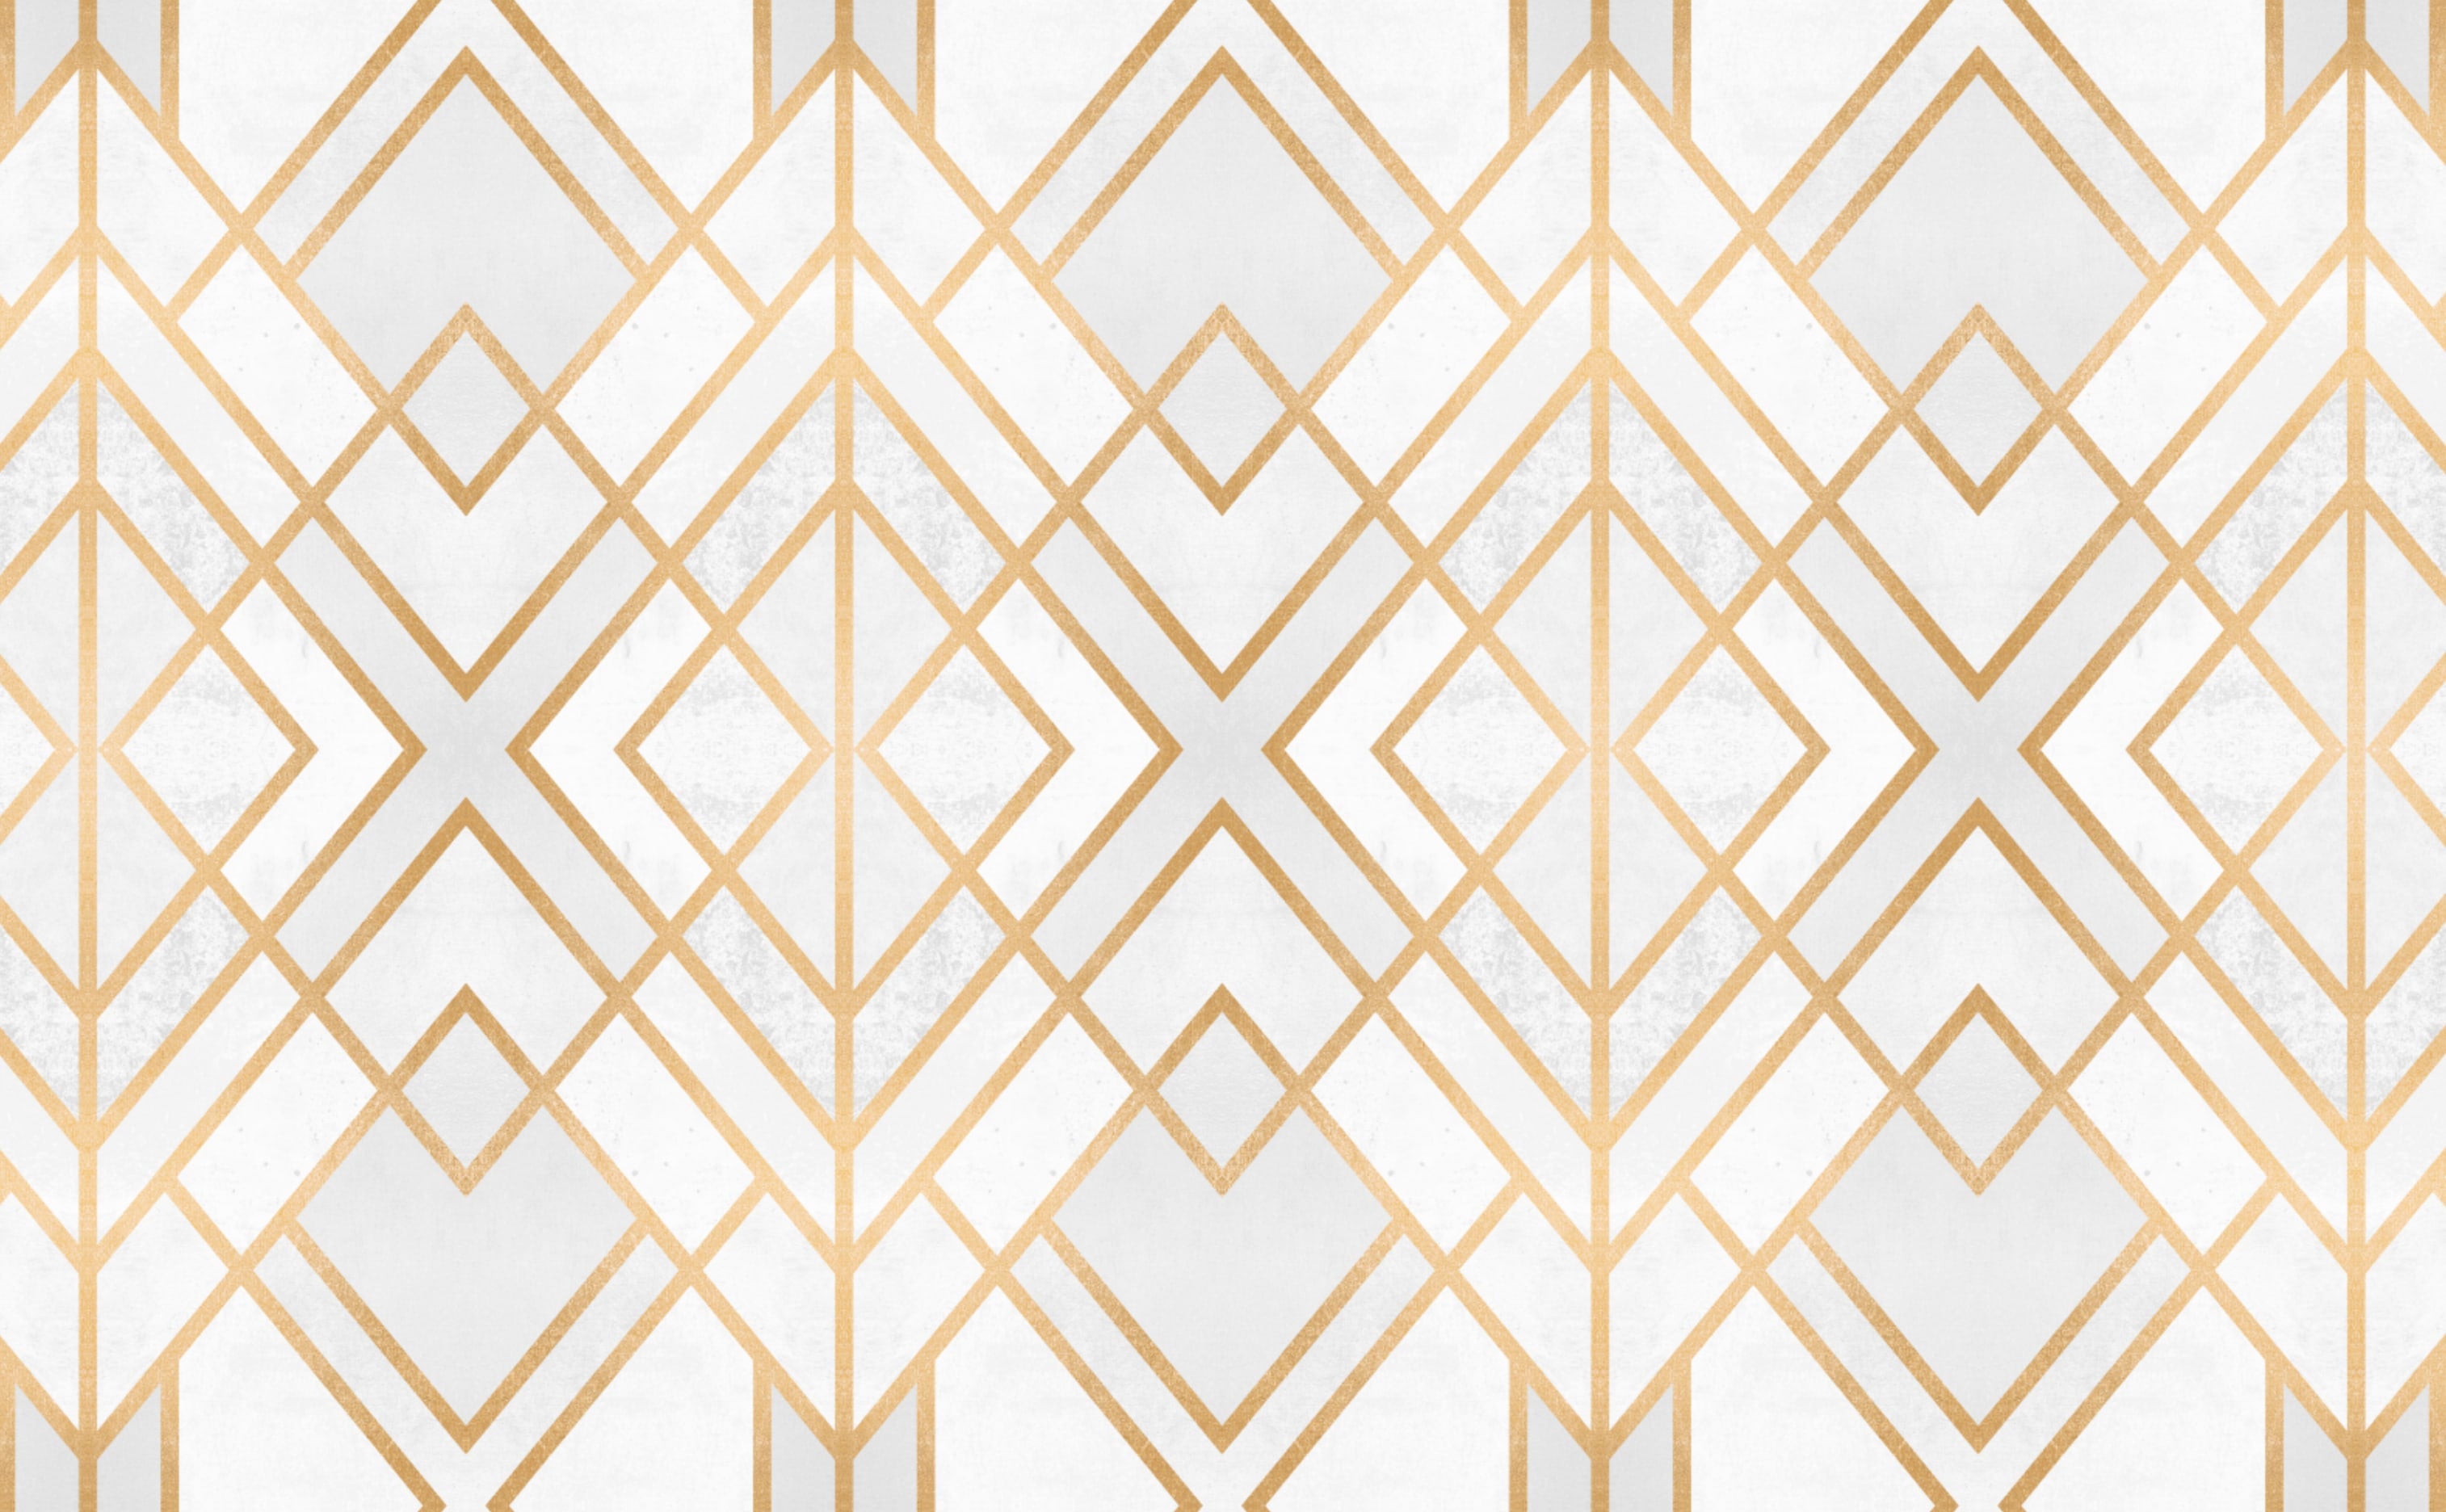
Golden Geo
Art Deco Diamond Pattern Wallpaper
Golden Geo
Art Deco Diamond Pattern Wallpaper
Golden Geo
Art Deco Diamond Pattern Wallpaper
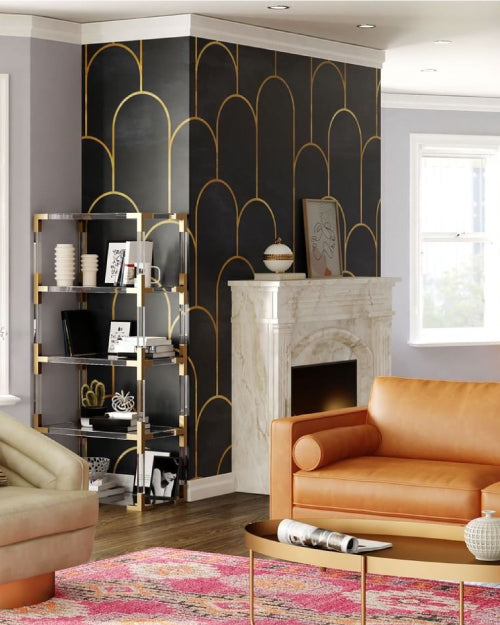
All That Jazz
Art Deco Arches Wallpaper
All That Jazz
Art Deco Arches Wallpaper
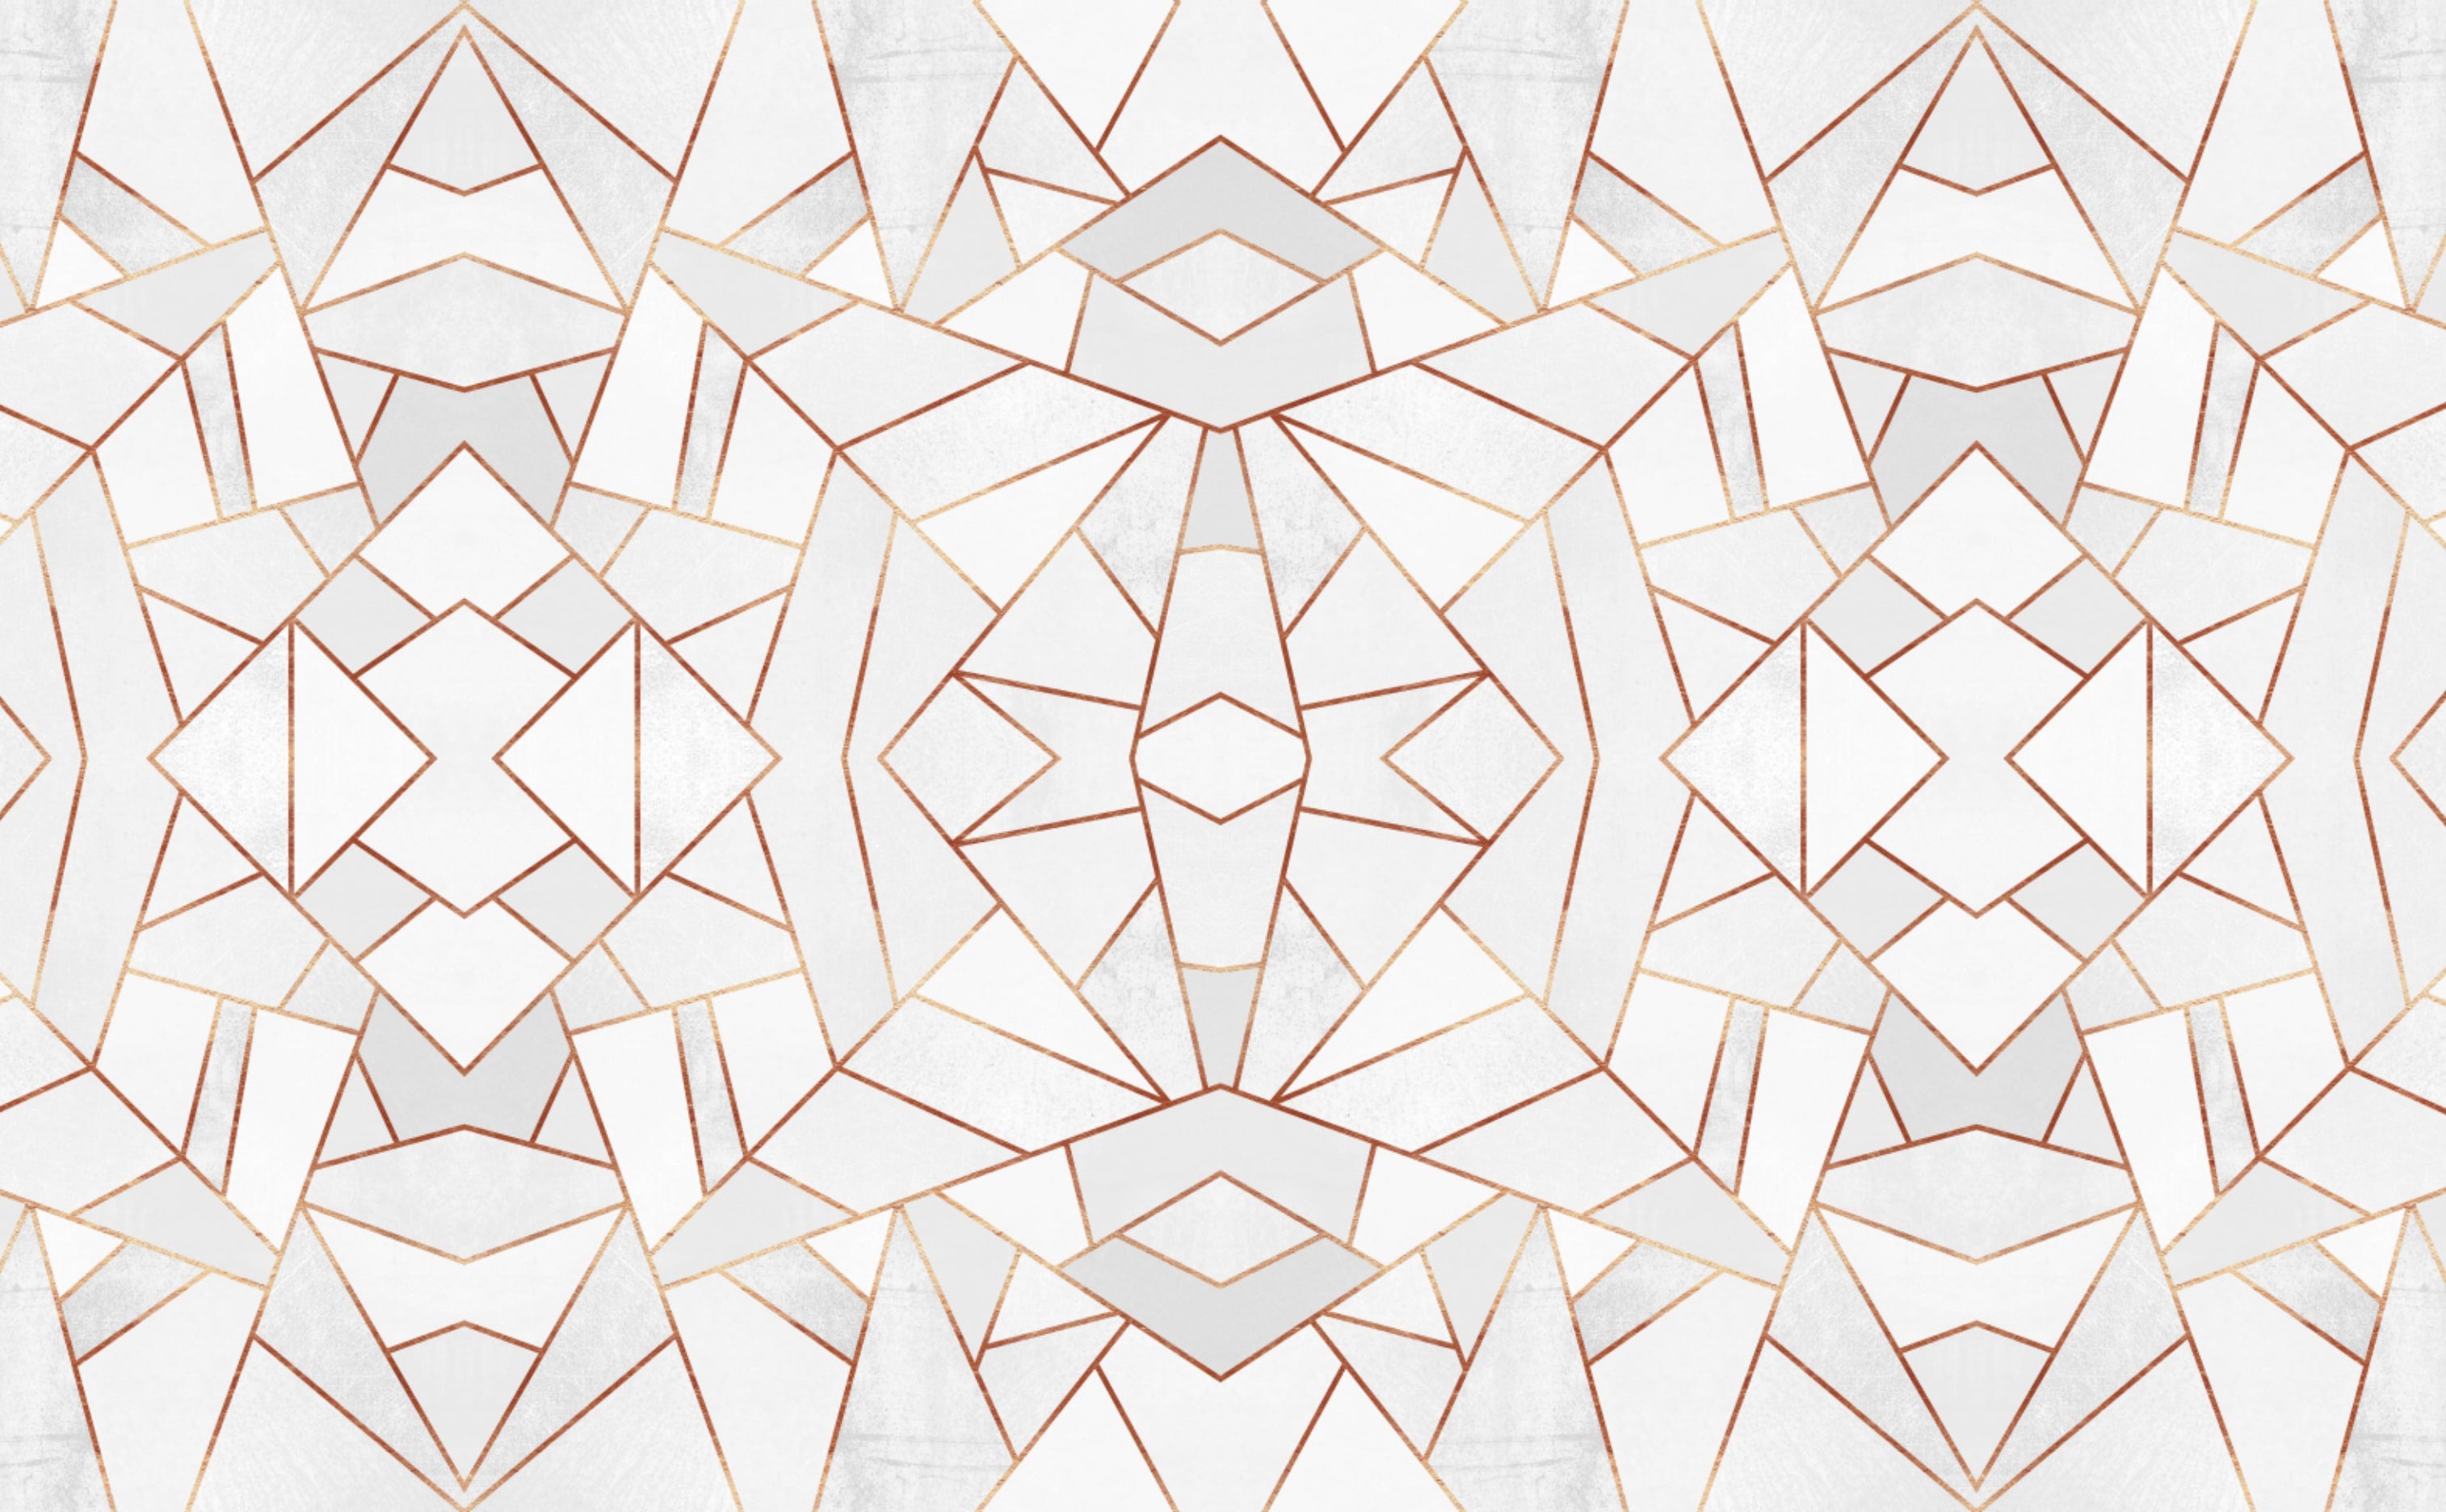
White Stone
Fractal Stone Pattern Wallpaper
White Stone
Fractal Stone Pattern Wallpaper
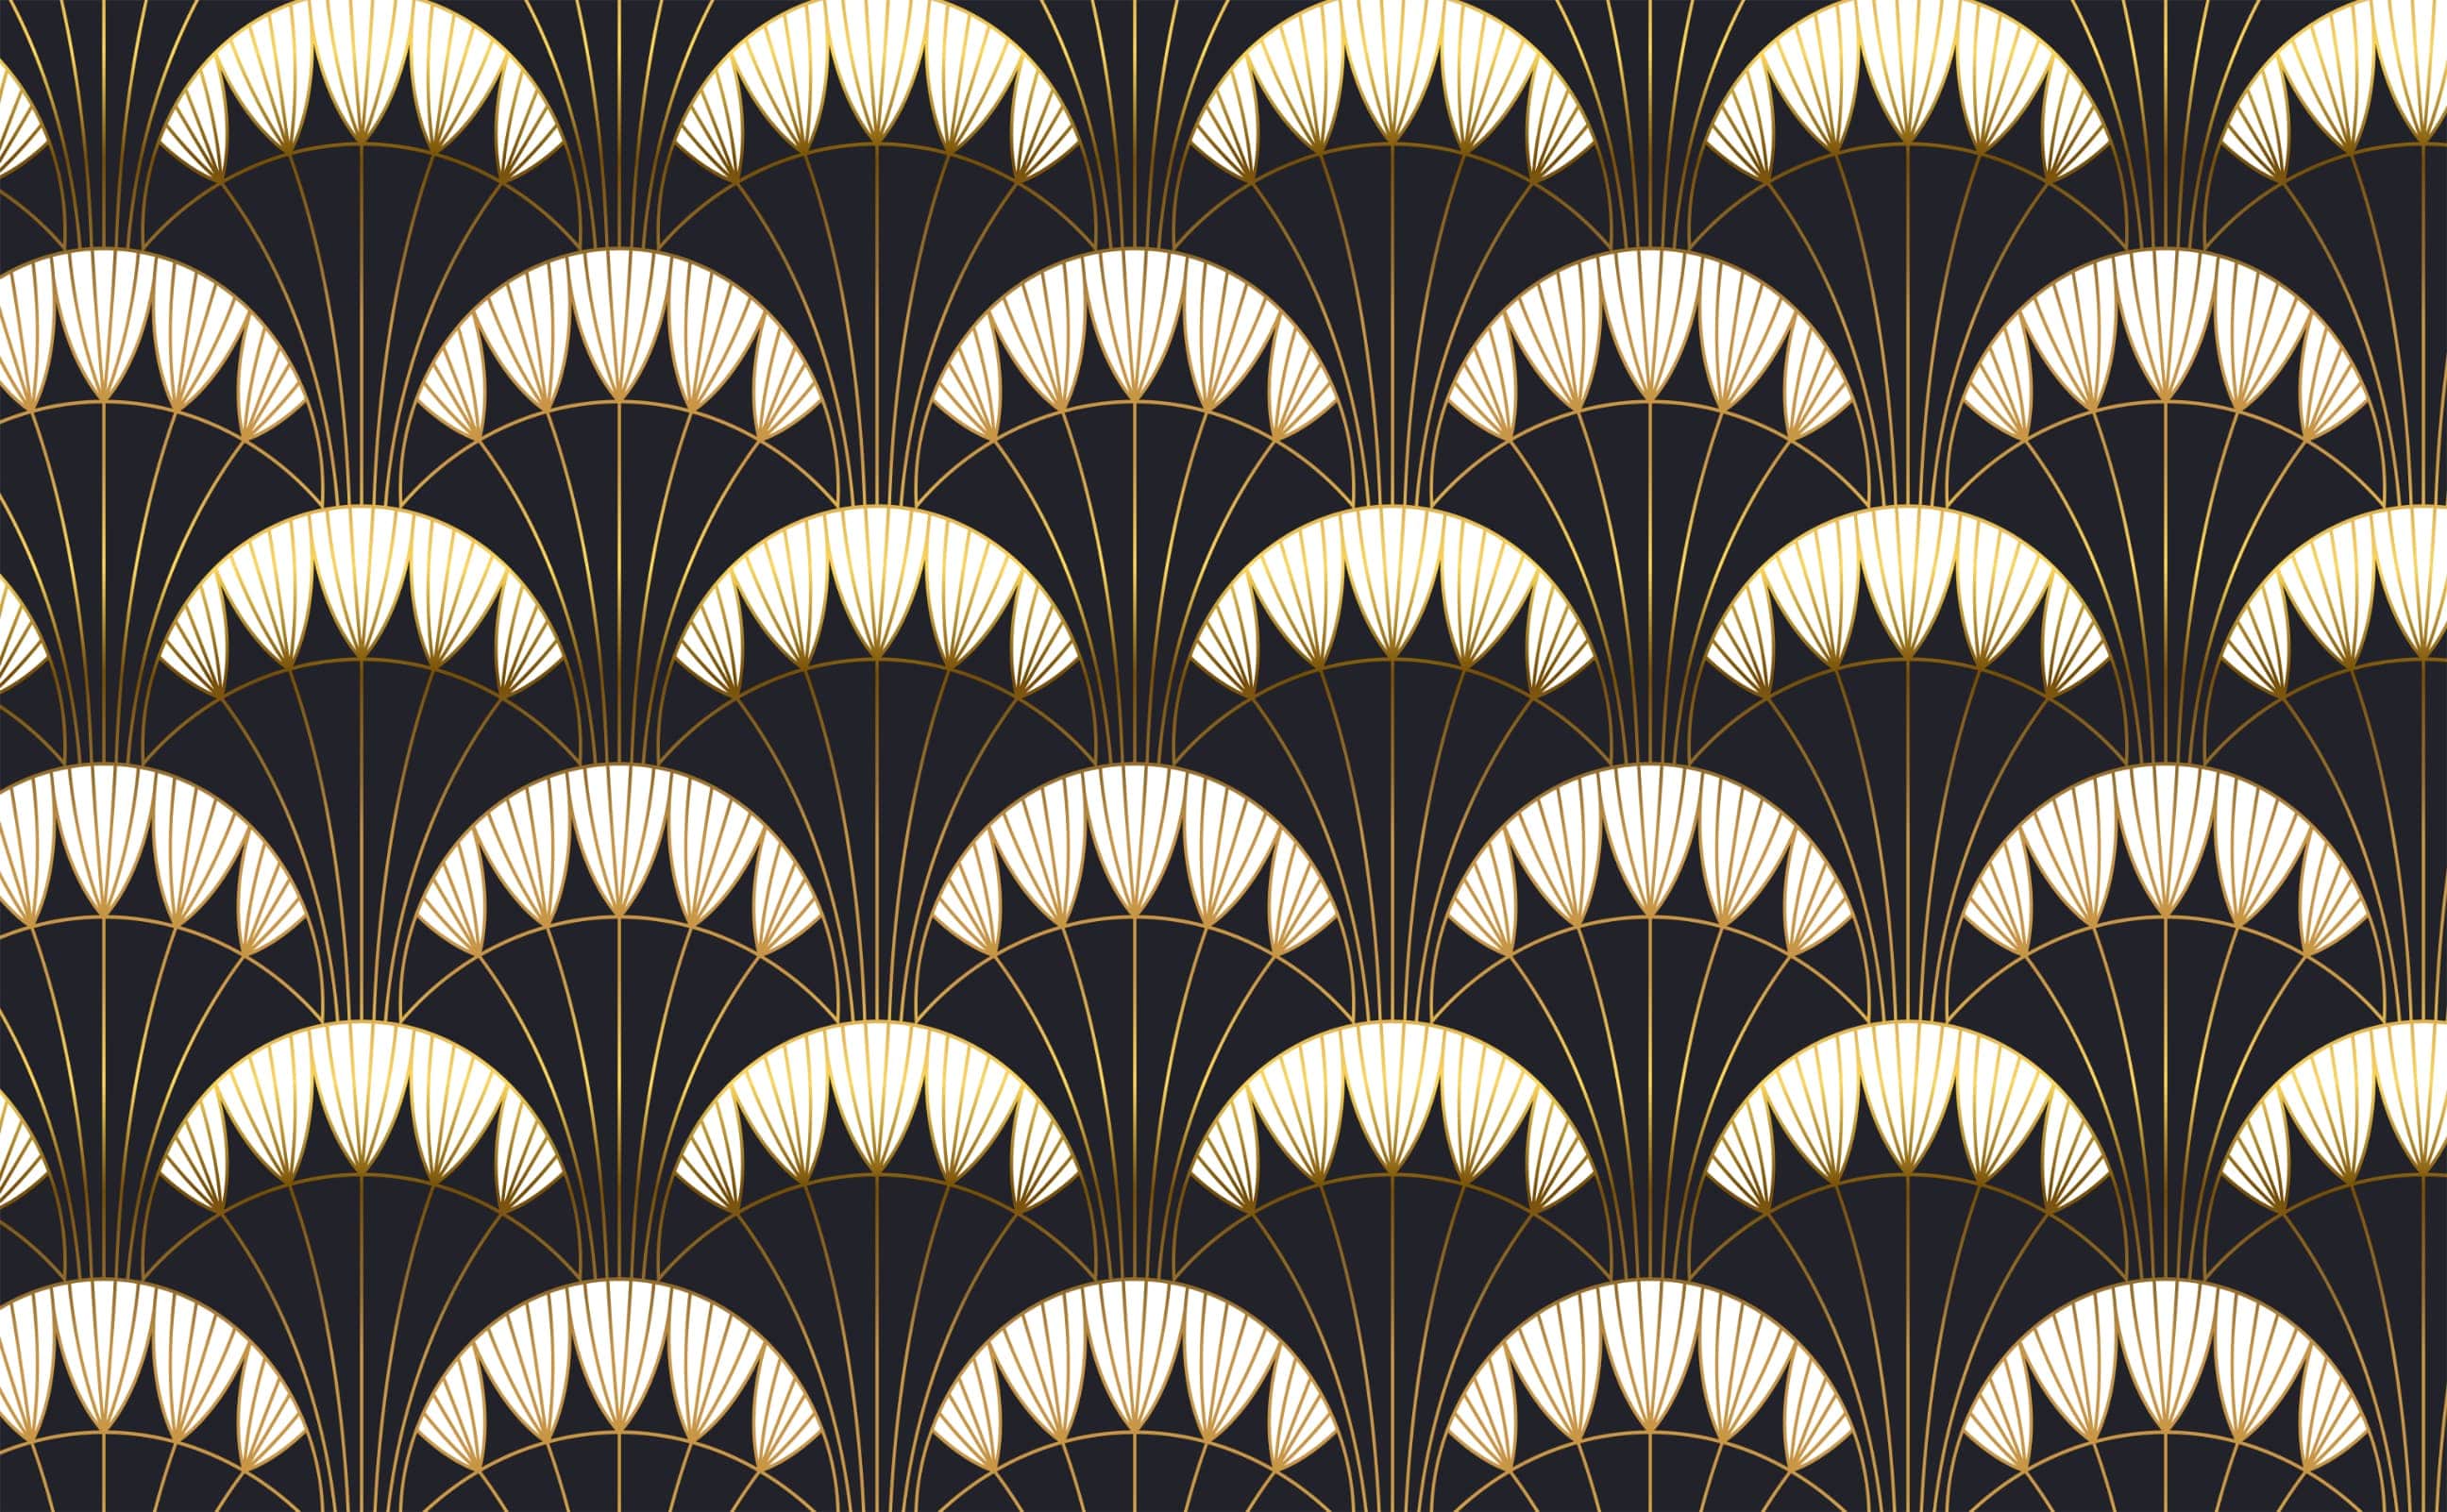
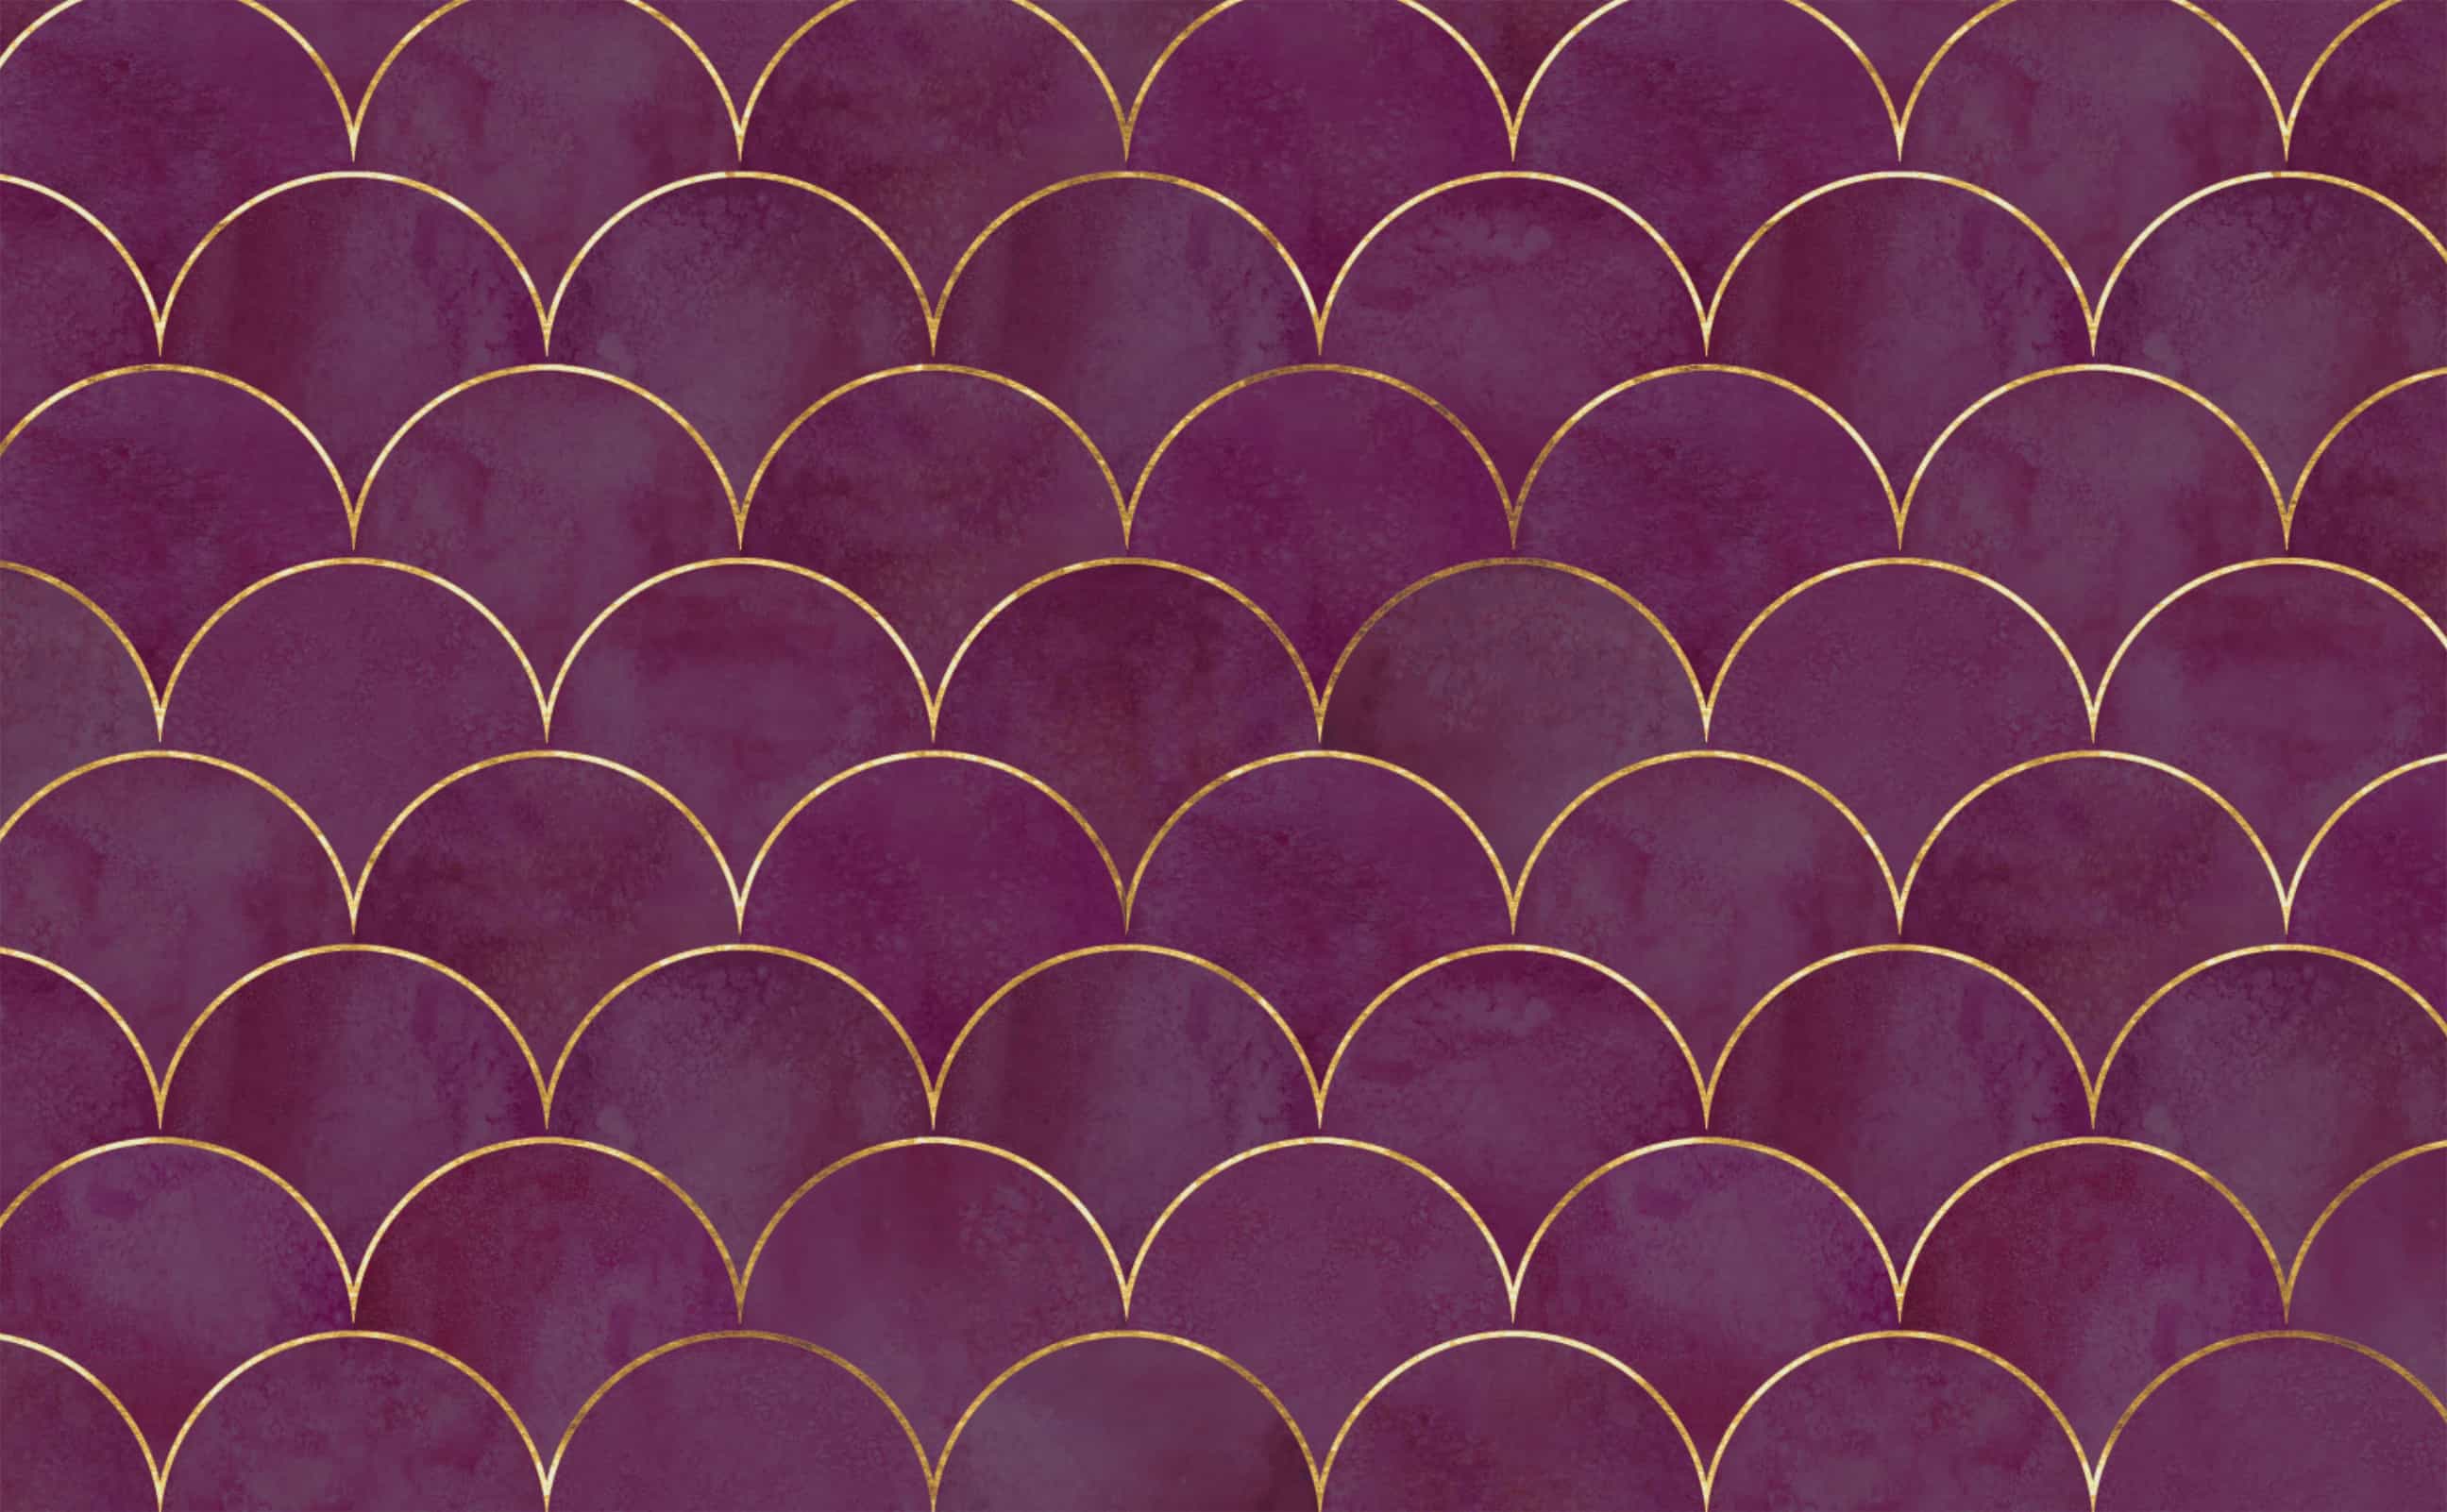
Calypso
Luxury burgundy art deco gold semi-circle Pattern Wallpaper
Calypso
Luxury burgundy art deco gold semi-circle Pattern Wallpaper
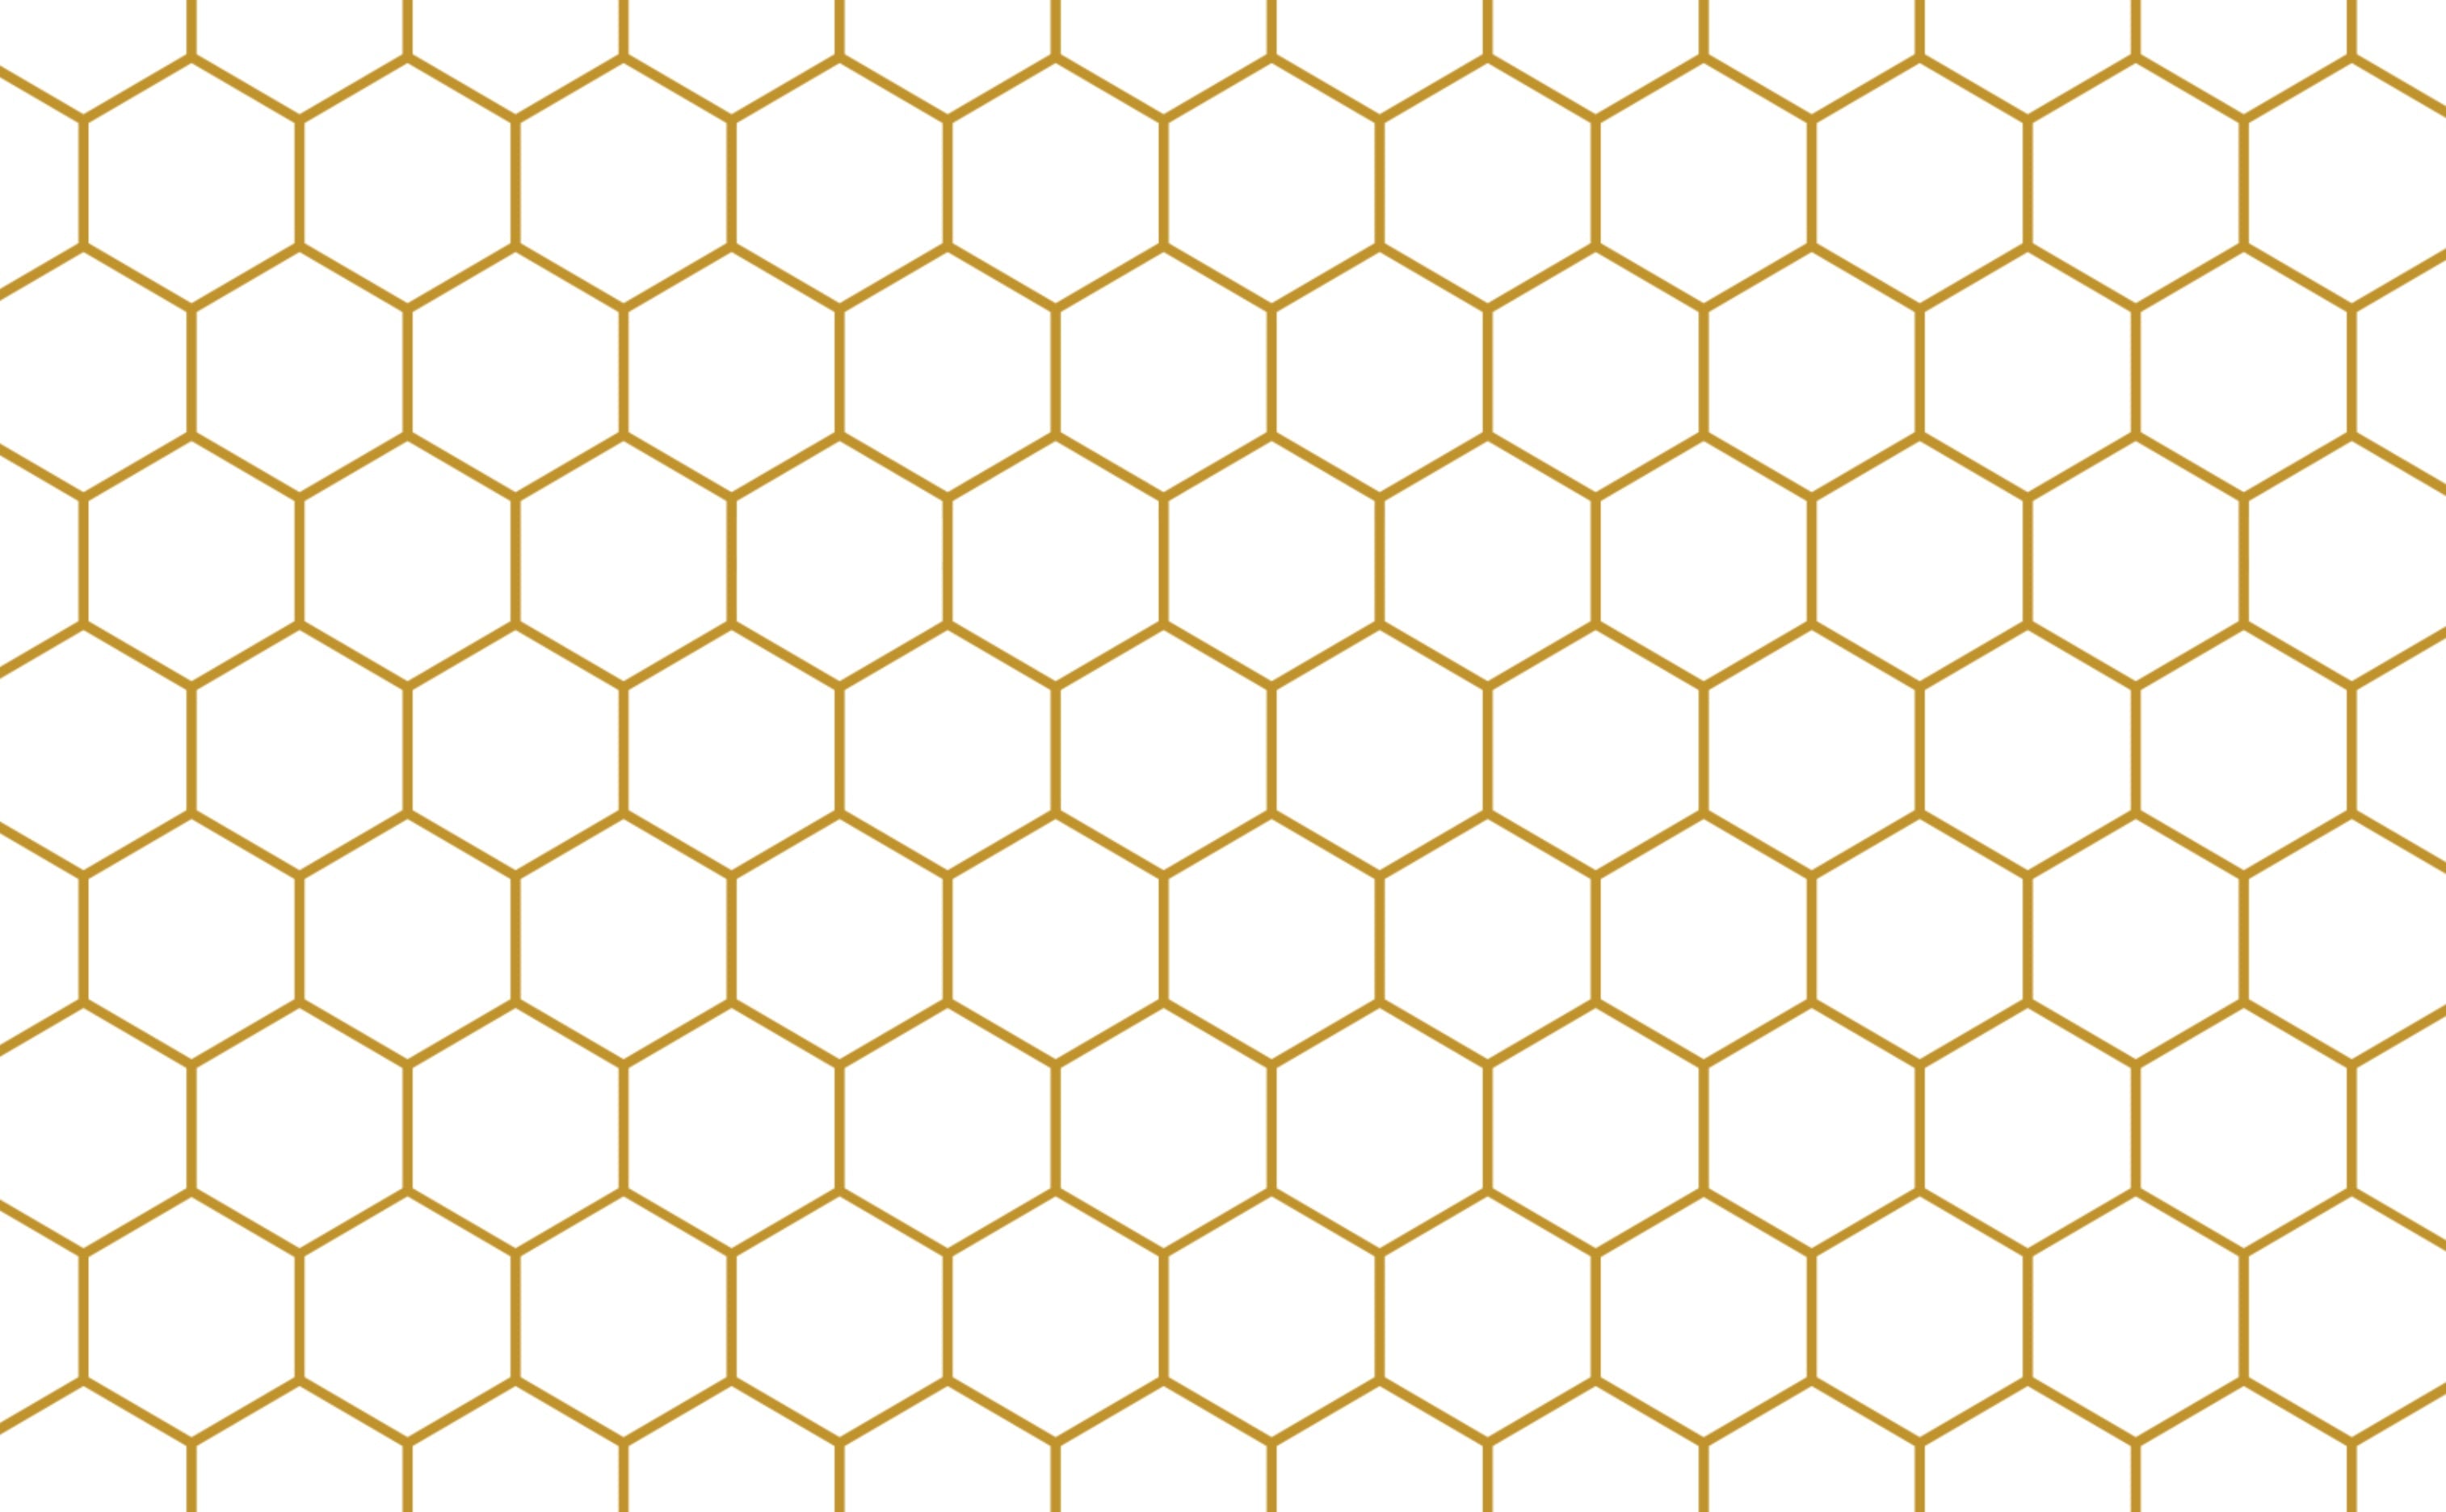
F. Scott Fitzgerald
Art Deco Hexagonal Pattern Wallpaper
F. Scott Fitzgerald
Art Deco Hexagonal Pattern Wallpaper
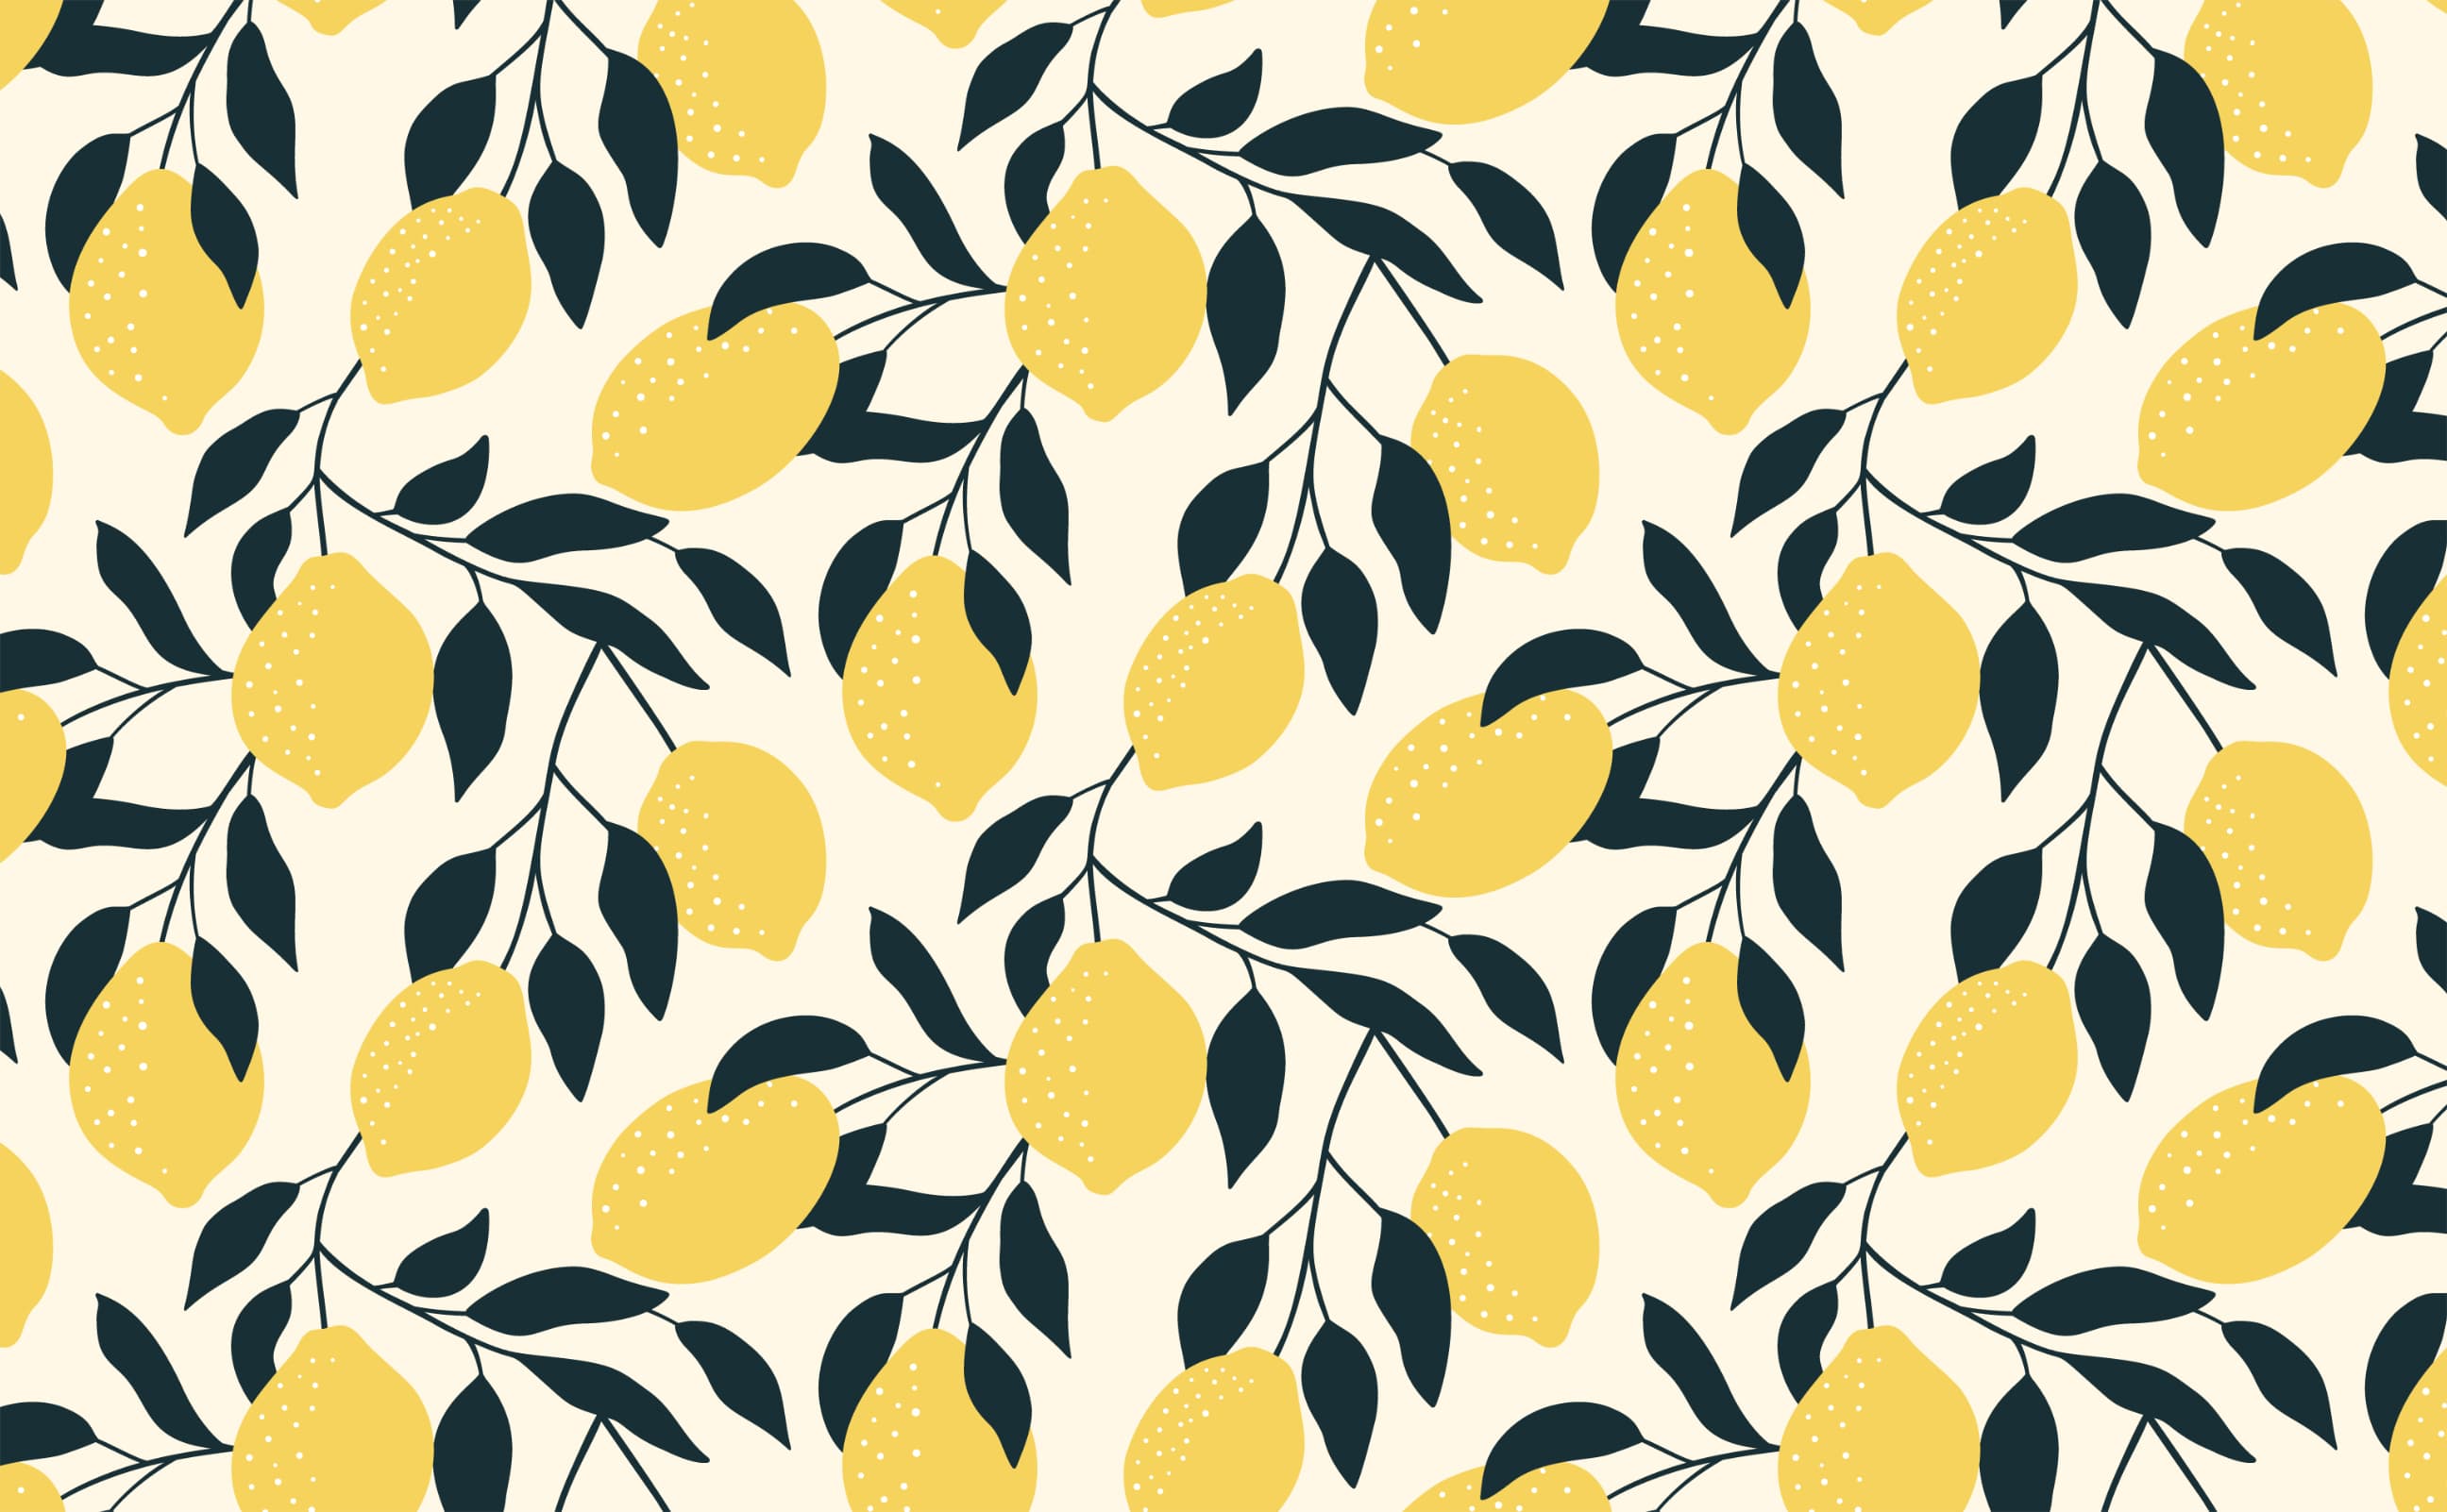
Lemony Fresh
Bright contrasting lemons and leaves Pattern Wallpaper
Lemony Fresh
Bright contrasting lemons and leaves Pattern Wallpaper
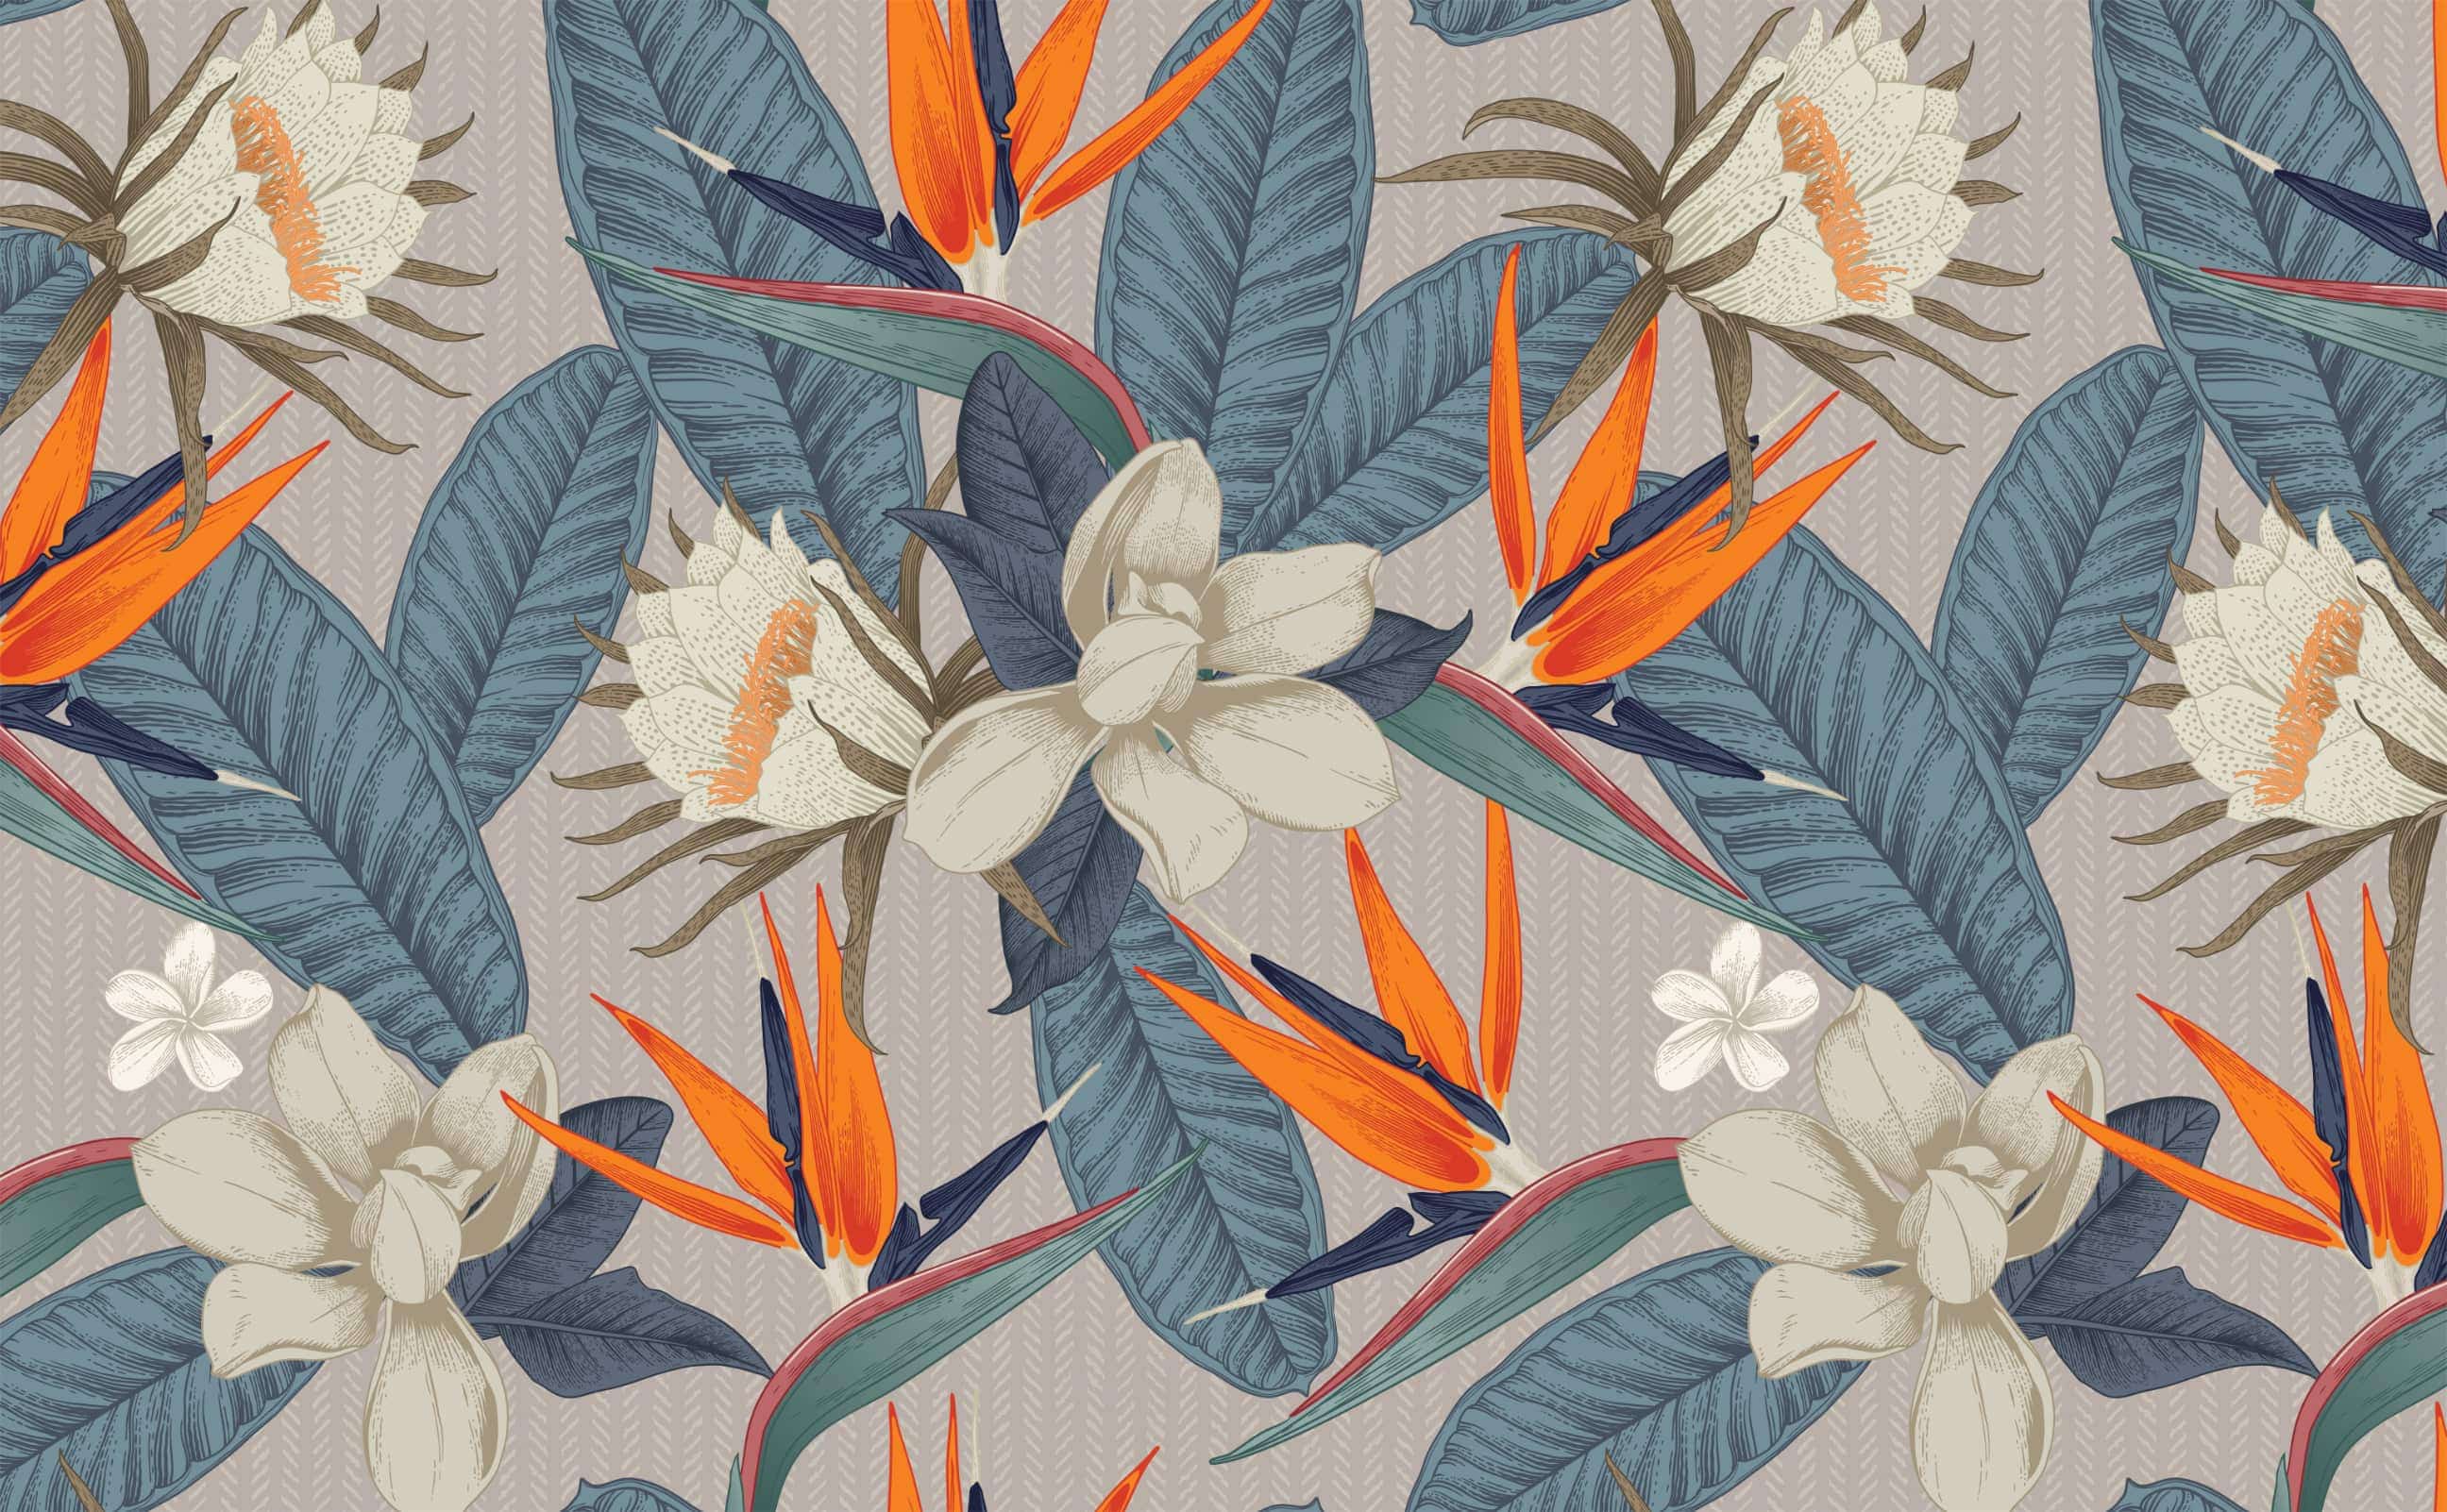
Blooms of Paradise
Tropical floral garden bird of paradise Pattern Wallpaper
Blooms of Paradise
Tropical floral garden bird of paradise Pattern Wallpaper
Blooms of Paradise
Tropical floral garden bird of paradise Pattern Wallpaper
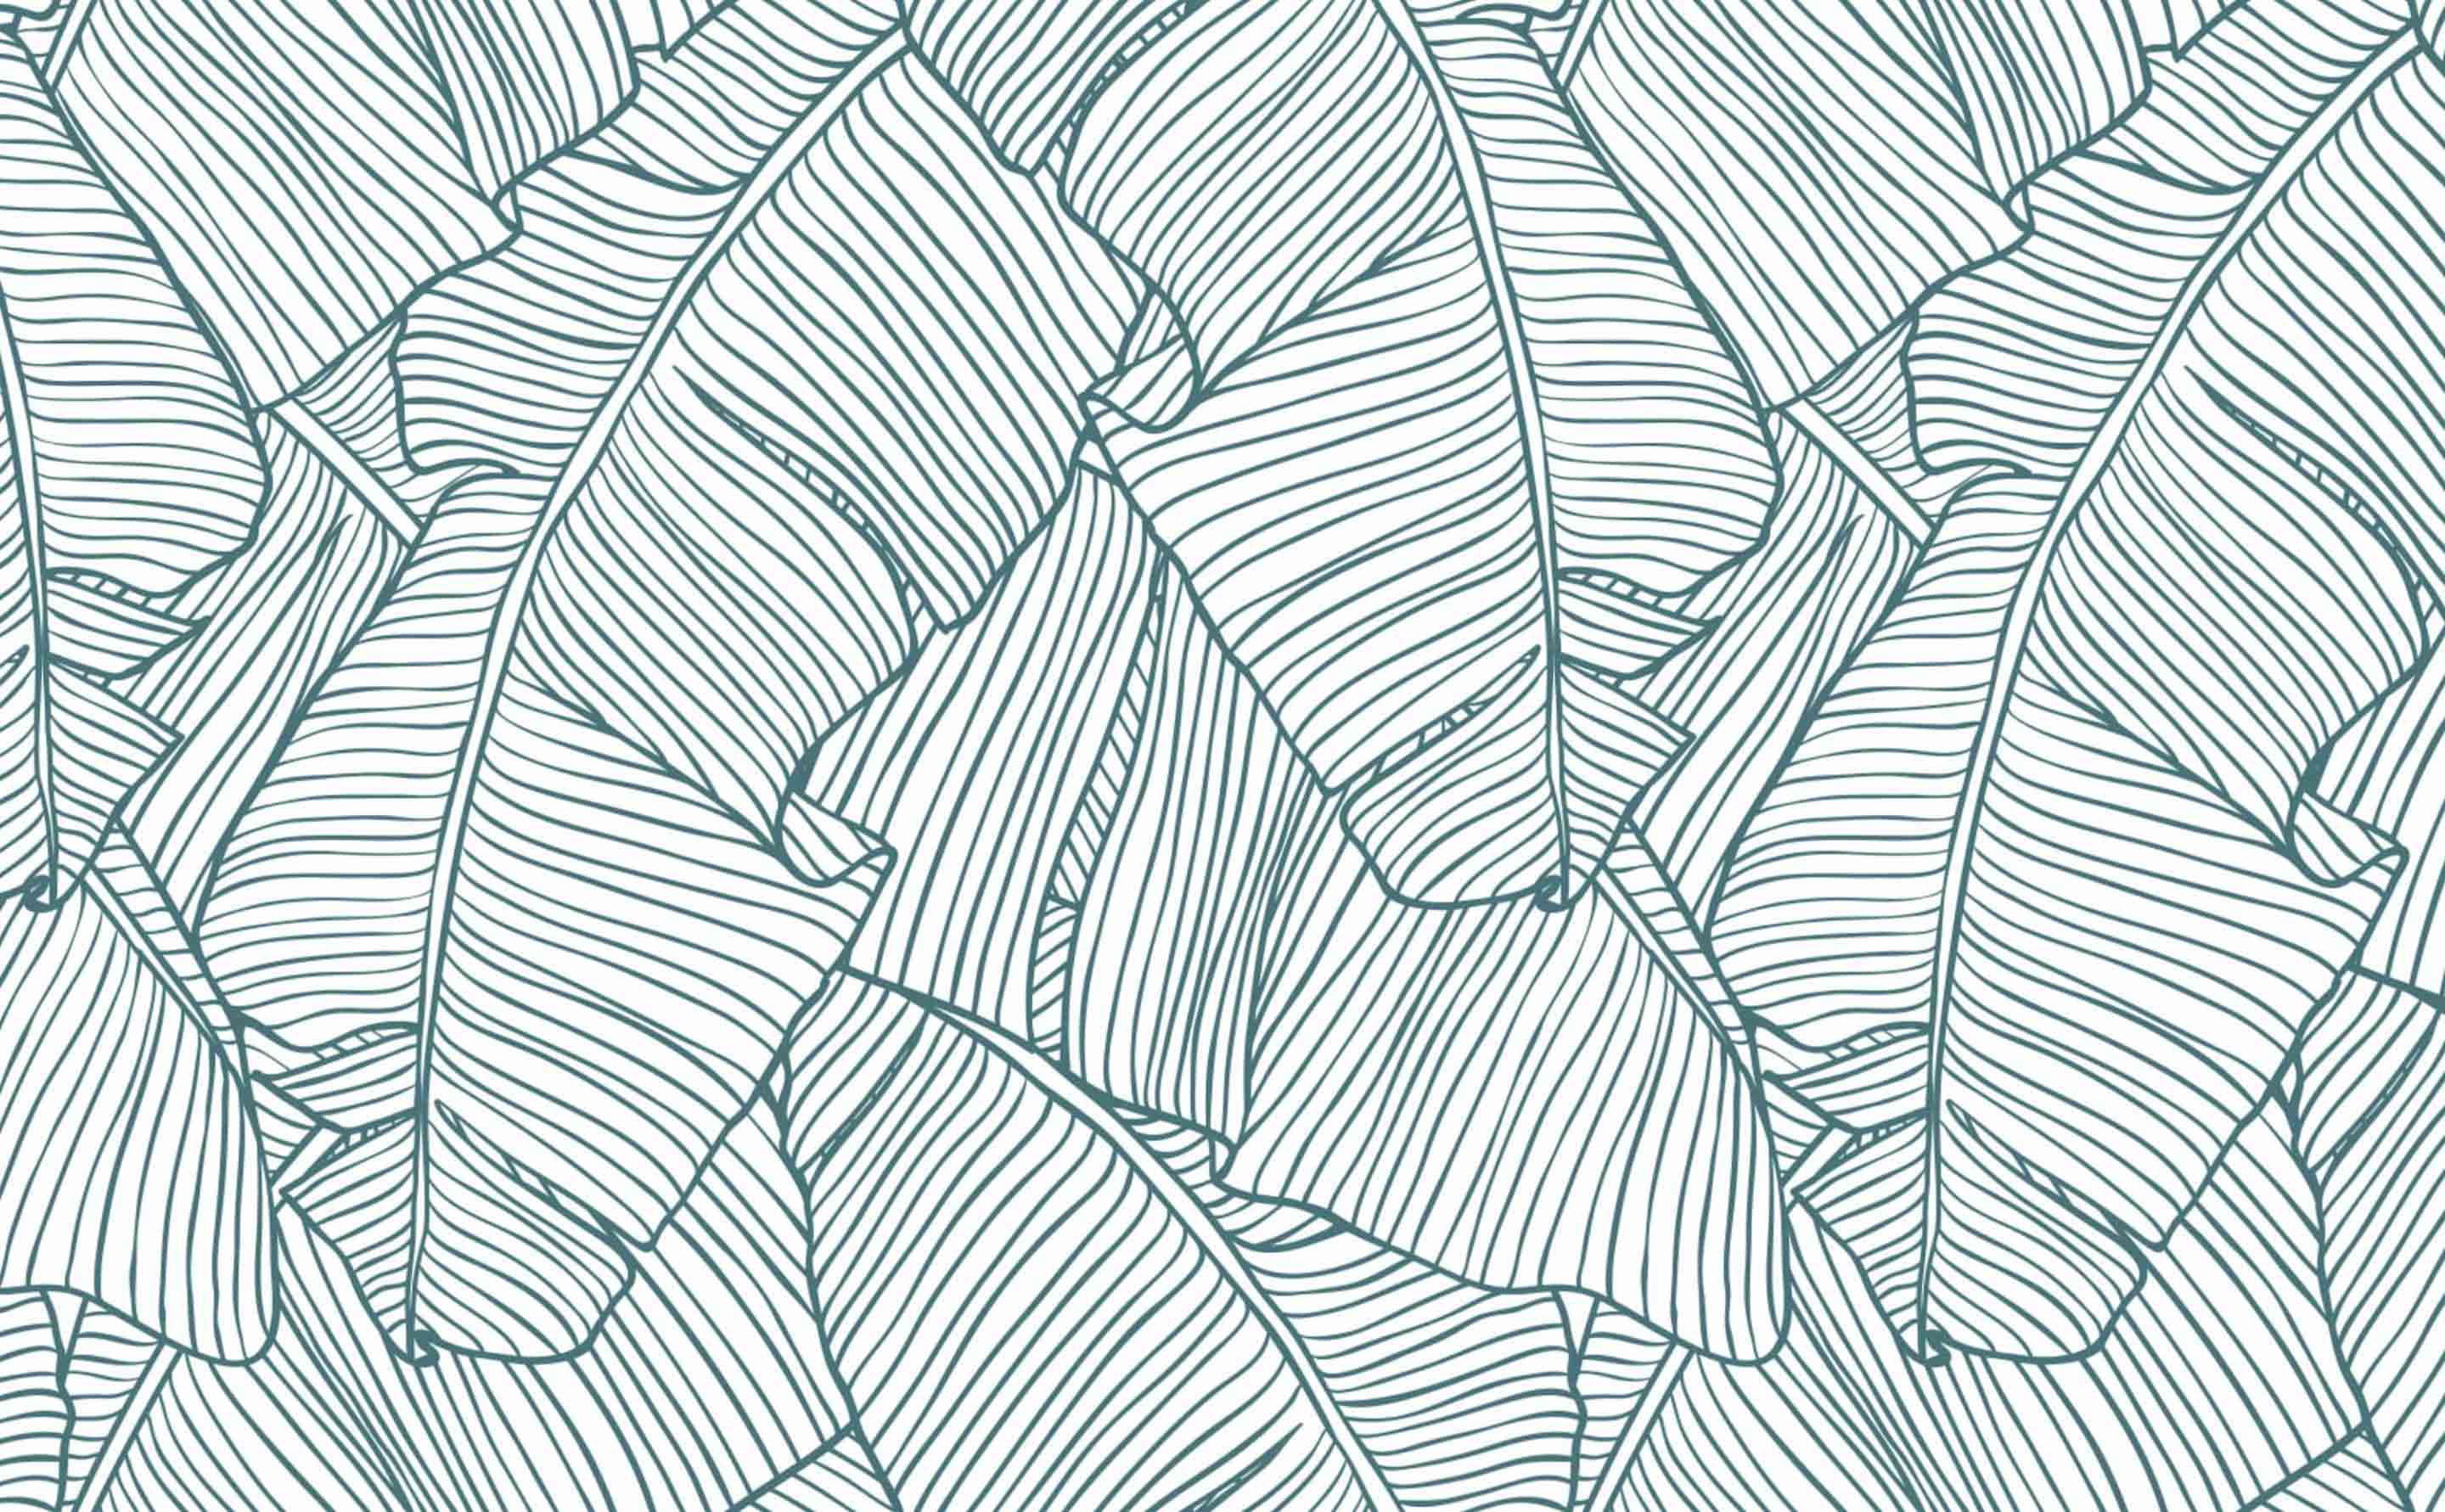
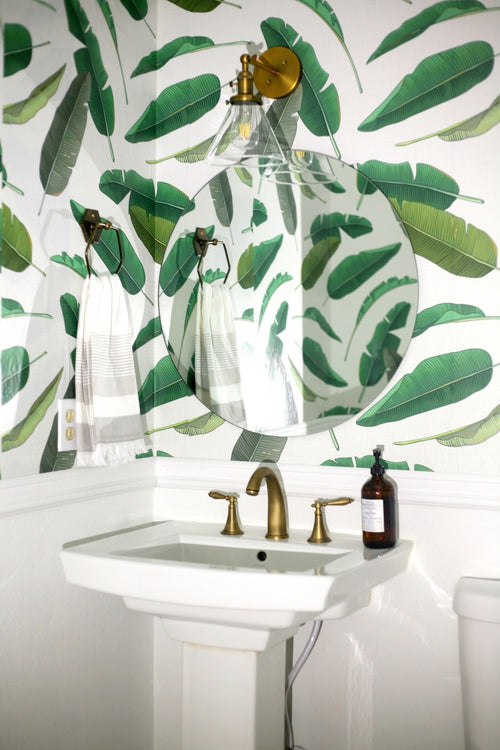
The Palms in White
Palm Leaves Tropical Wallpaper
The Palms in White
Palm Leaves Tropical Wallpaper
The Palms in White
Palm Leaves Tropical Wallpaper
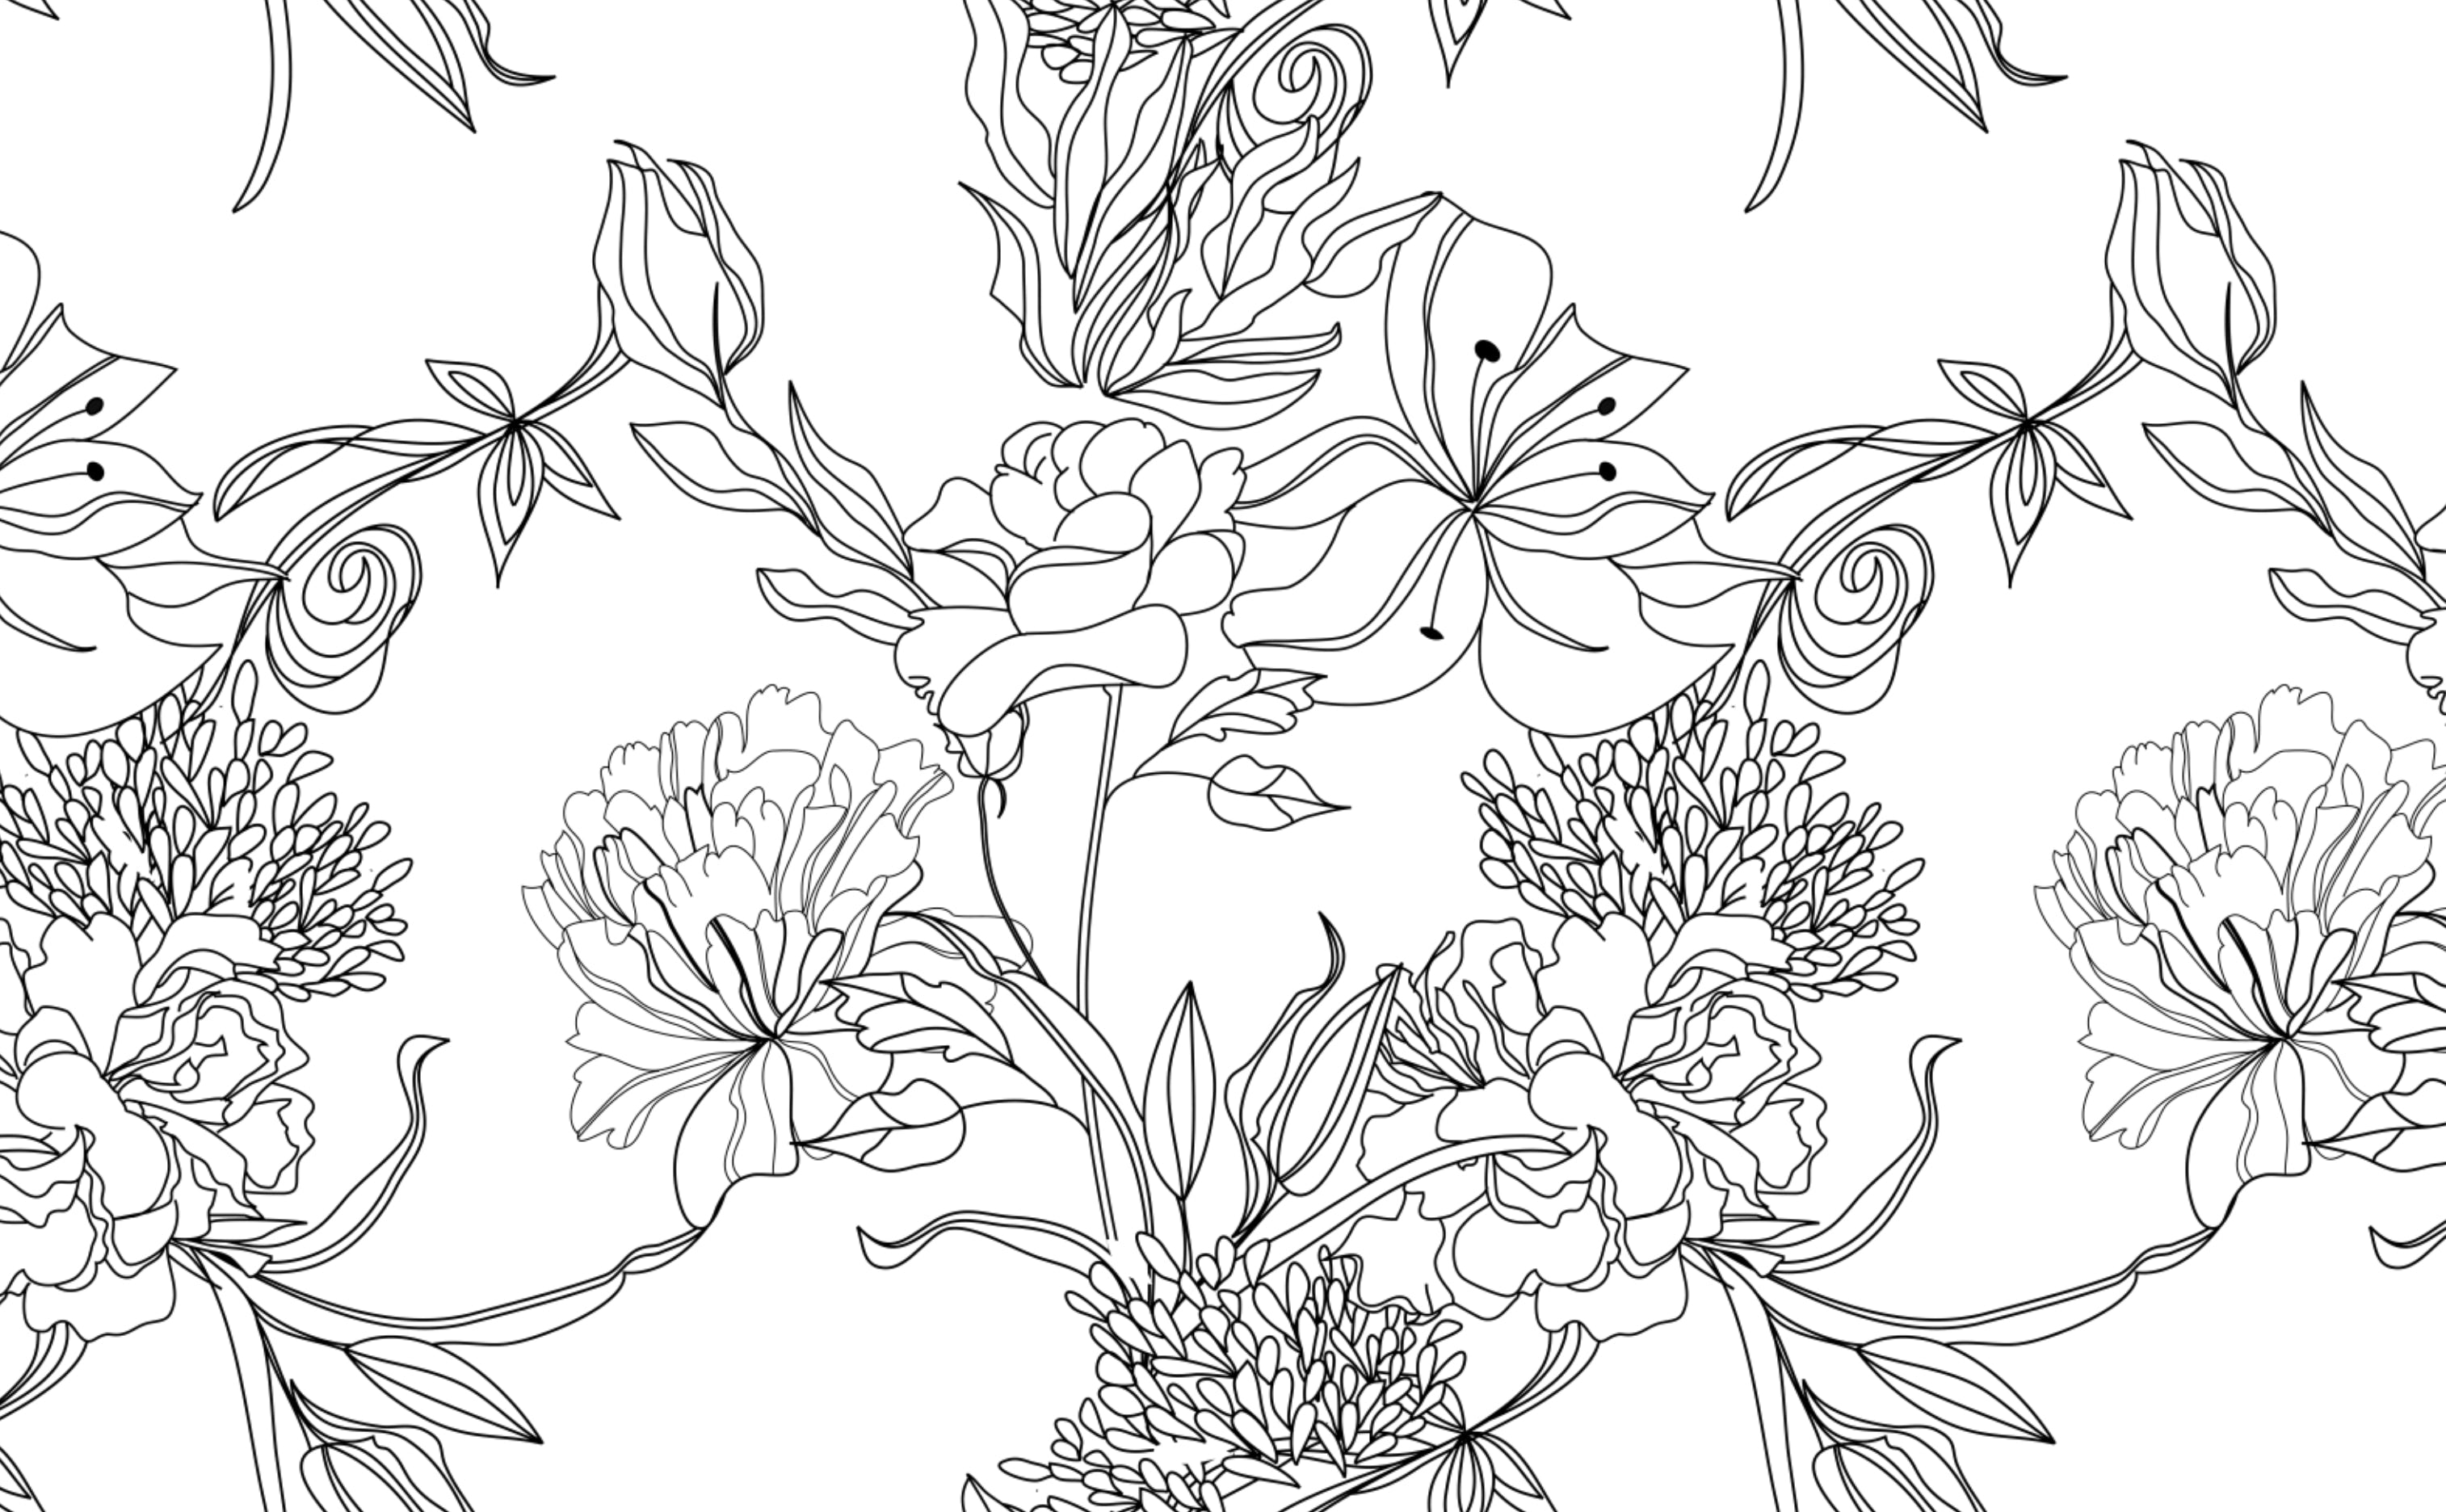
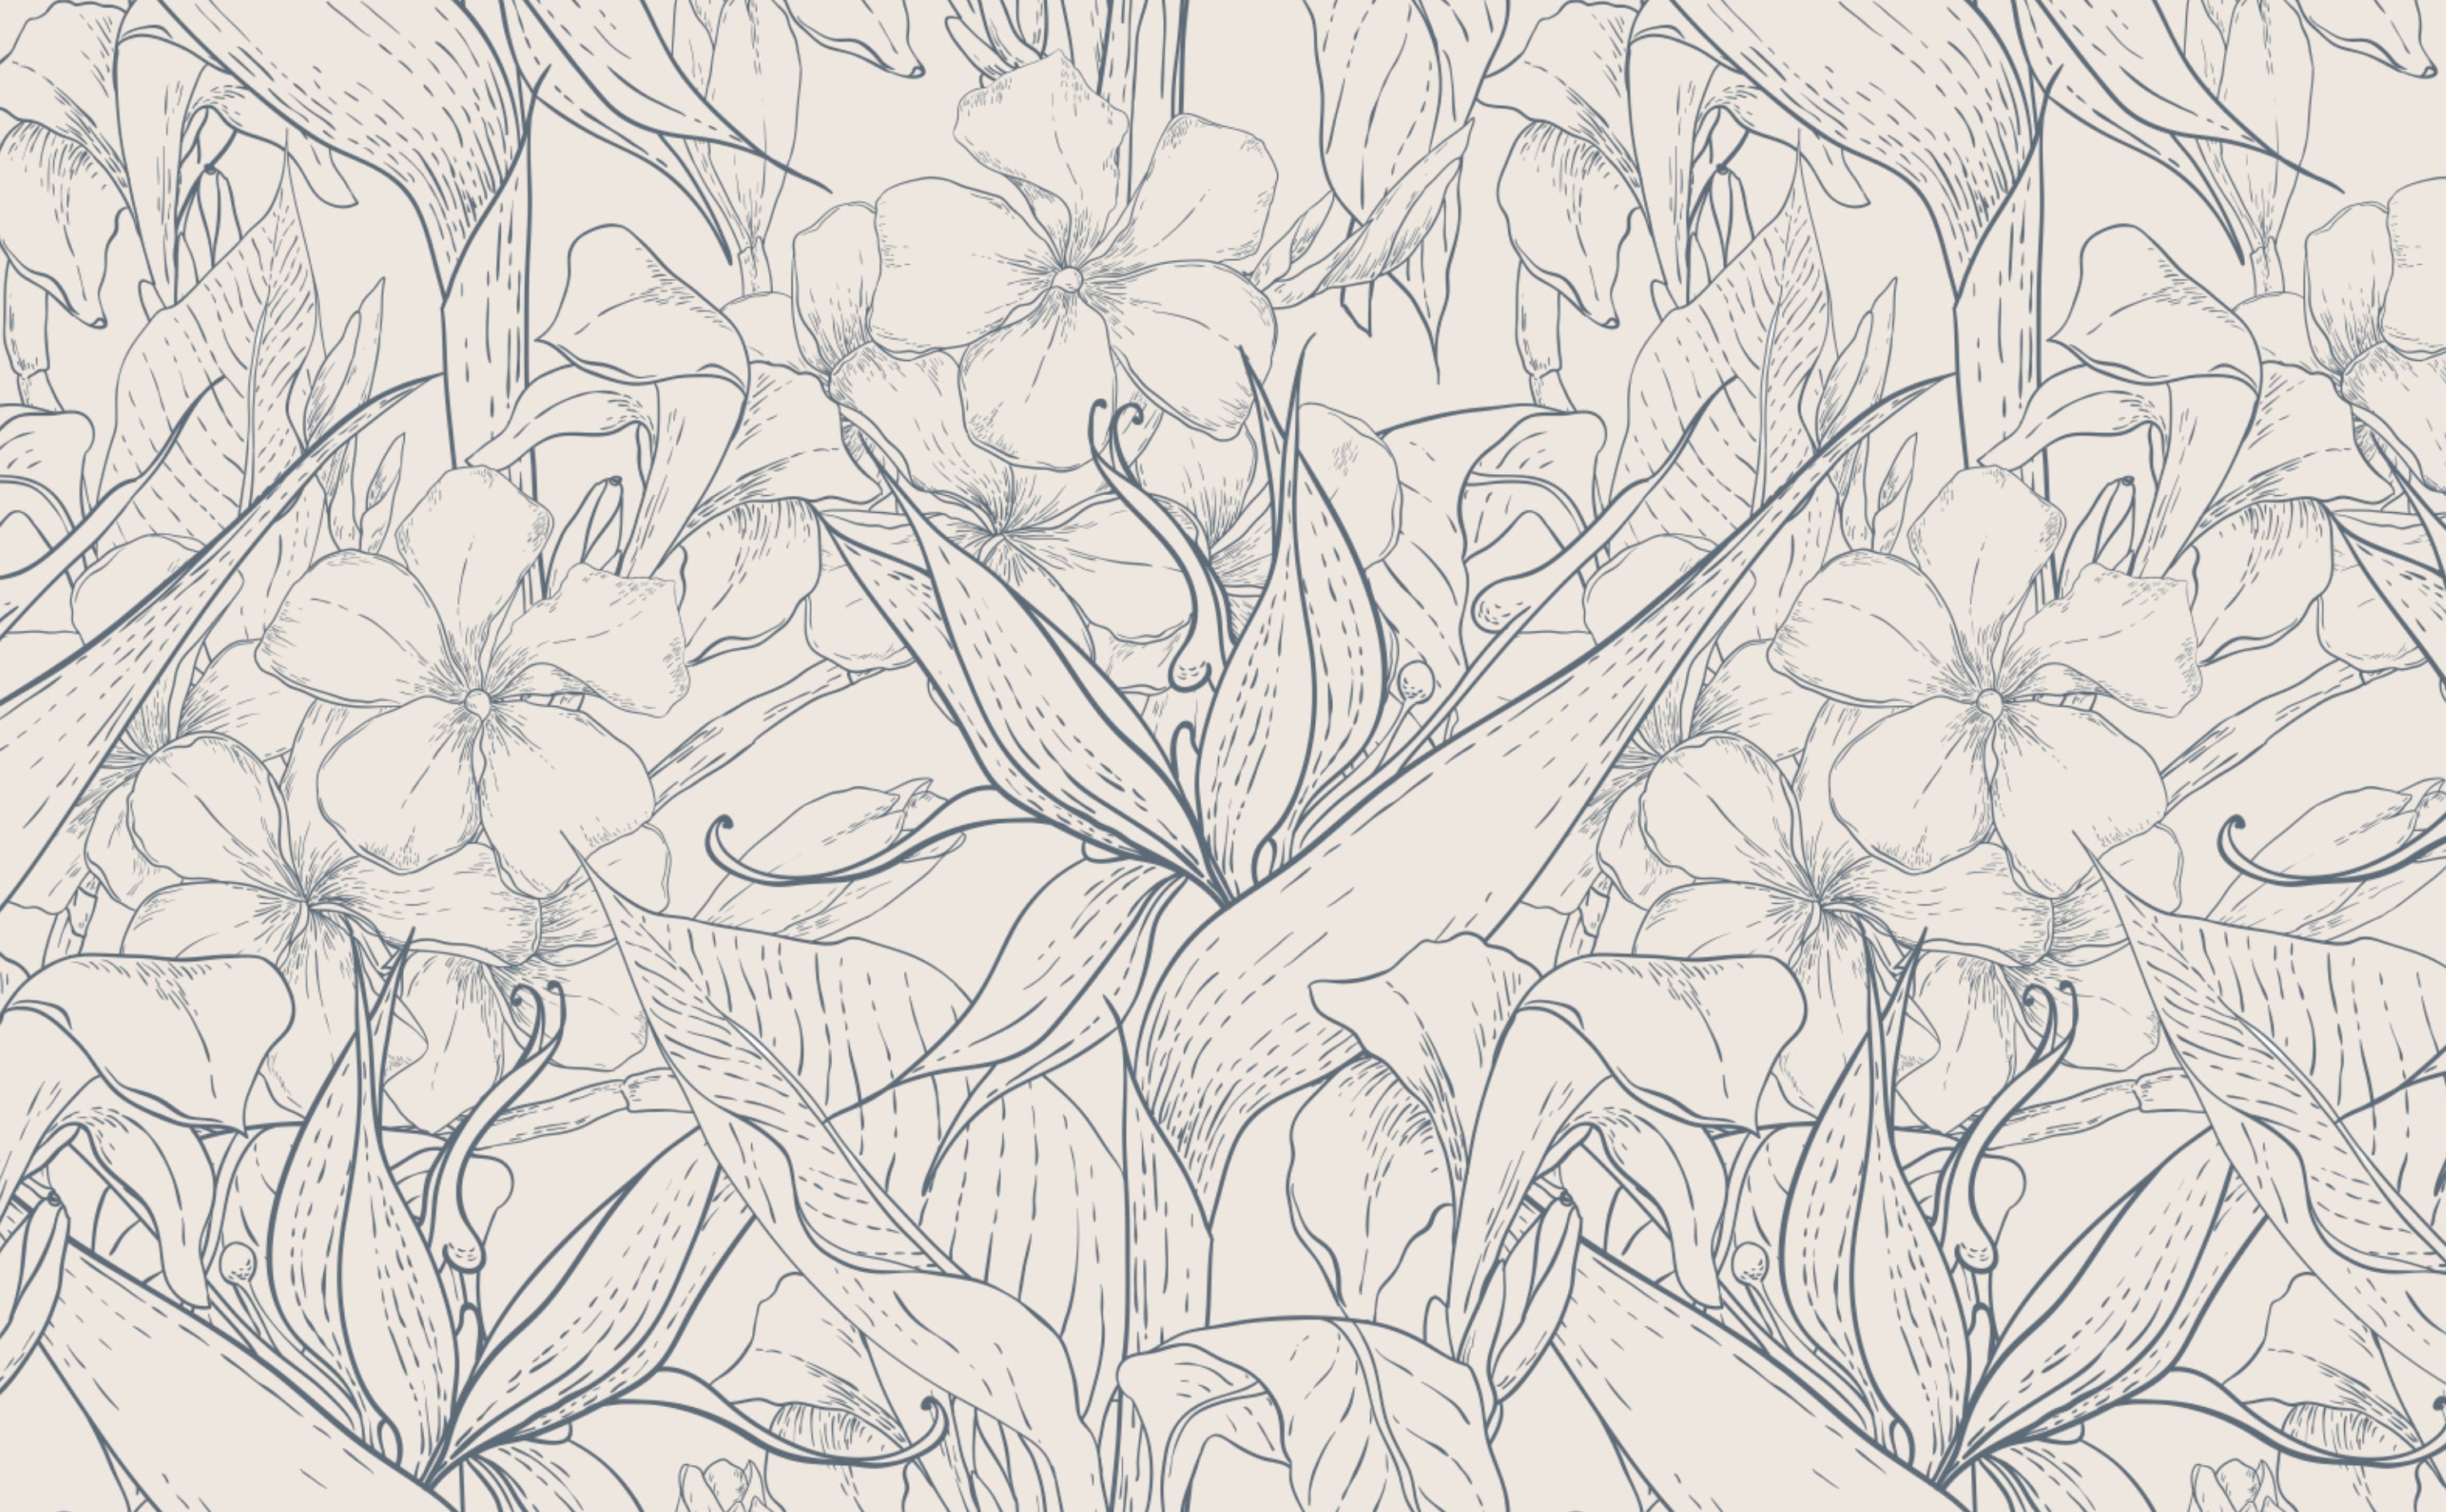
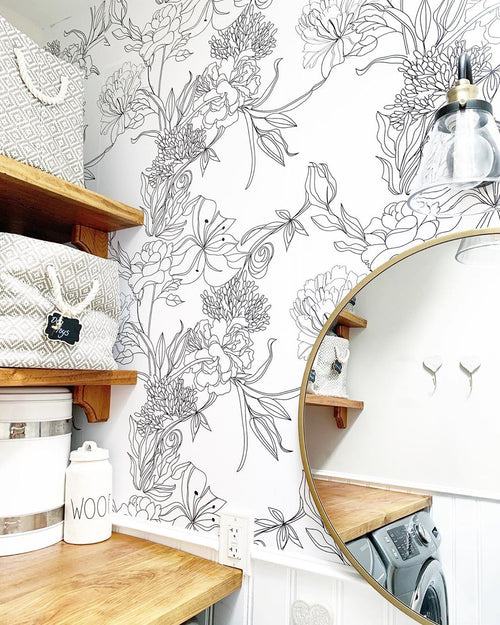
Sketch Floral
Black and White Floral Pattern Wallpaper
Sketch Floral
Black and White Floral Pattern Wallpaper
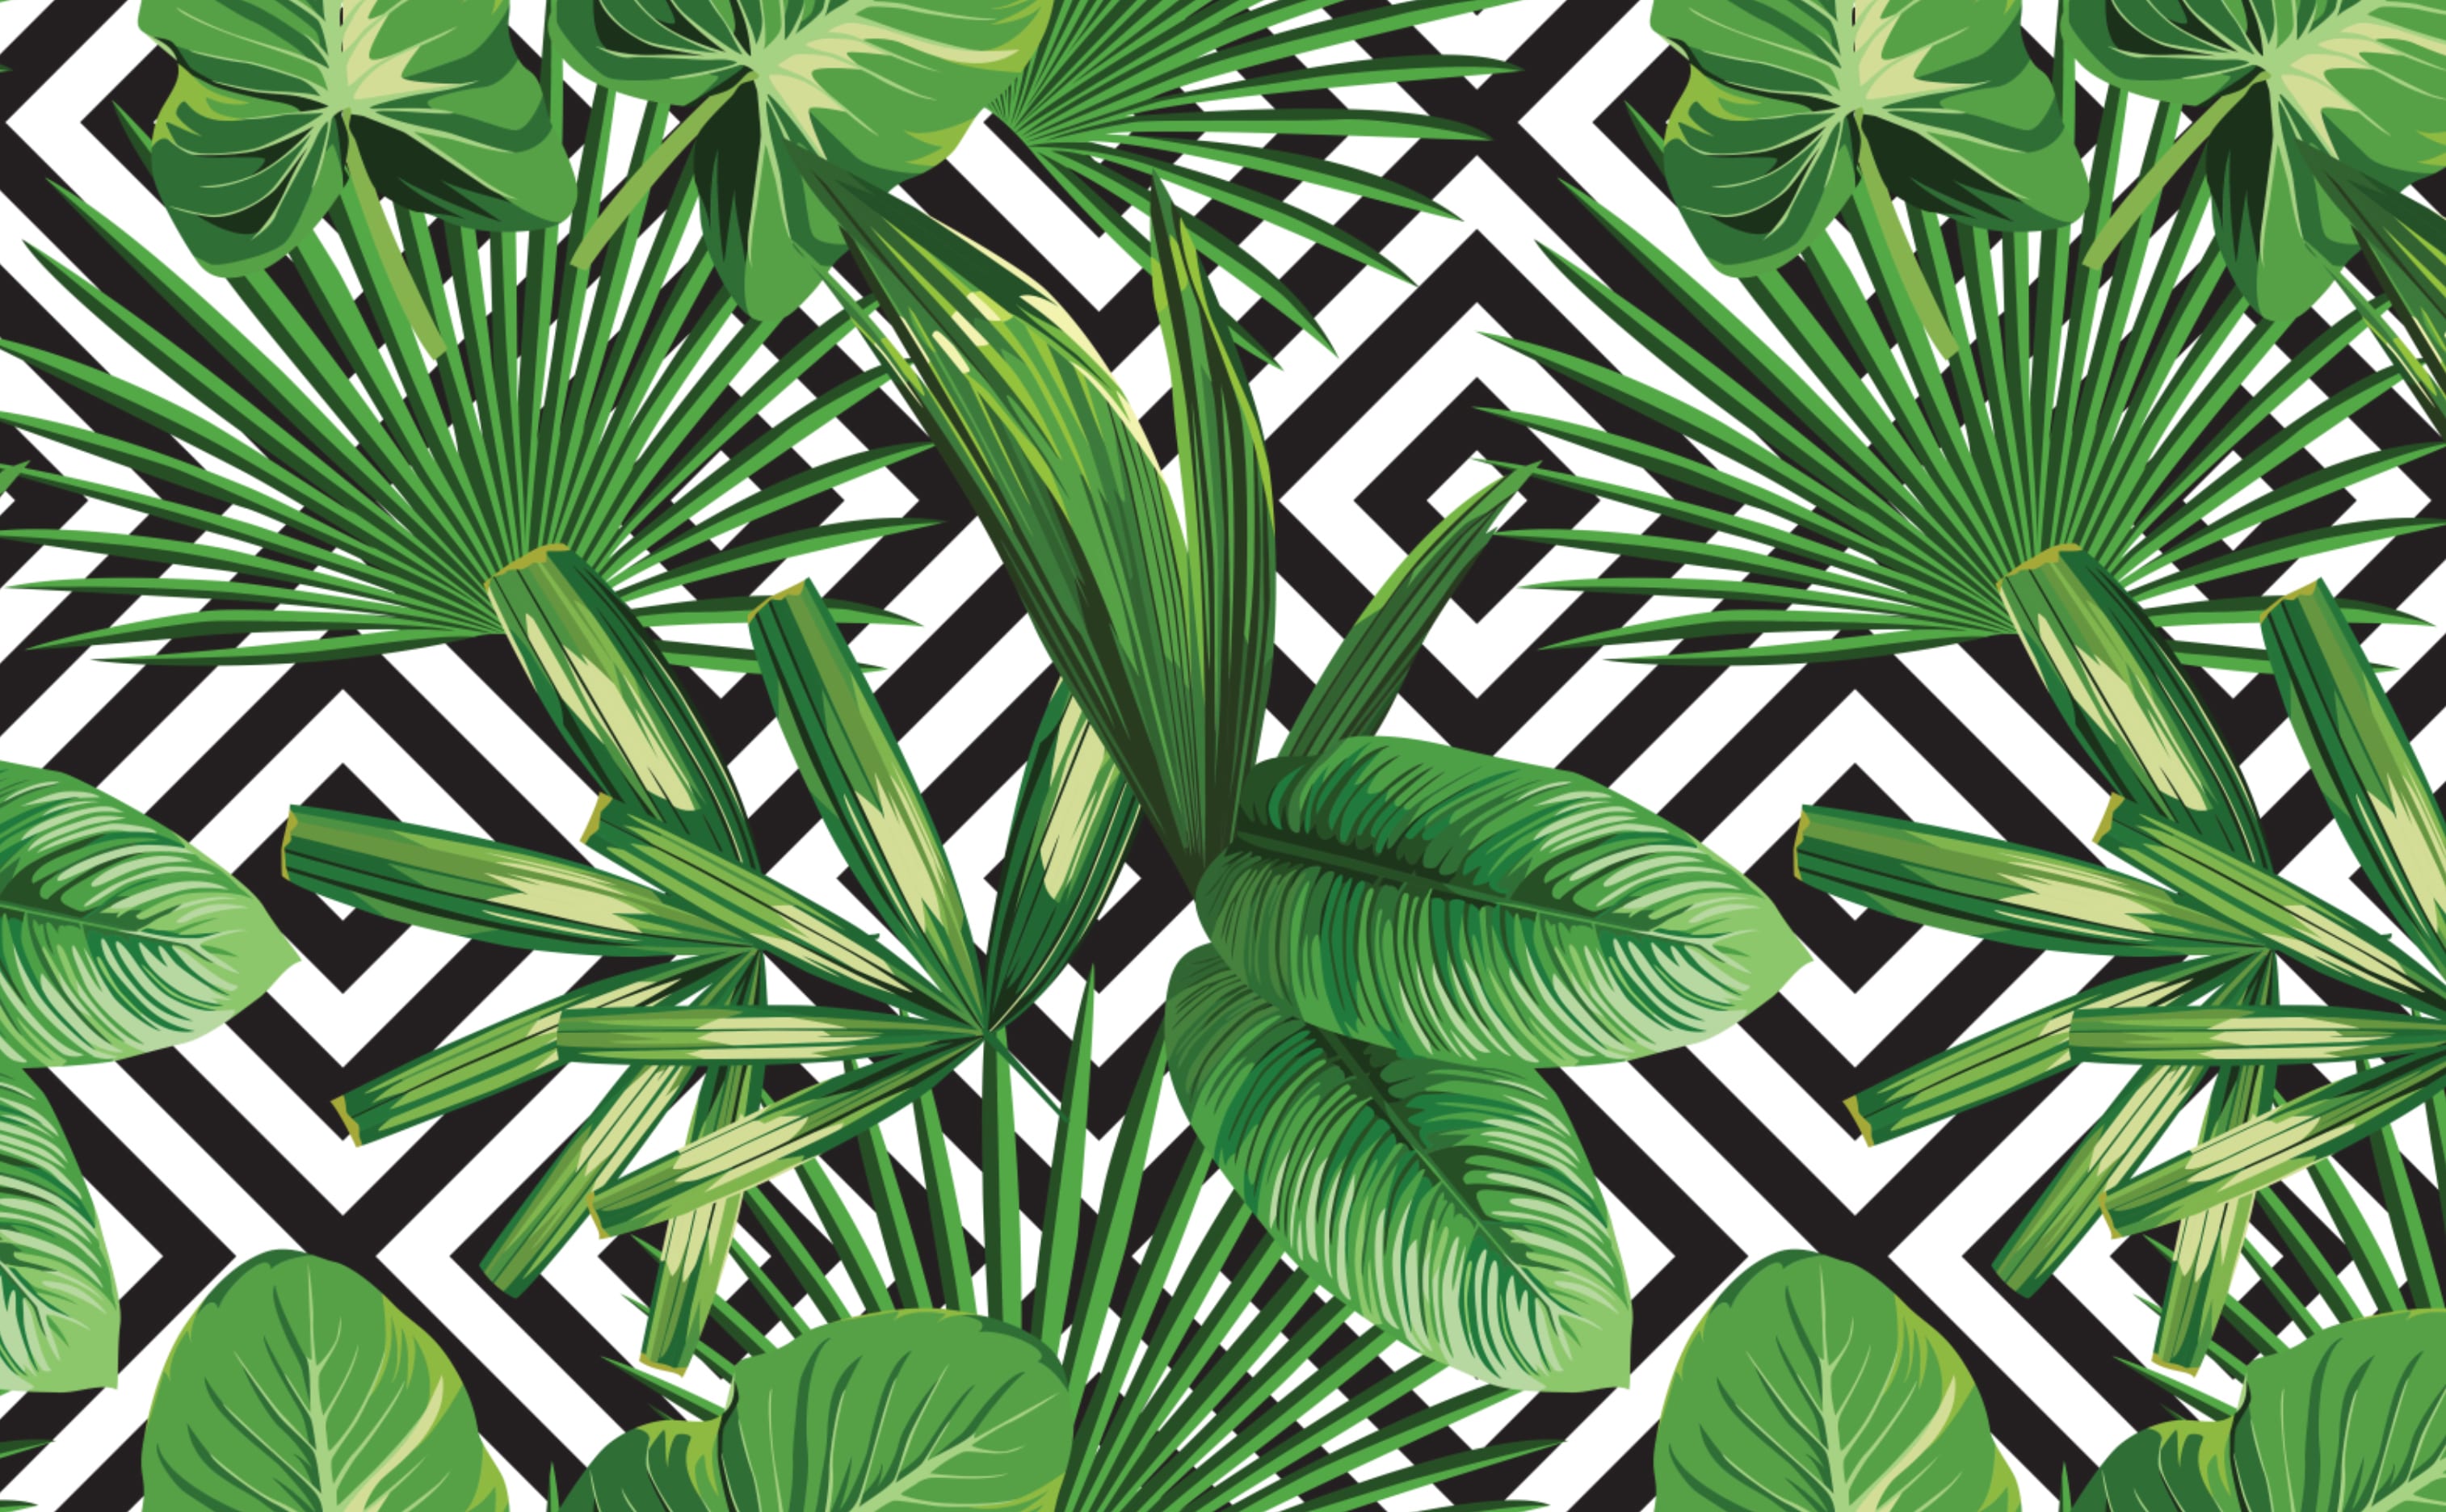
Palms Over Diamonds
Palm Leaves Tropical Wallpaper
Palms Over Diamonds
Palm Leaves Tropical Wallpaper
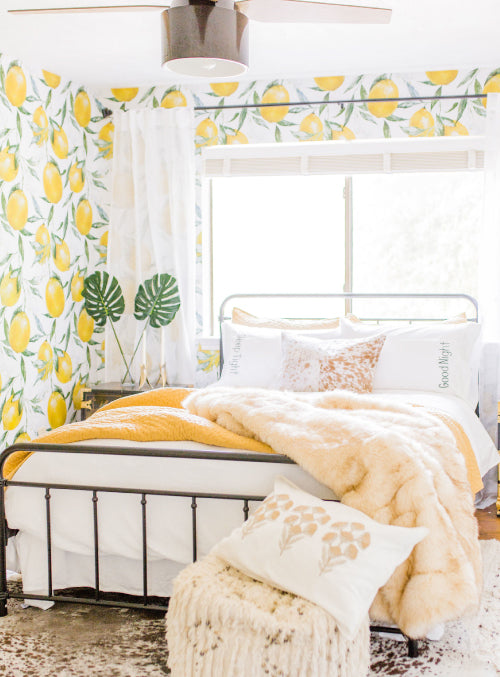
Life of Lemons
Lemons and Leaves Wallpaper
Life of Lemons
Lemons and Leaves Wallpaper
Ida
Flowers & Large Leaves Illustration Wallpaper
Ida
Flowers & Large Leaves Illustration Wallpaper
How it works
1
Pick Your Artwork
Start by exploring our library. Add your favorites to the wishlist. From there you can order samples or proceed to finalizing your wallpaper order.
Explore Top Collections
2
Specify Your Wall Size
Measure and enter your wall dimensions or customize your wallpaper panels to your project needs. Finally, choose your paper type before adding to cart.
Start Exploring Now
3
We Print & Deliver
We review, confirm, print and ship every wall-covering especially for you. You can apply it yourself or schedule an installer. That's what you call, Wallpaper. Done.
Get Started Exploring
Mountains & Peaks Wall Murals
Bathroom Wallpaper Collection
New Wallpaper and Wall Murals
Customer Reviews
Simply the Best!
I've used Walls Need Love for 5 of my clients projects. The quality is by far above the rest. I also love how they custom print and ship quickly. It really makes my job as an interior designer easier because wallpaper can be very frustrating to work into a project.
Beyond gorgeous.
I can't say enough wonderful things about this company. The wall paper is beyond gorgeous. I get so many compliments! The customer service is above and beyond. Don't hesitate, definitely 100% in my books. I tell everyone about them! Thank you for creating such an awesome product!
Definitely worth the money!
My new wallpaper is exactly what I thought it would be. It adds depth and charm to my room and is the perfect complement to my wall mounted fireplace. It was easy to install, I did it myself, but it would have been even easier if I had a helper. Definitely worth the money!
Great Customer Service & Fantastic Product
Great customer service, and fantastic product.
Highly recommend.
I had ordered my wallpaper and forgot the discount code, the representative was kind to acknowledge and retroactively provide the discount.
Creative and Fun to use.
This is a great company! I absolutely love their great designs. The wall art is creative and fun to use, and looks great when it's up. Easy application. Good customer service. Overall a positive experience!
Stylish and easy to install.
The collection of wall murals and fresh wall covering designs at Walls Need Love is exceptional. Their customer service team was very helpful with questions and accommodating to custom orders. Also, their wall murals are stylish and easy to instal with the guide provided... I've never had so many comments about a room that people love and are obsessed with. I'm so happy with my total experience and would absolutely recommend WNL!
Can't really get any better!
Love this place! I’m an interior stylist and I’ve used walls need love for removable wall paper in my last 4 projects! Great service and quality, plus tons of amazing designs that are made with no nasty chemical laden adhesives and they support local artists. Can’t really get any better than that!
Clara
Bold Floral Pattern Wallpaper
Clara
Bold Floral Pattern Wallpaper
Gallery Garden
Elegant pink and light taupe floral Pattern Wallpaper
Gallery Garden
Elegant pink and light taupe floral Pattern Wallpaper
Gallery Garden
Elegant pink and light taupe floral Pattern Wallpaper
Ida
Flowers & Large Leaves Illustration Wallpaper
Ida
Flowers & Large Leaves Illustration Wallpaper
Ida
Flowers & Large Leaves Illustration Wallpaper
Blooms of Paradise
Tropical floral garden bird of paradise Pattern Wallpaper
Blooms of Paradise
Tropical floral garden bird of paradise Pattern Wallpaper
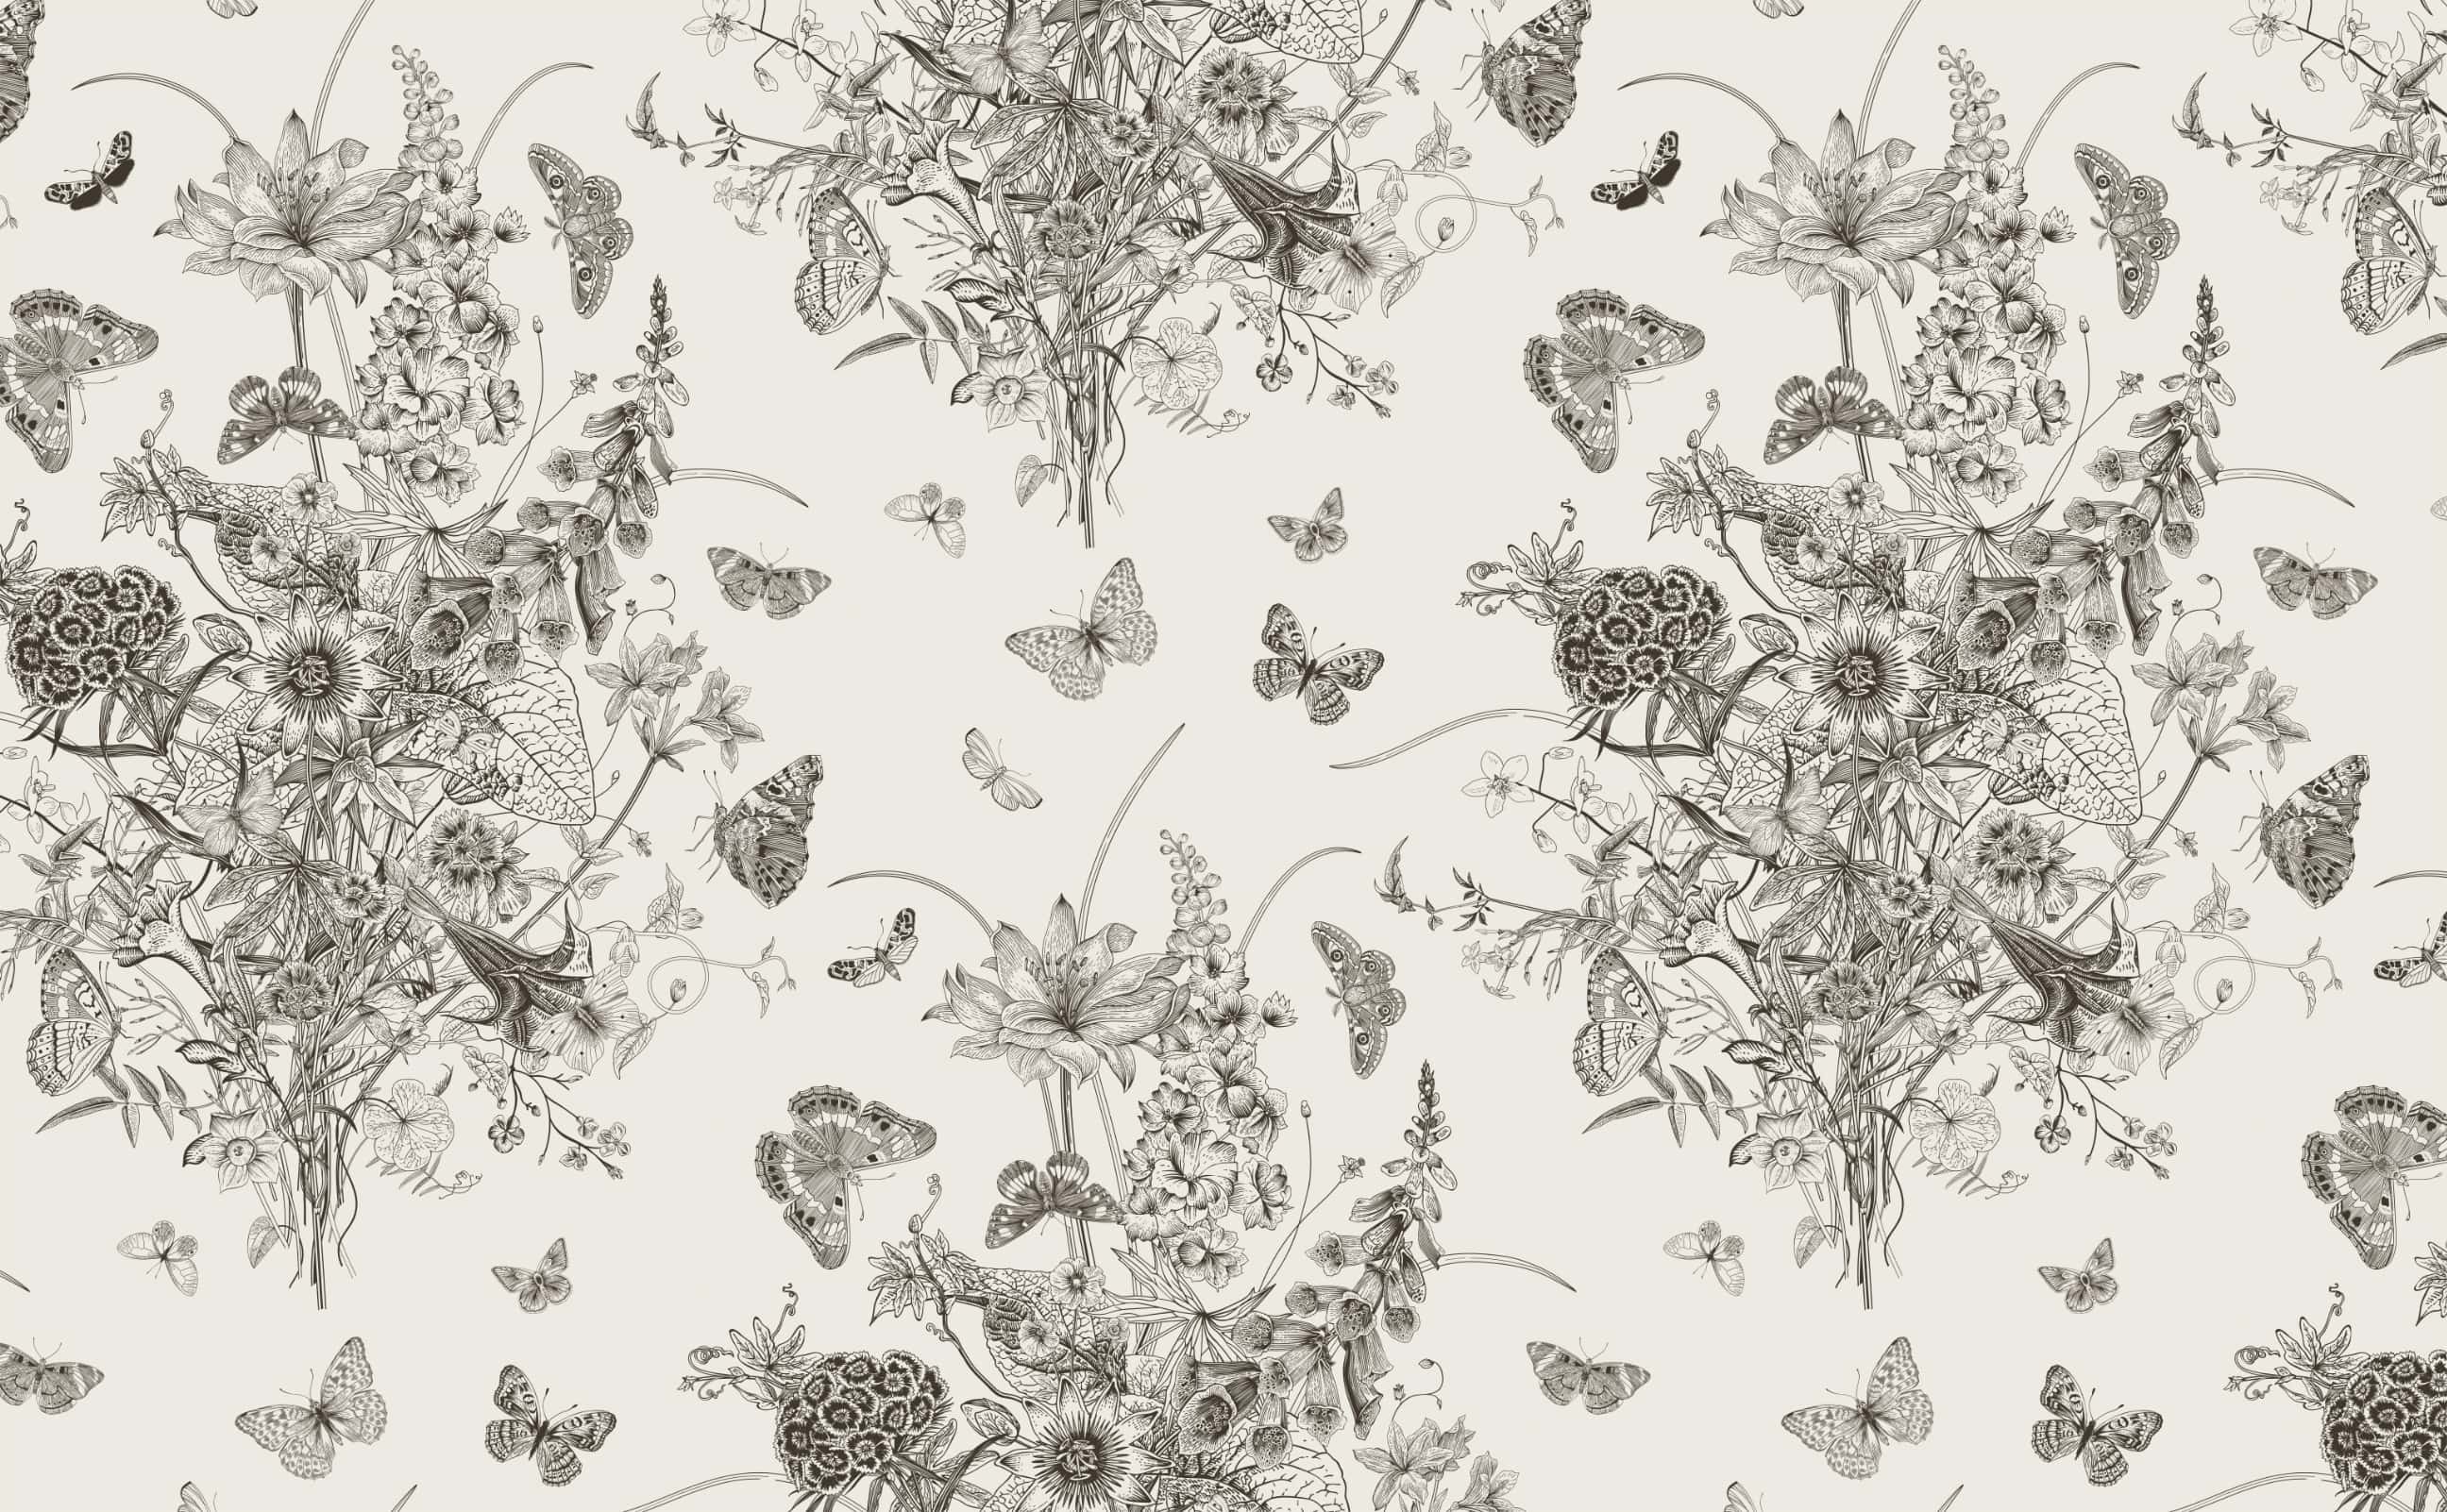
Dark Academia
Bespoke style floral and butterfly Pattern Wallpaper
Dark Academia
Bespoke style floral and butterfly Pattern Wallpaper
Rebel Rose
Vintage Roses Wallpaper
Rebel Rose
Vintage Roses Wallpaper
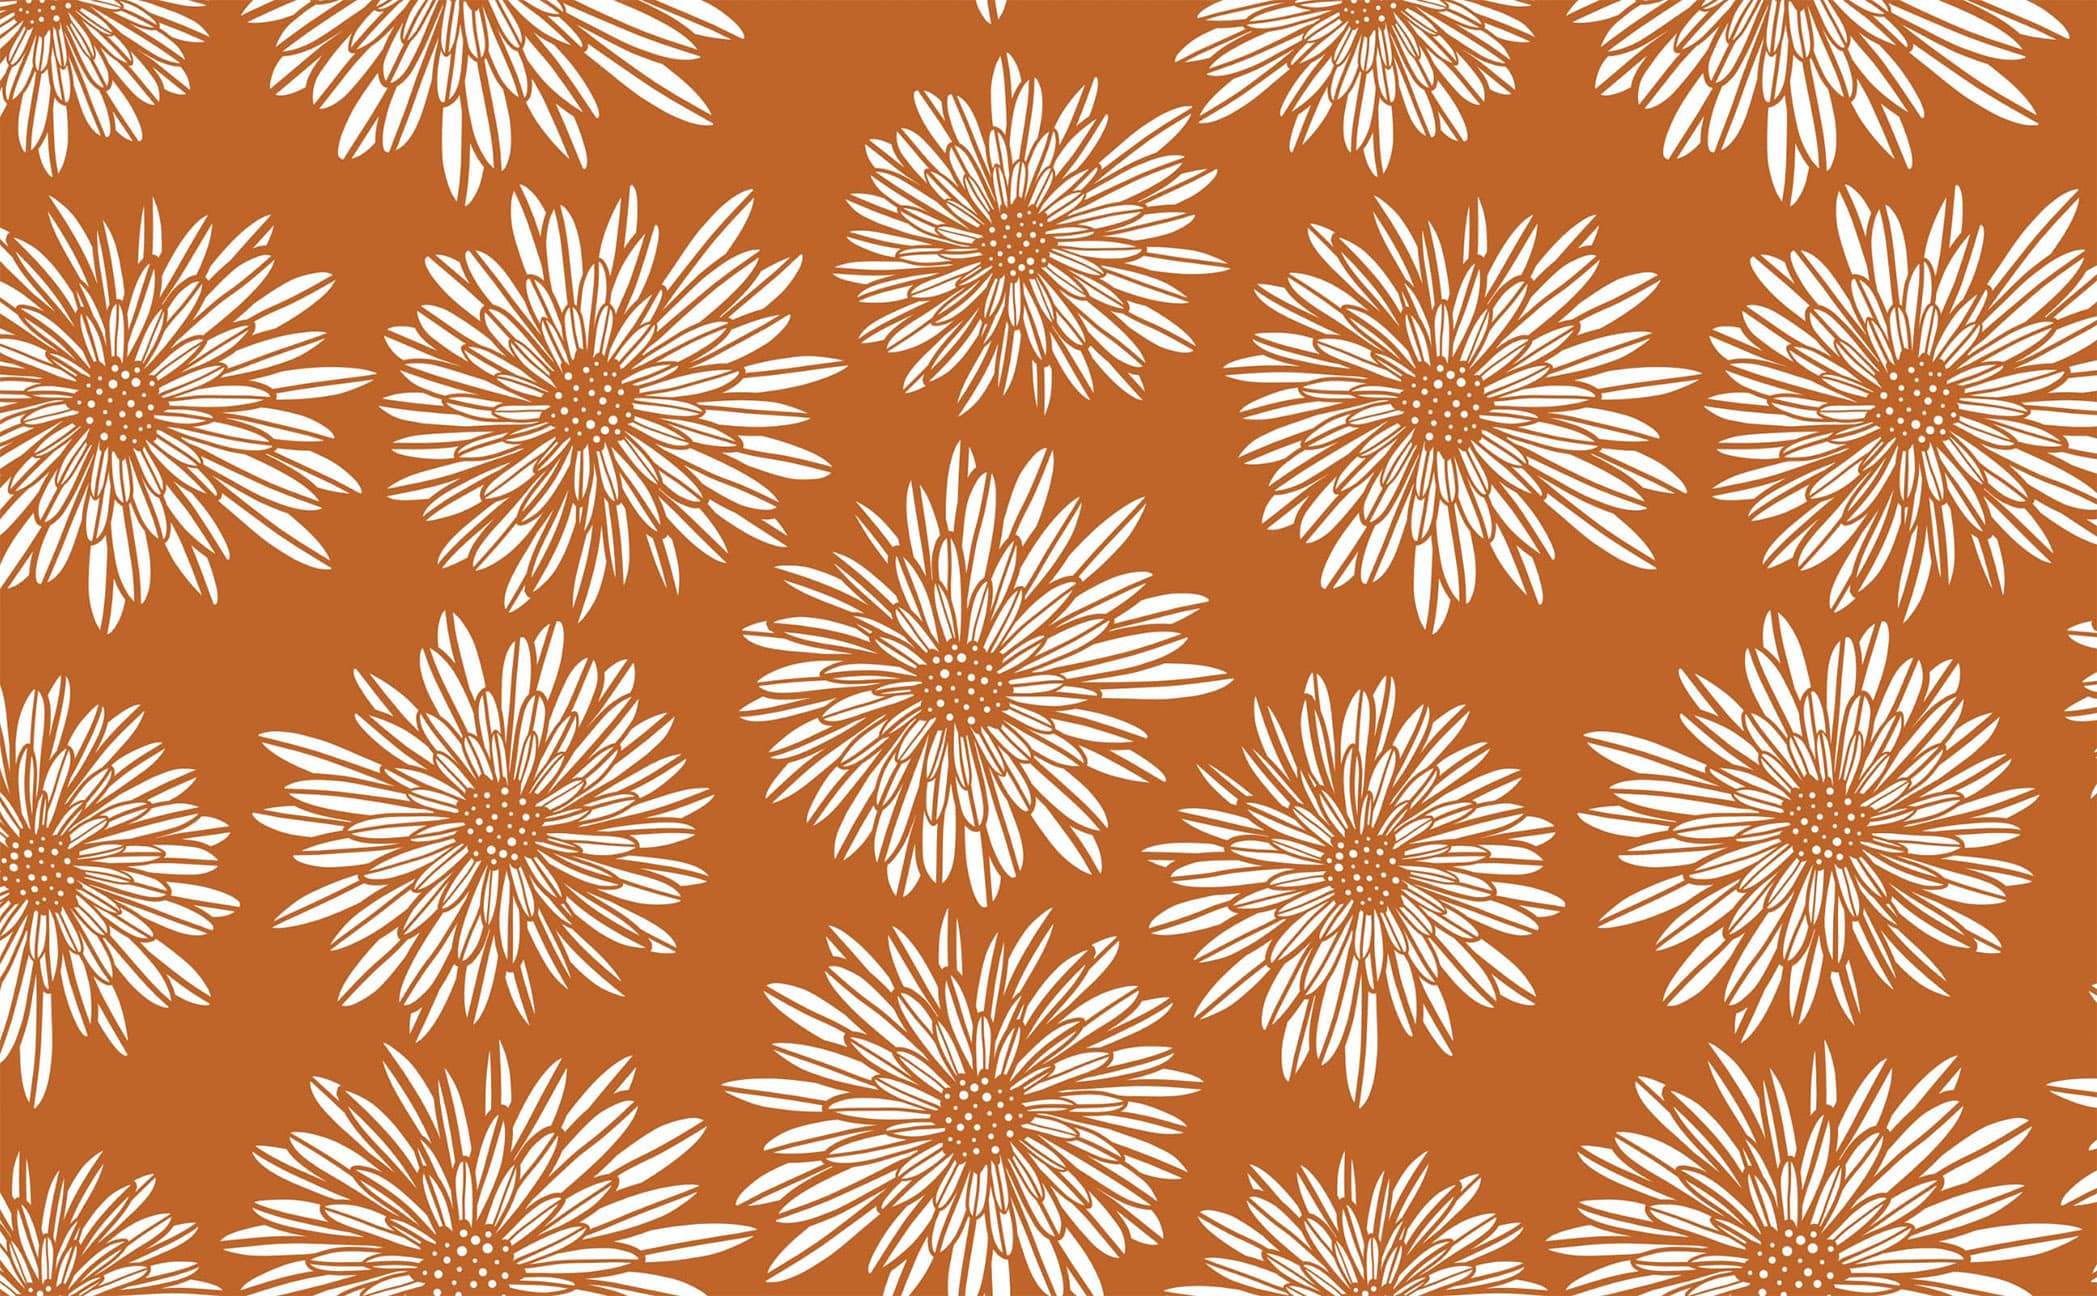
Terracotta Sun
White daisy flower sketch terracotta Pattern Wallpaper
Terracotta Sun
White daisy flower sketch terracotta Pattern Wallpaper
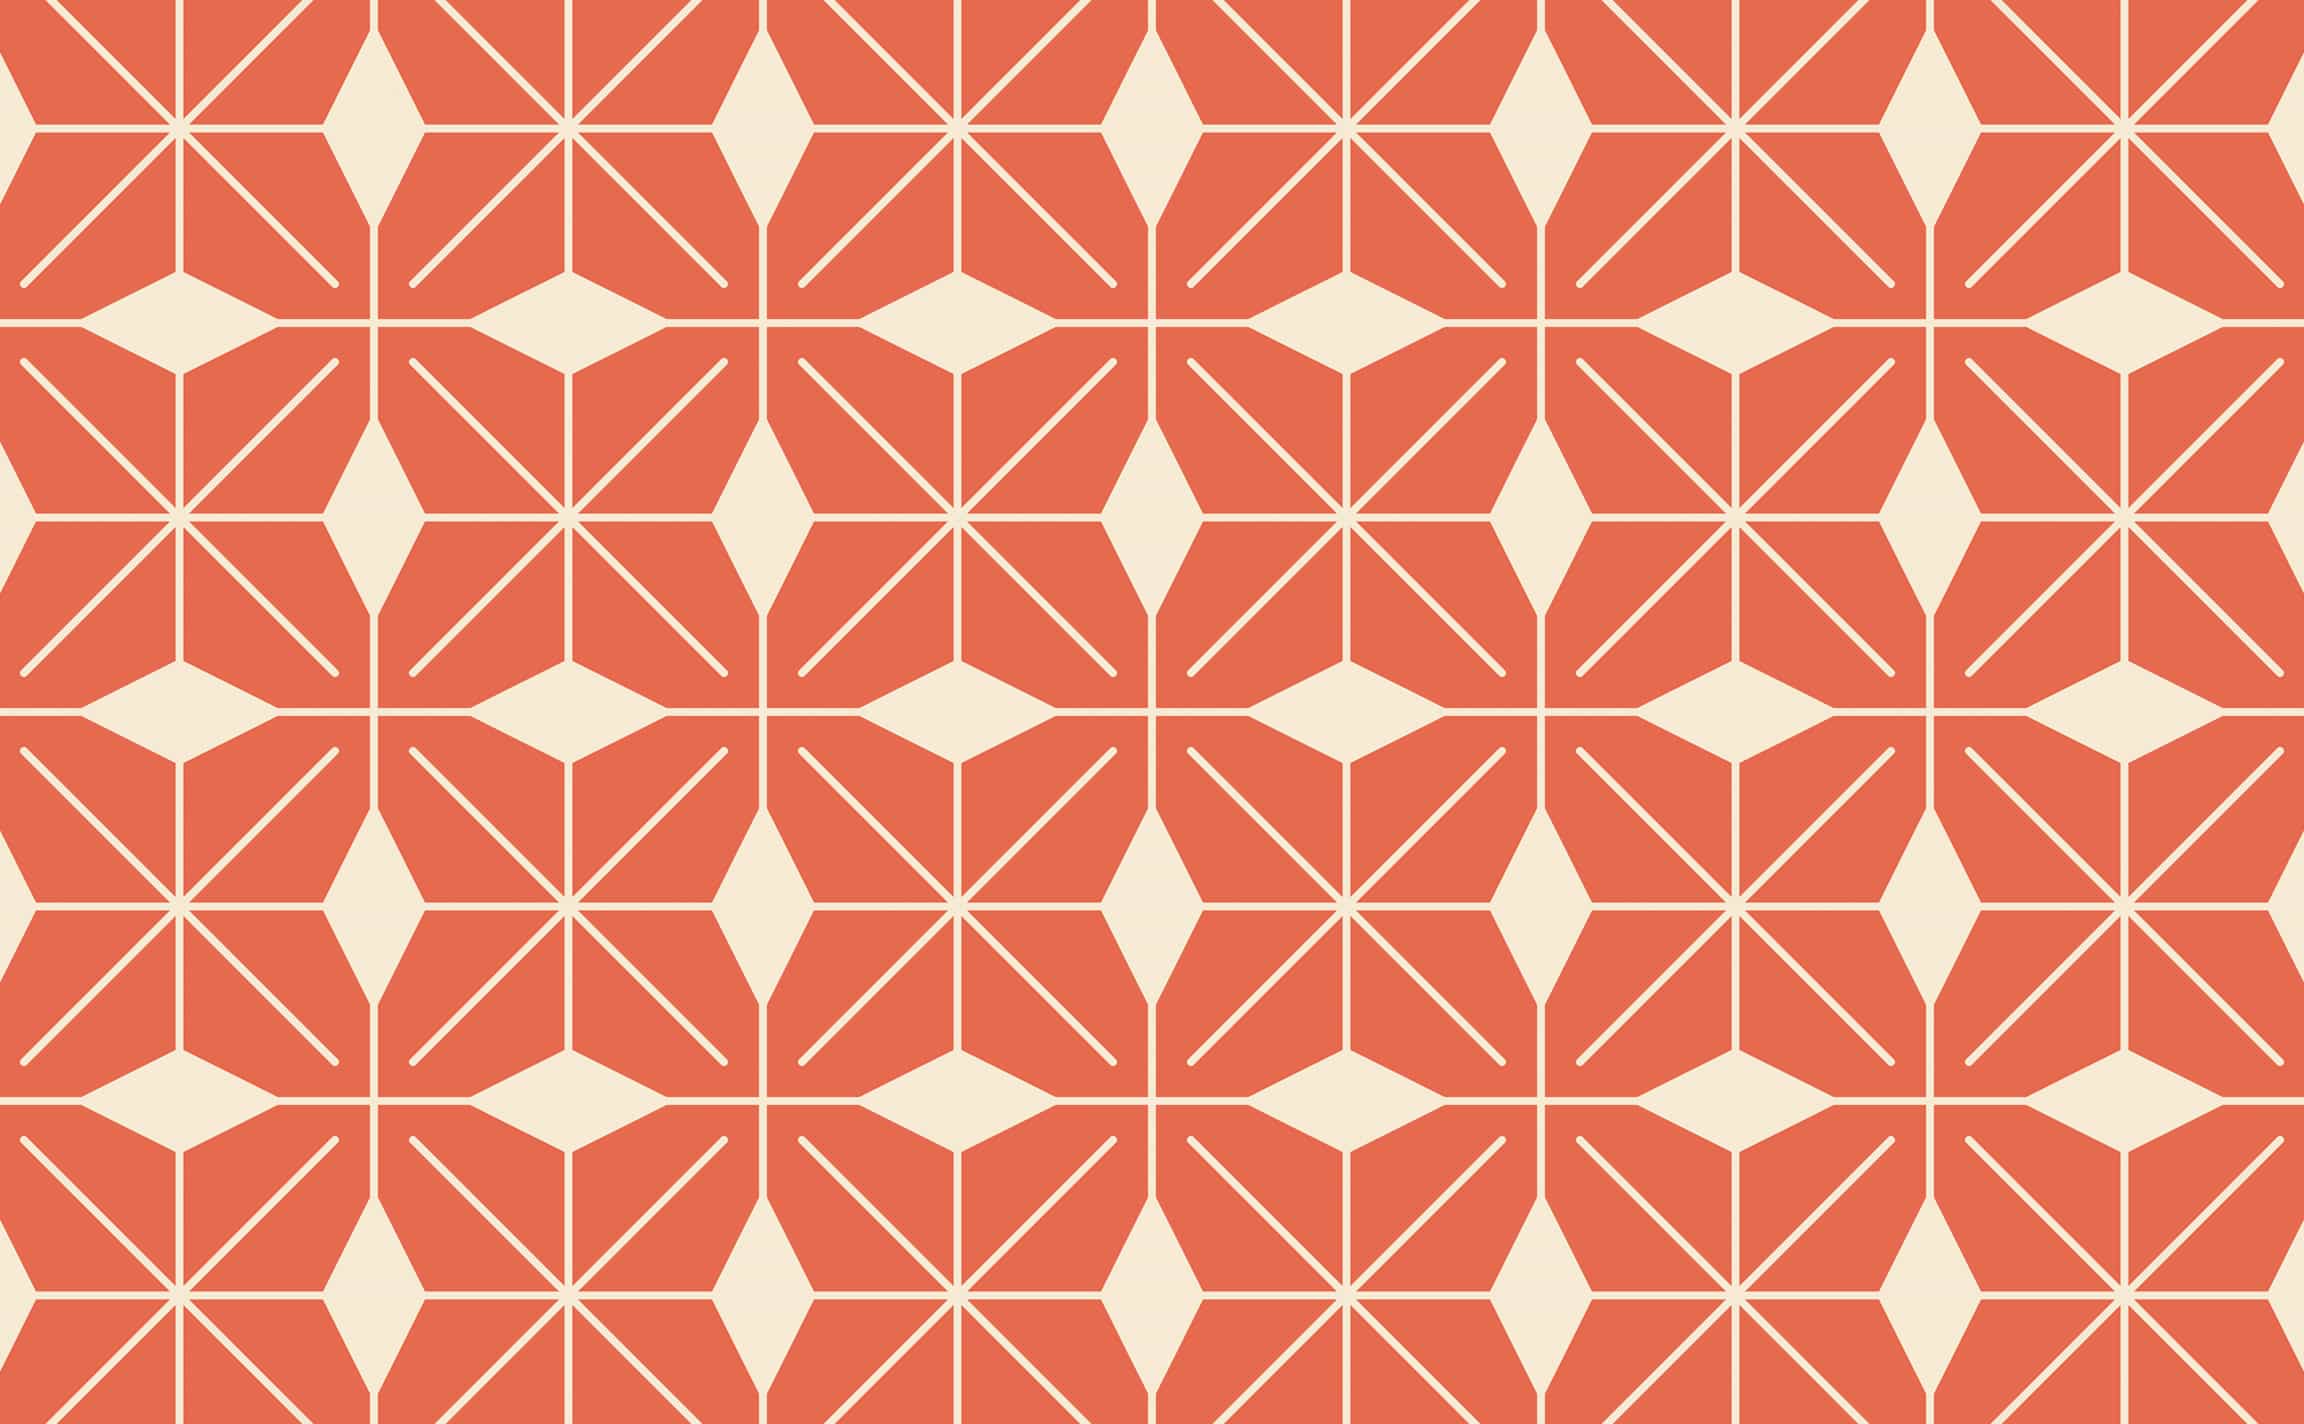
Tea in Tangier
Modern retro Moroccan geometric Pattern Wallpaper
Tea in Tangier
Modern retro Moroccan geometric Pattern Wallpaper
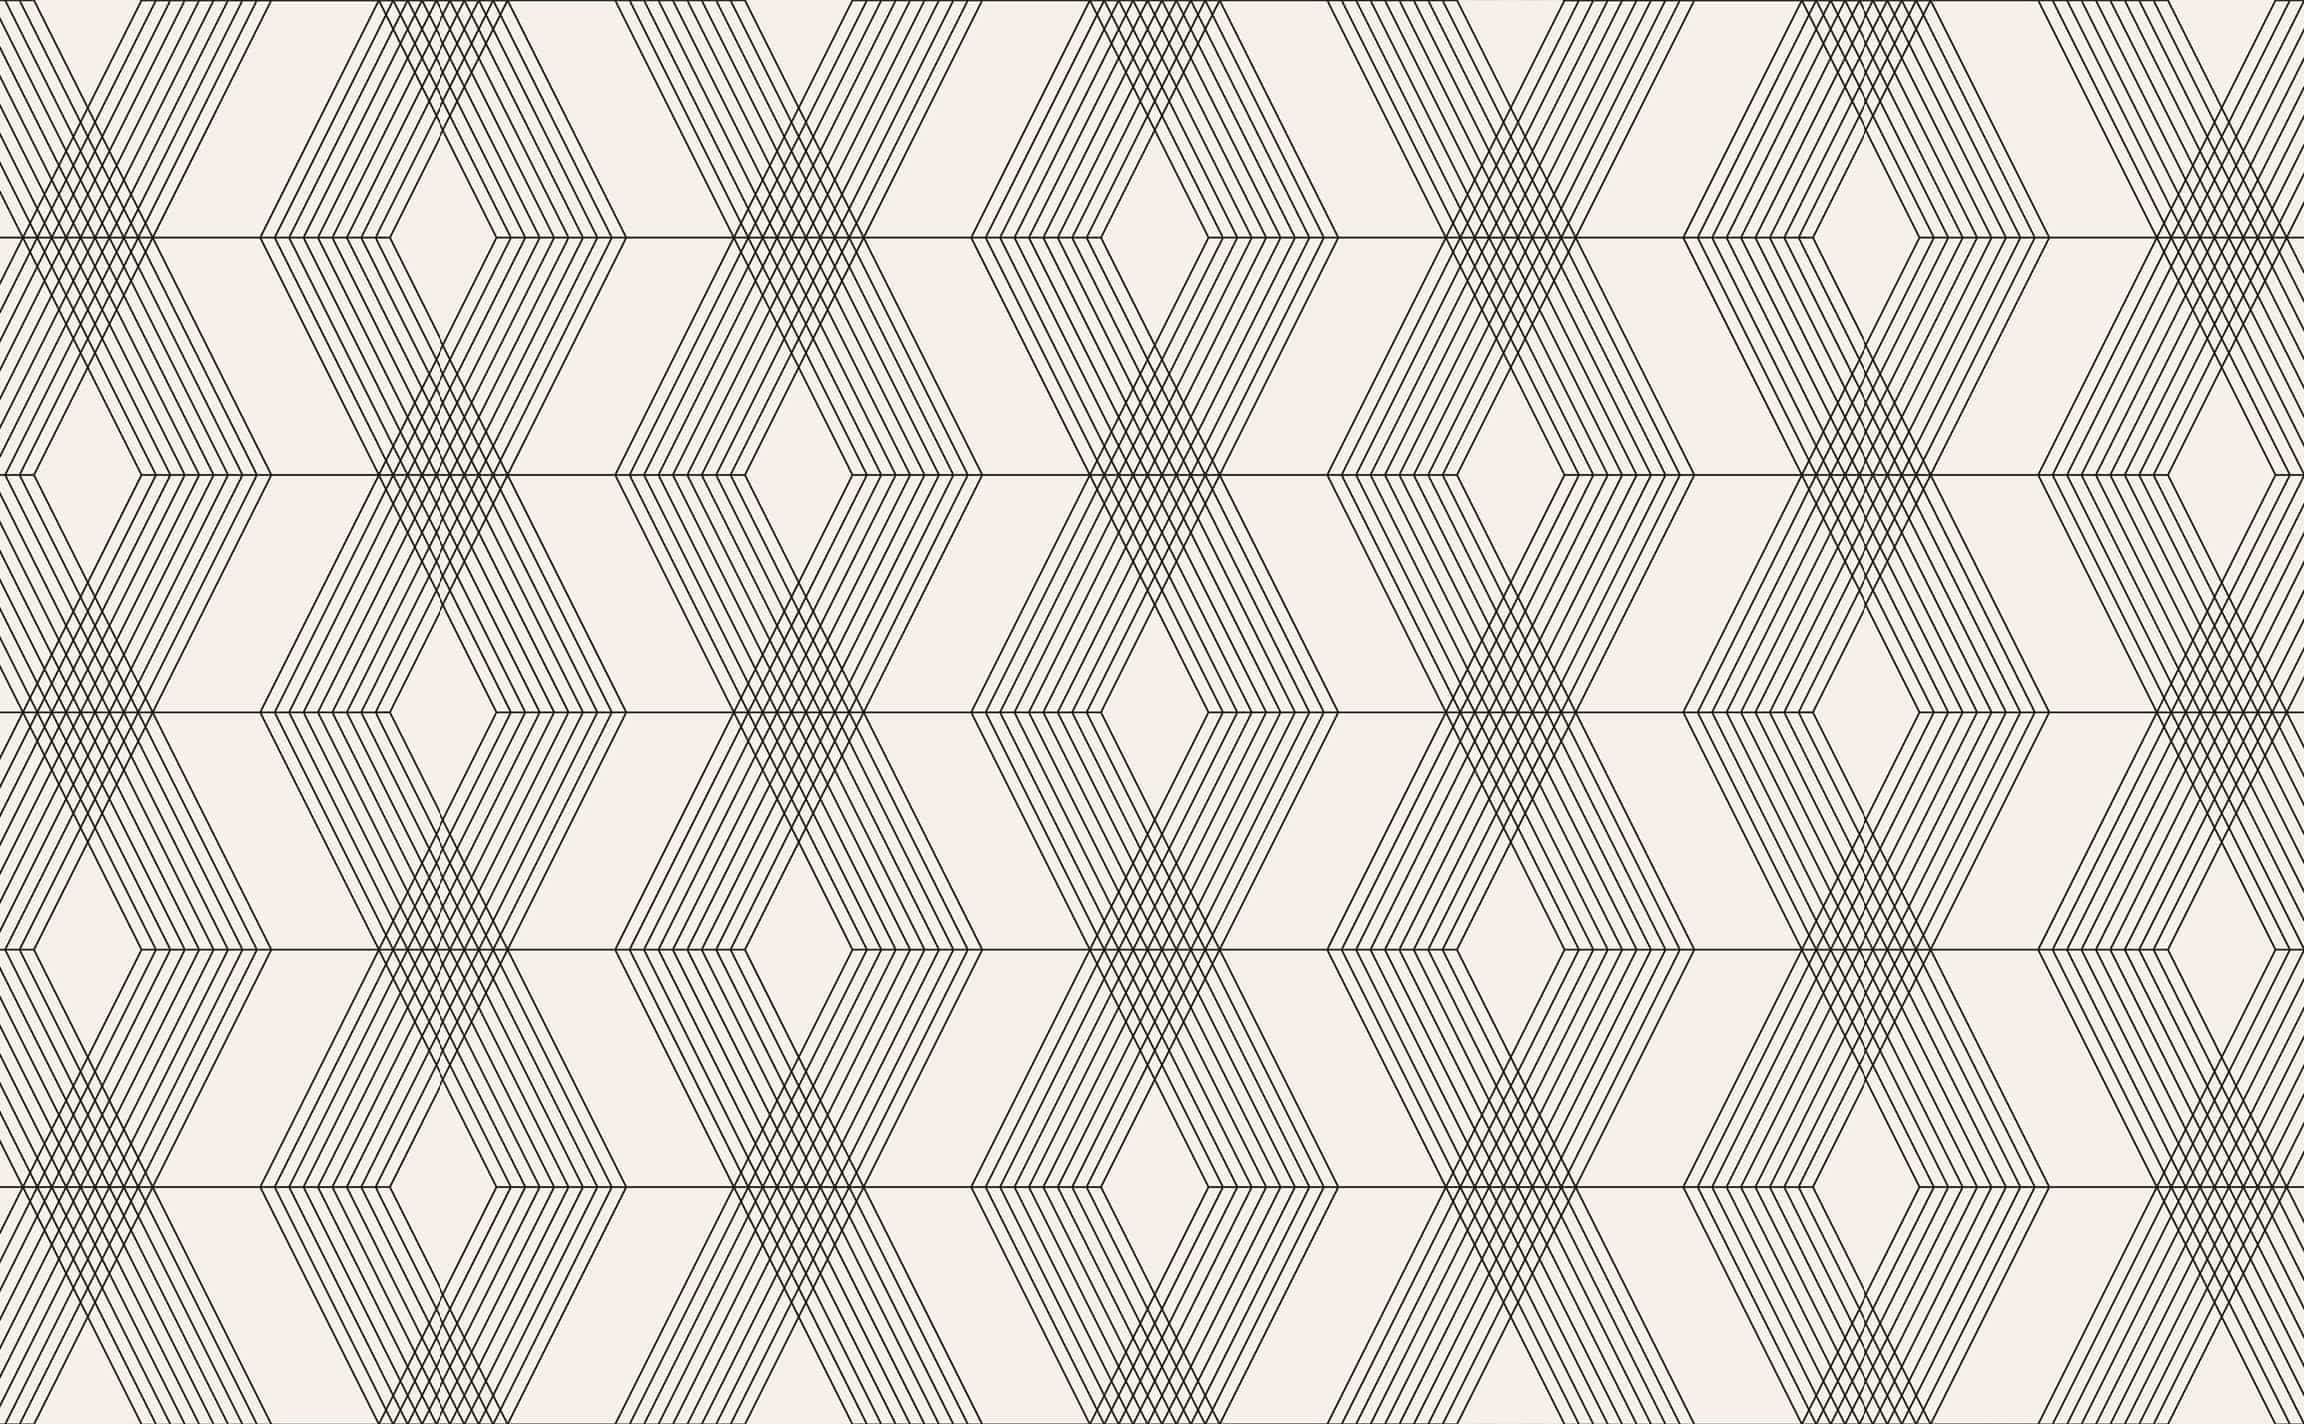
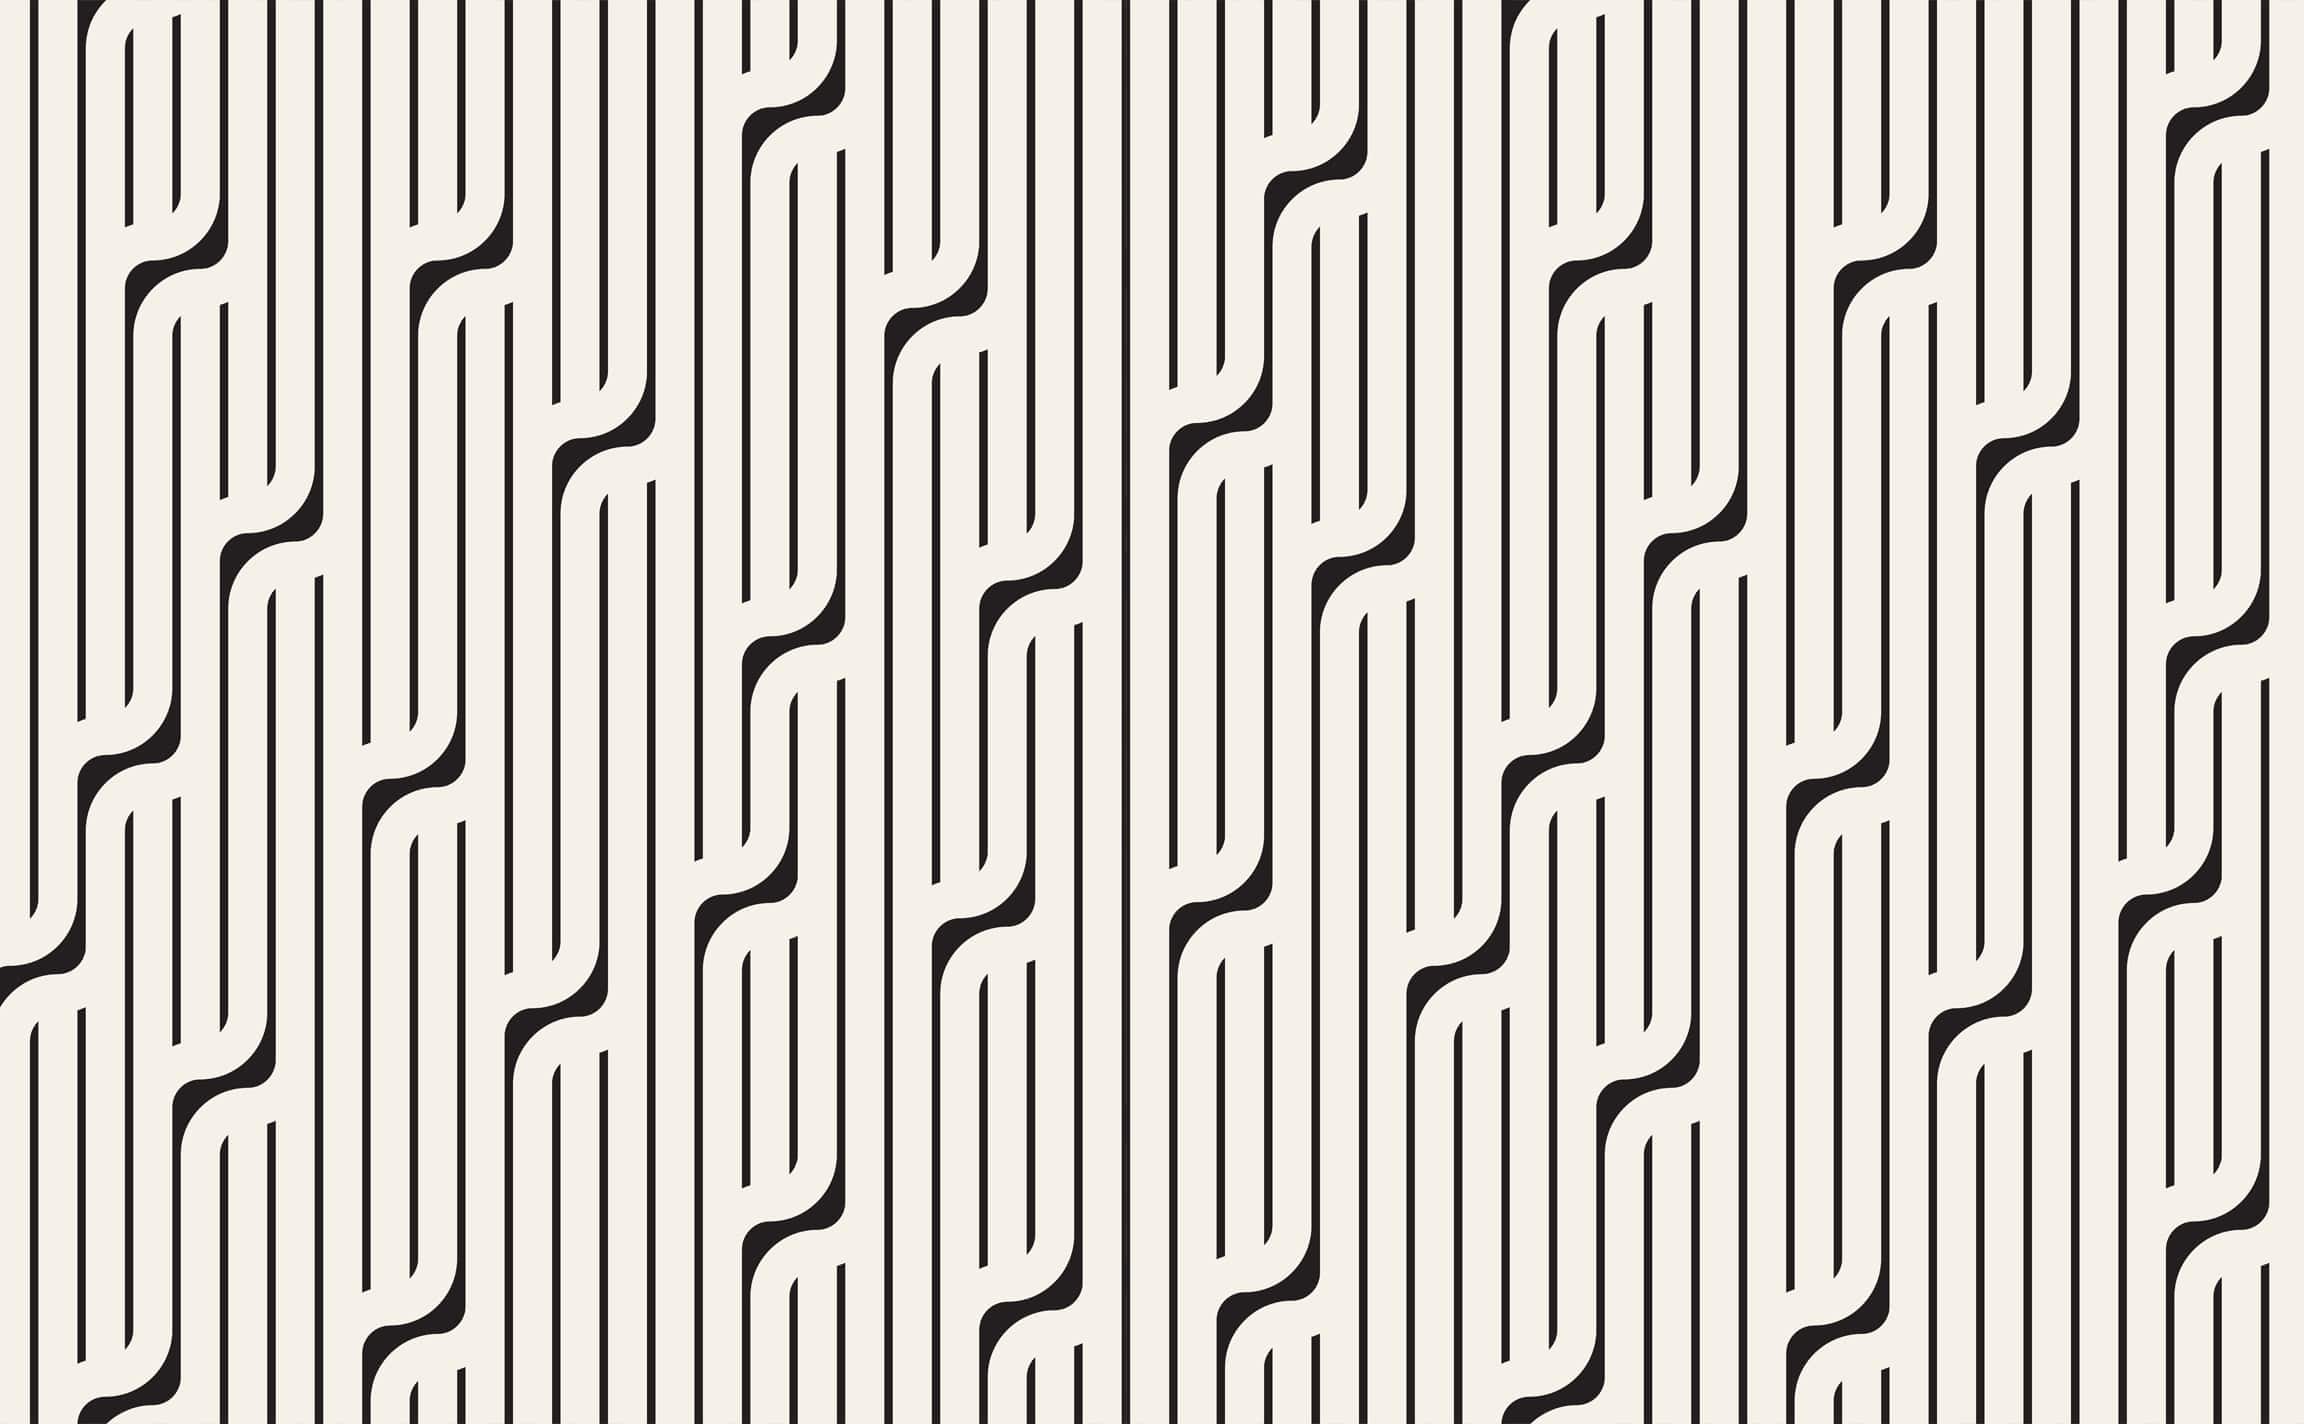
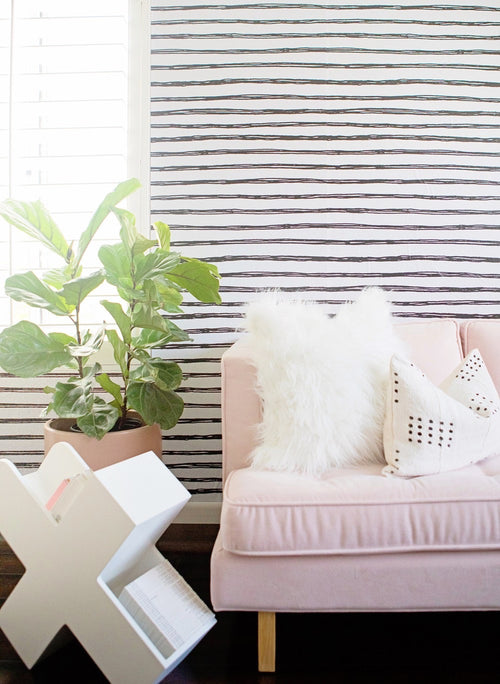
Lines in Motion
Modern minimalist geometric line wallpaper in ivory and black Pattern Wallpaper
Lines in Motion
Modern minimalist geometric line wallpaper in ivory and black Pattern Wallpaper
Lines in Motion
Modern minimalist geometric line wallpaper in ivory and black Pattern Wallpaper
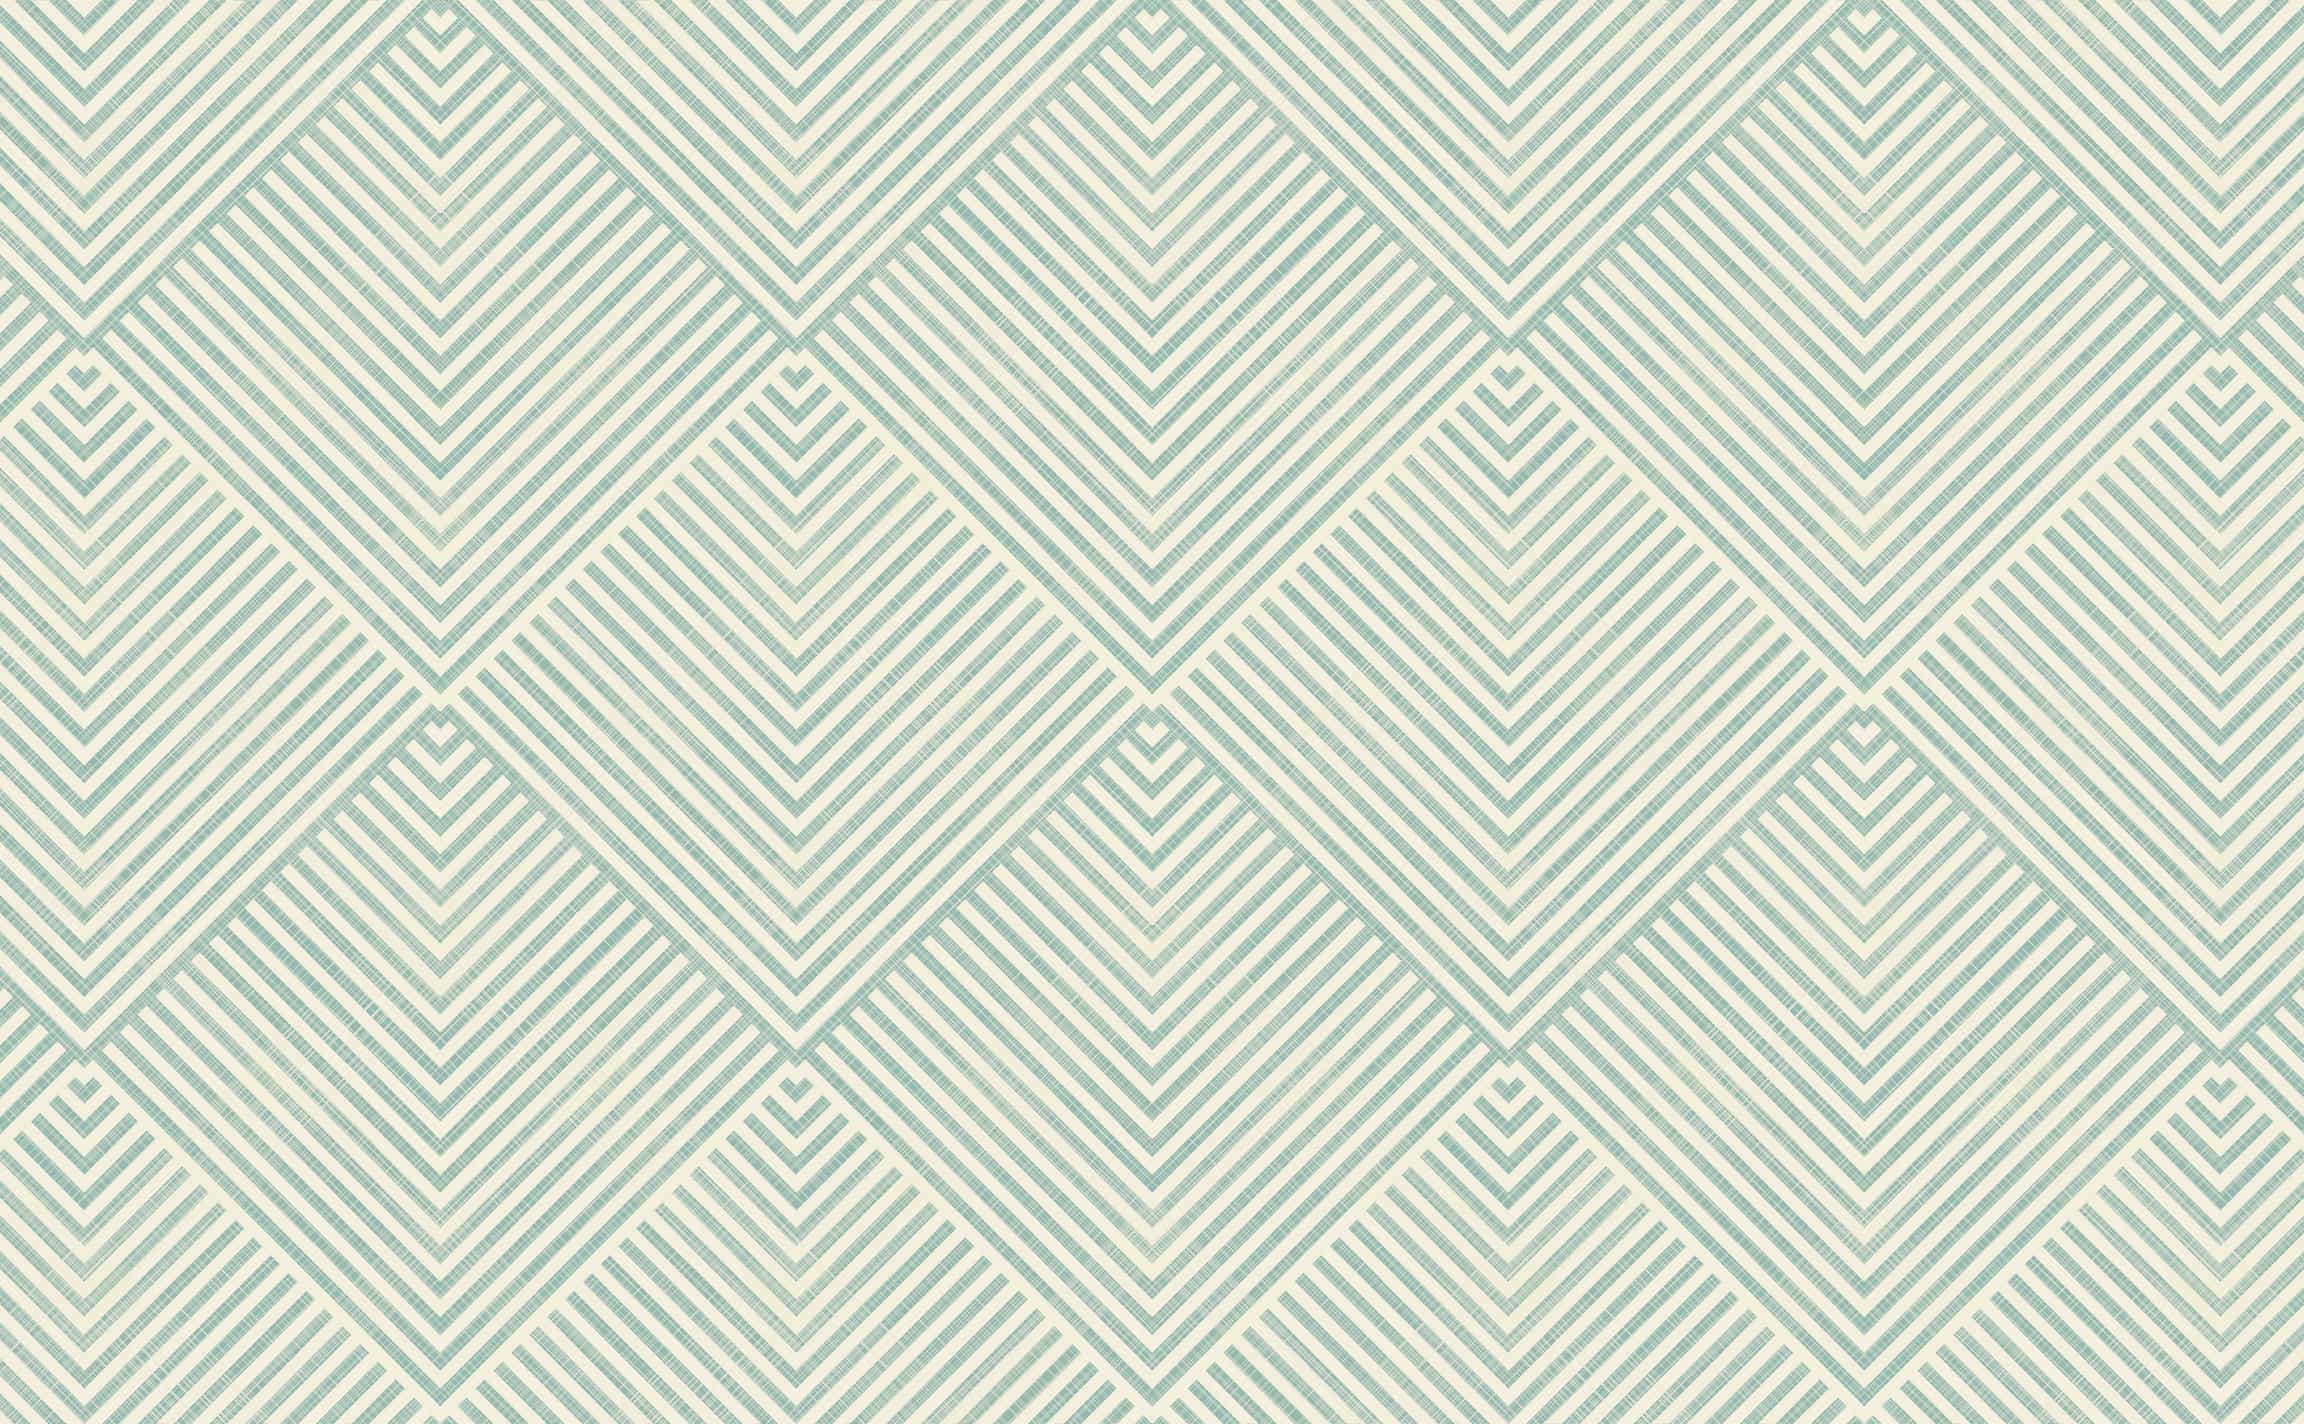
Hamptons Haute
Sage and cream geometric contemporary chic Pattern Wallpaper
Hamptons Haute
Sage and cream geometric contemporary chic Pattern Wallpaper
Hamptons Haute
Sage and cream geometric contemporary chic Pattern Wallpaper
At the Crossroads
Modern geometric diamond Pattern Wallpaper
At the Crossroads
Modern geometric diamond Pattern Wallpaper
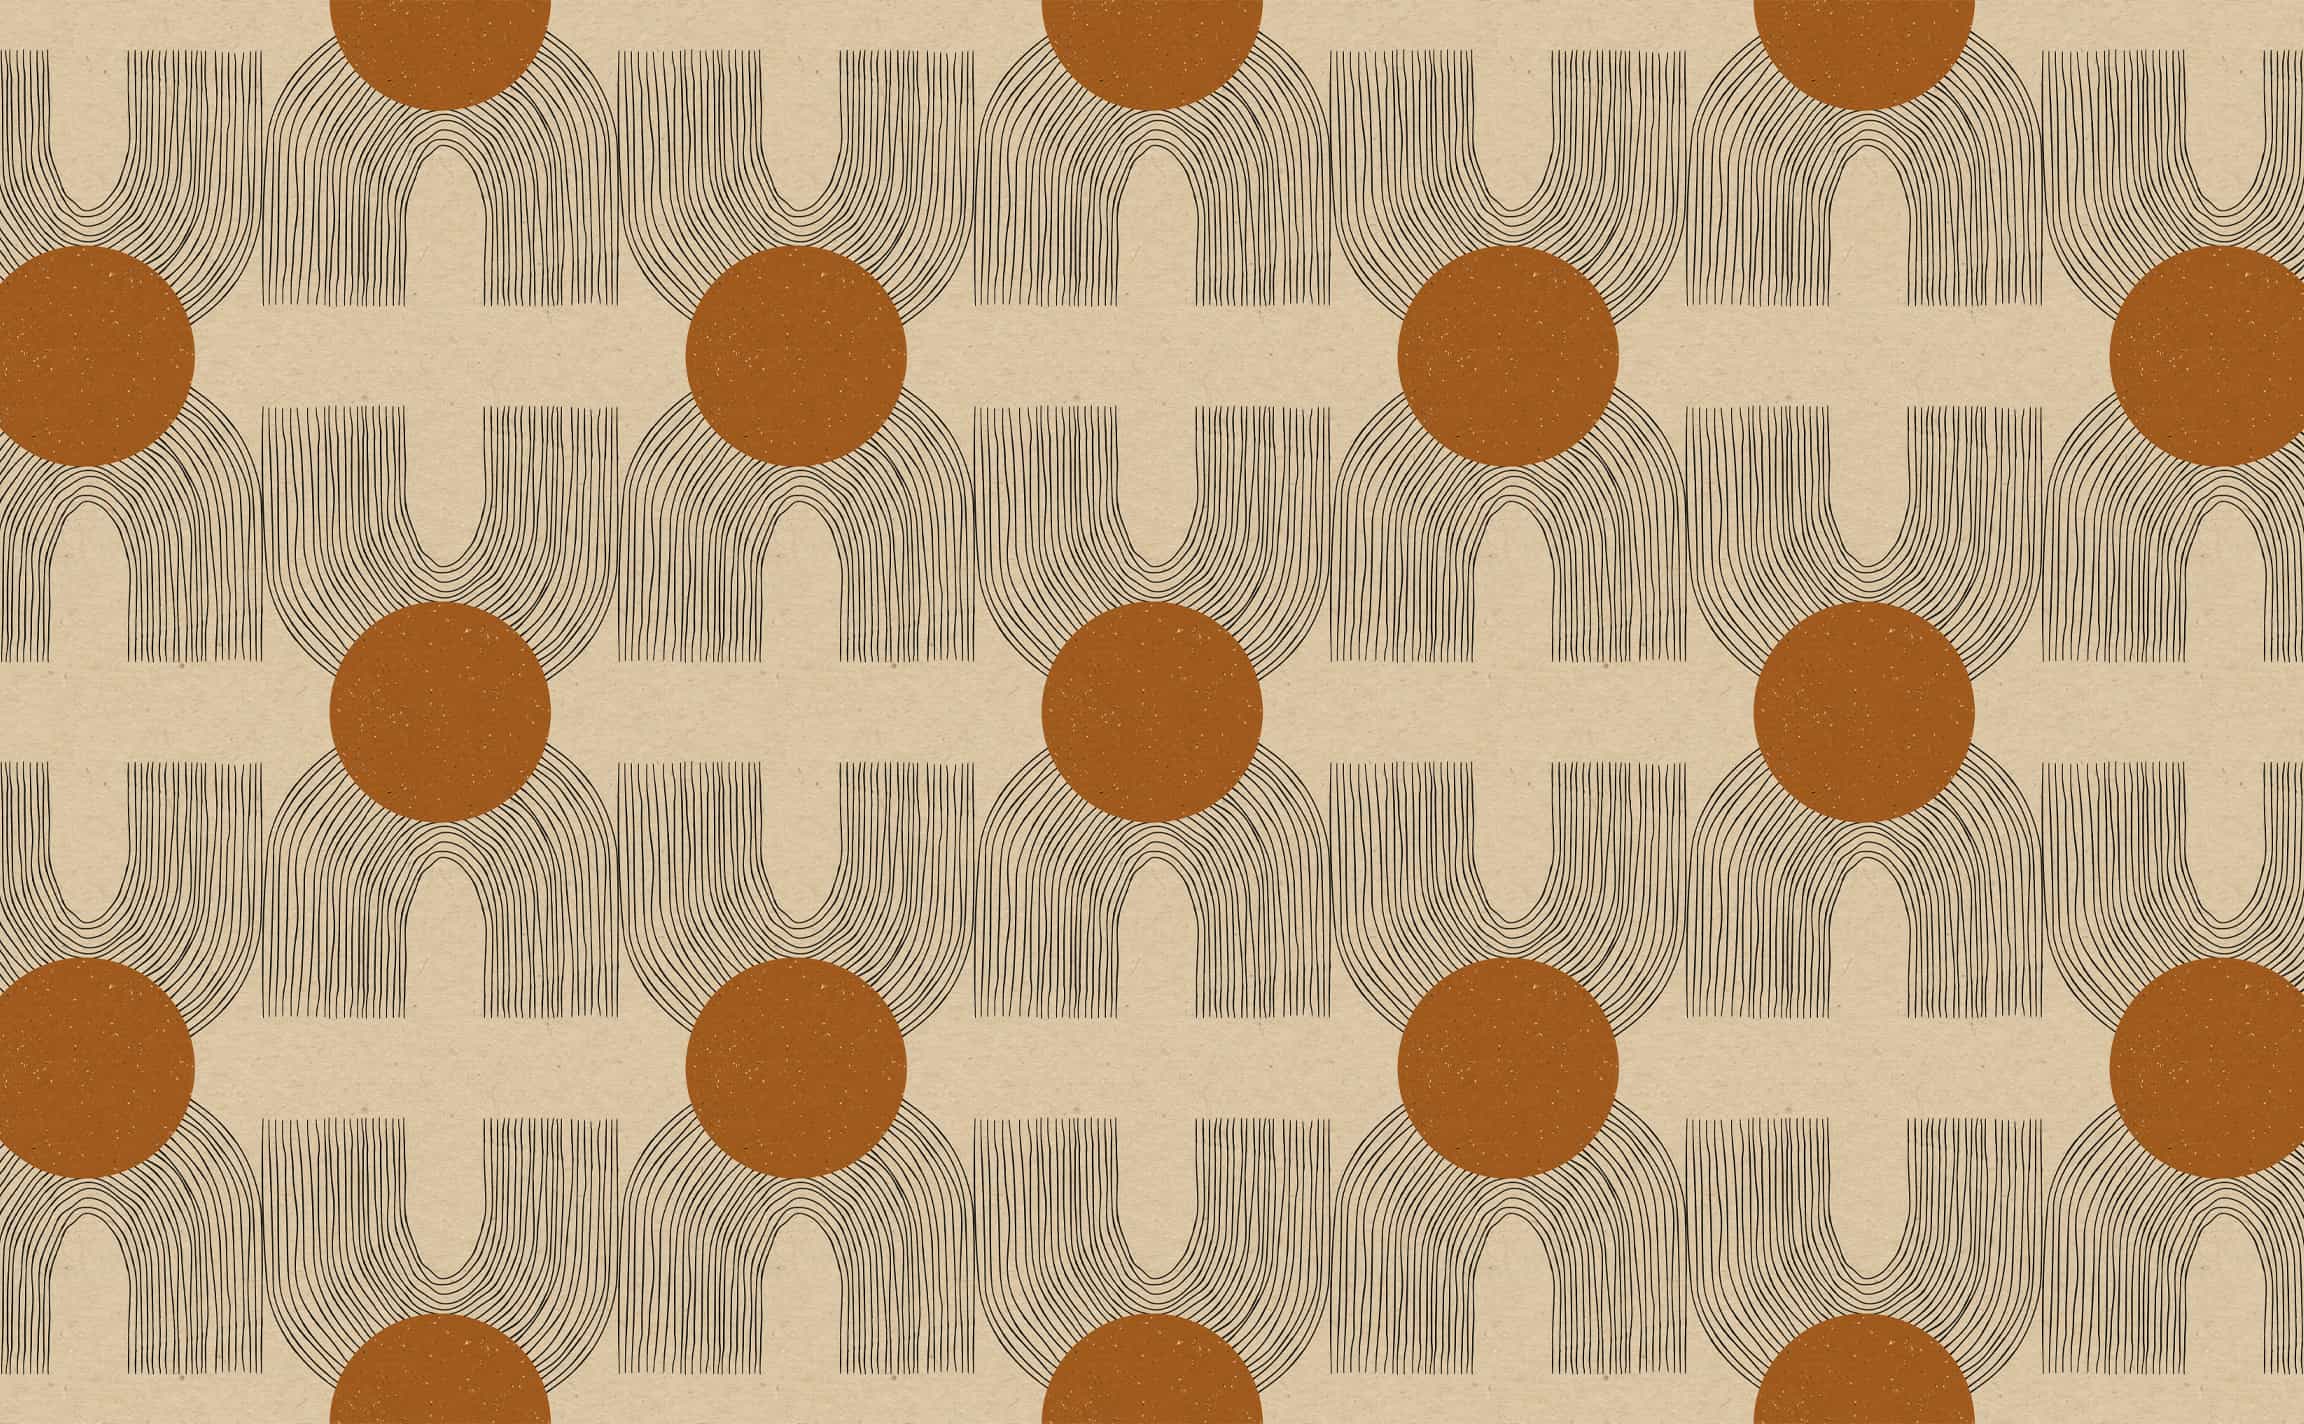
Sunkissed
Geometric neutral bohemian circle and line Pattern Wallpaper
Sunkissed
Geometric neutral bohemian circle and line Pattern Wallpaper
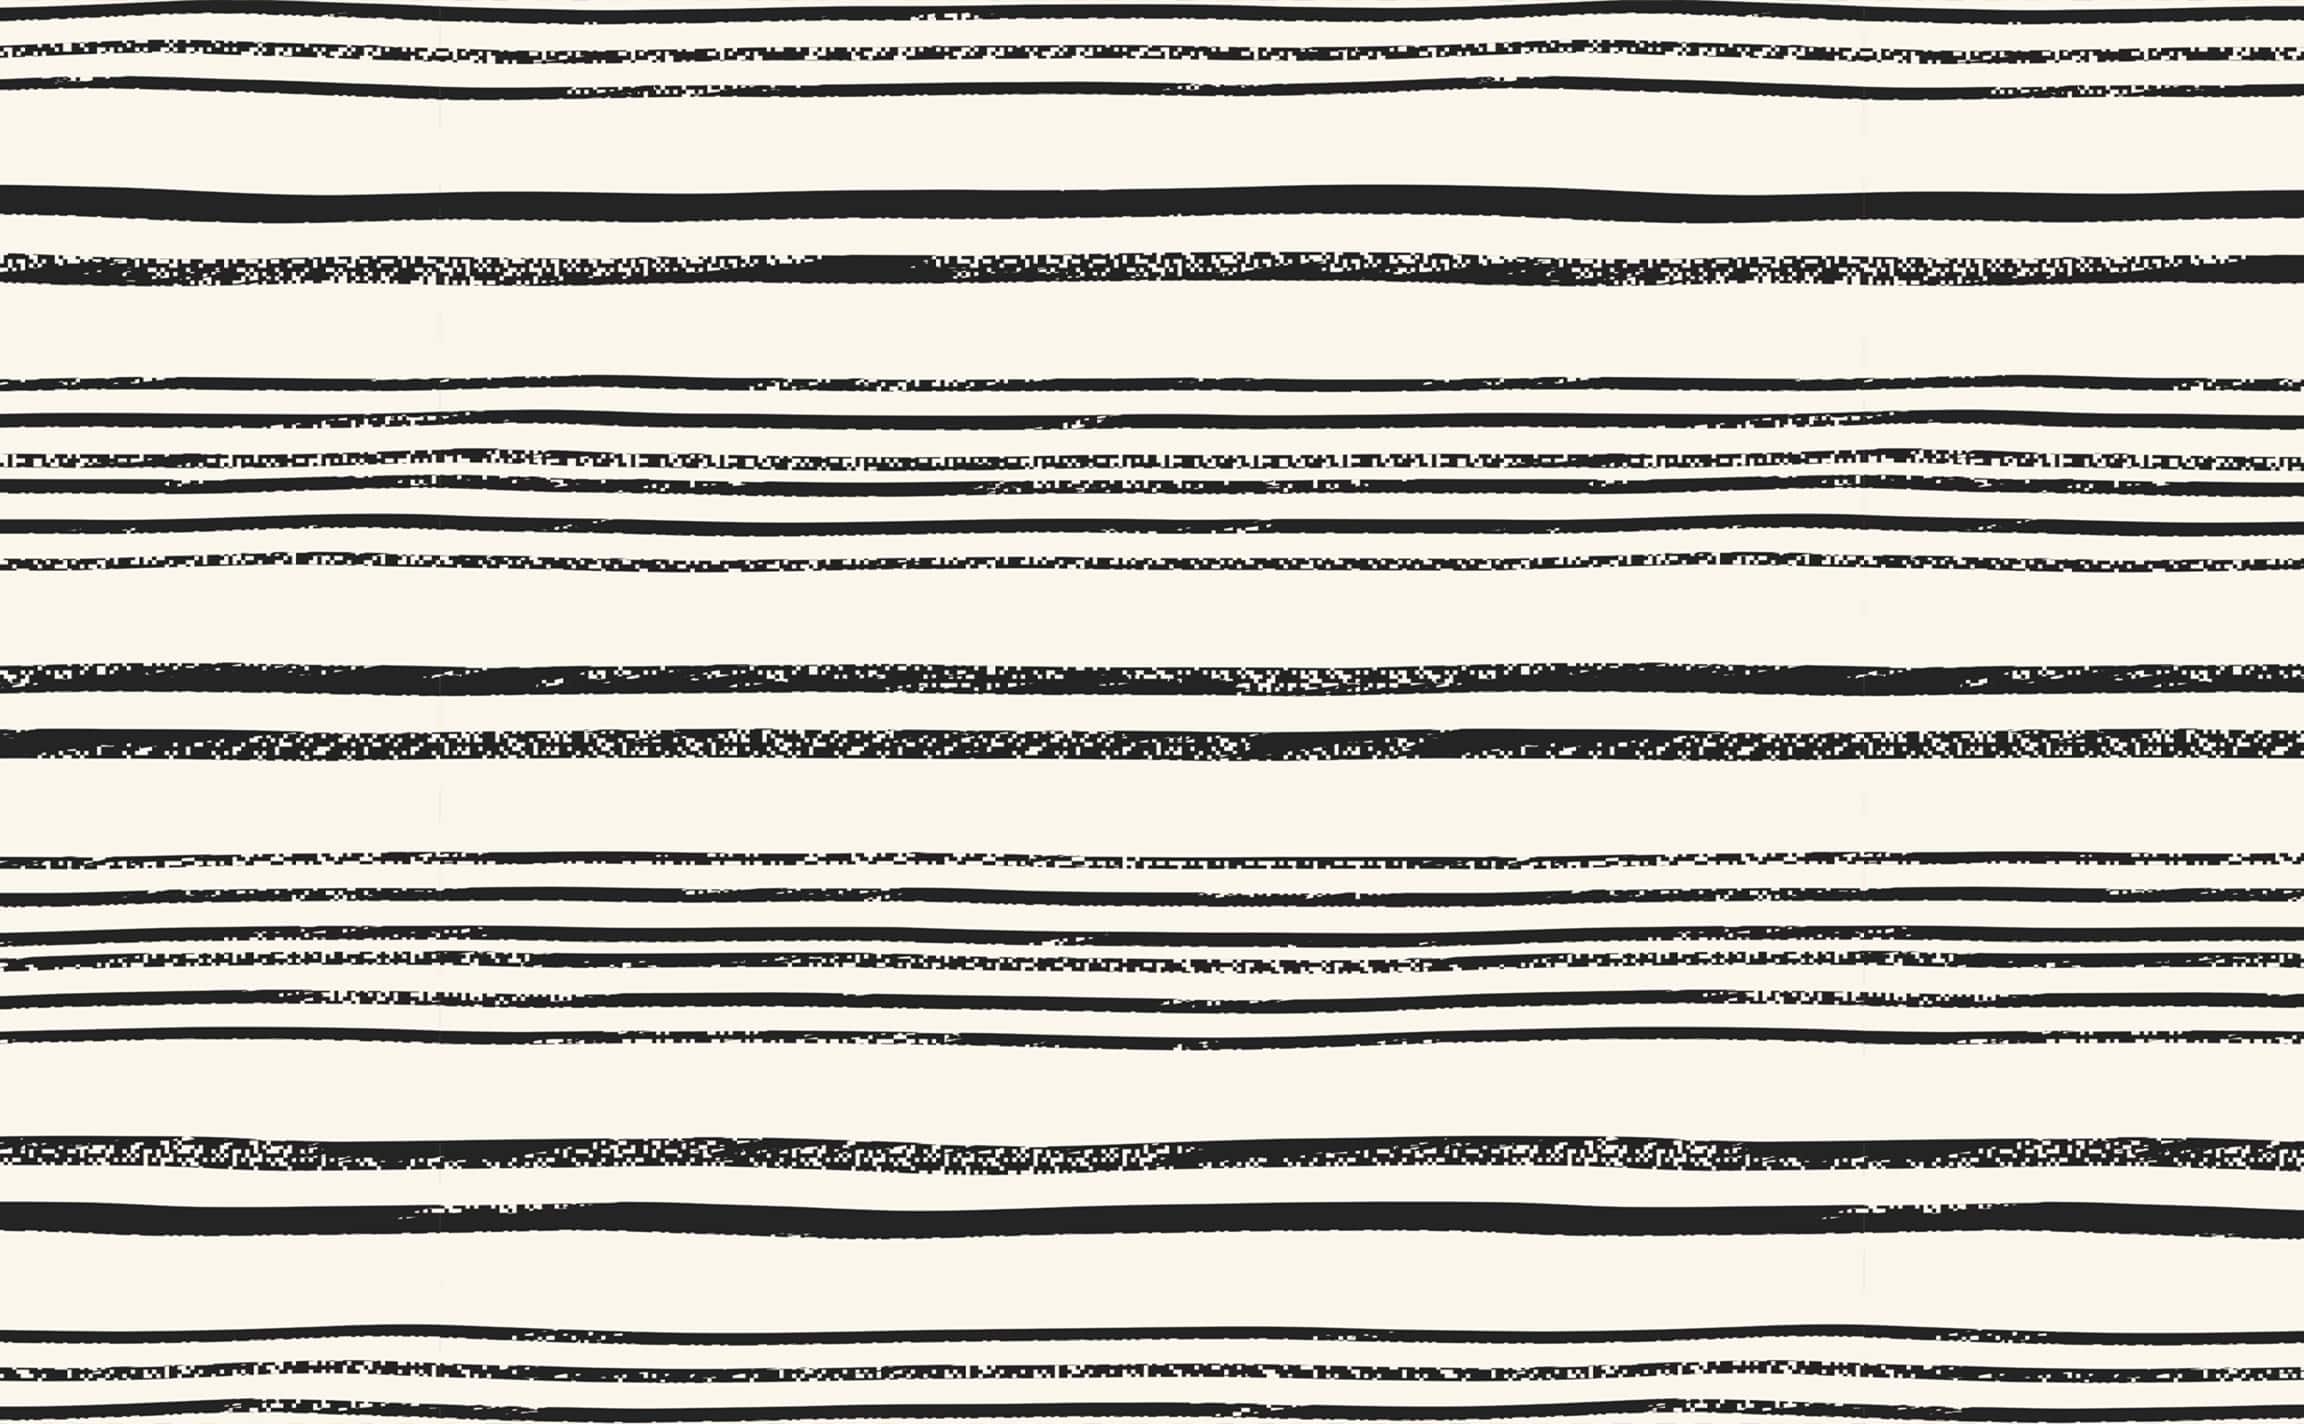
Stepped Up
Ivory and black clean line geometric Pattern Wallpaper
Stepped Up
Ivory and black clean line geometric Pattern Wallpaper
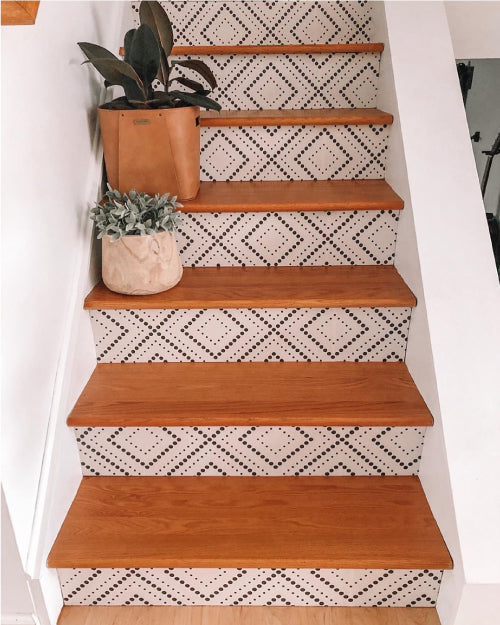
Pixel Diamonds
Geometric Dot Pattern Wallpaper
Pixel Diamonds
Geometric Dot Pattern Wallpaper
Twilight Bouquet
Flower Bouquet Wall Mural | Twilight Bouquet
Twilight Bouquet
Flower Bouquet Wall Mural | Twilight Bouquet
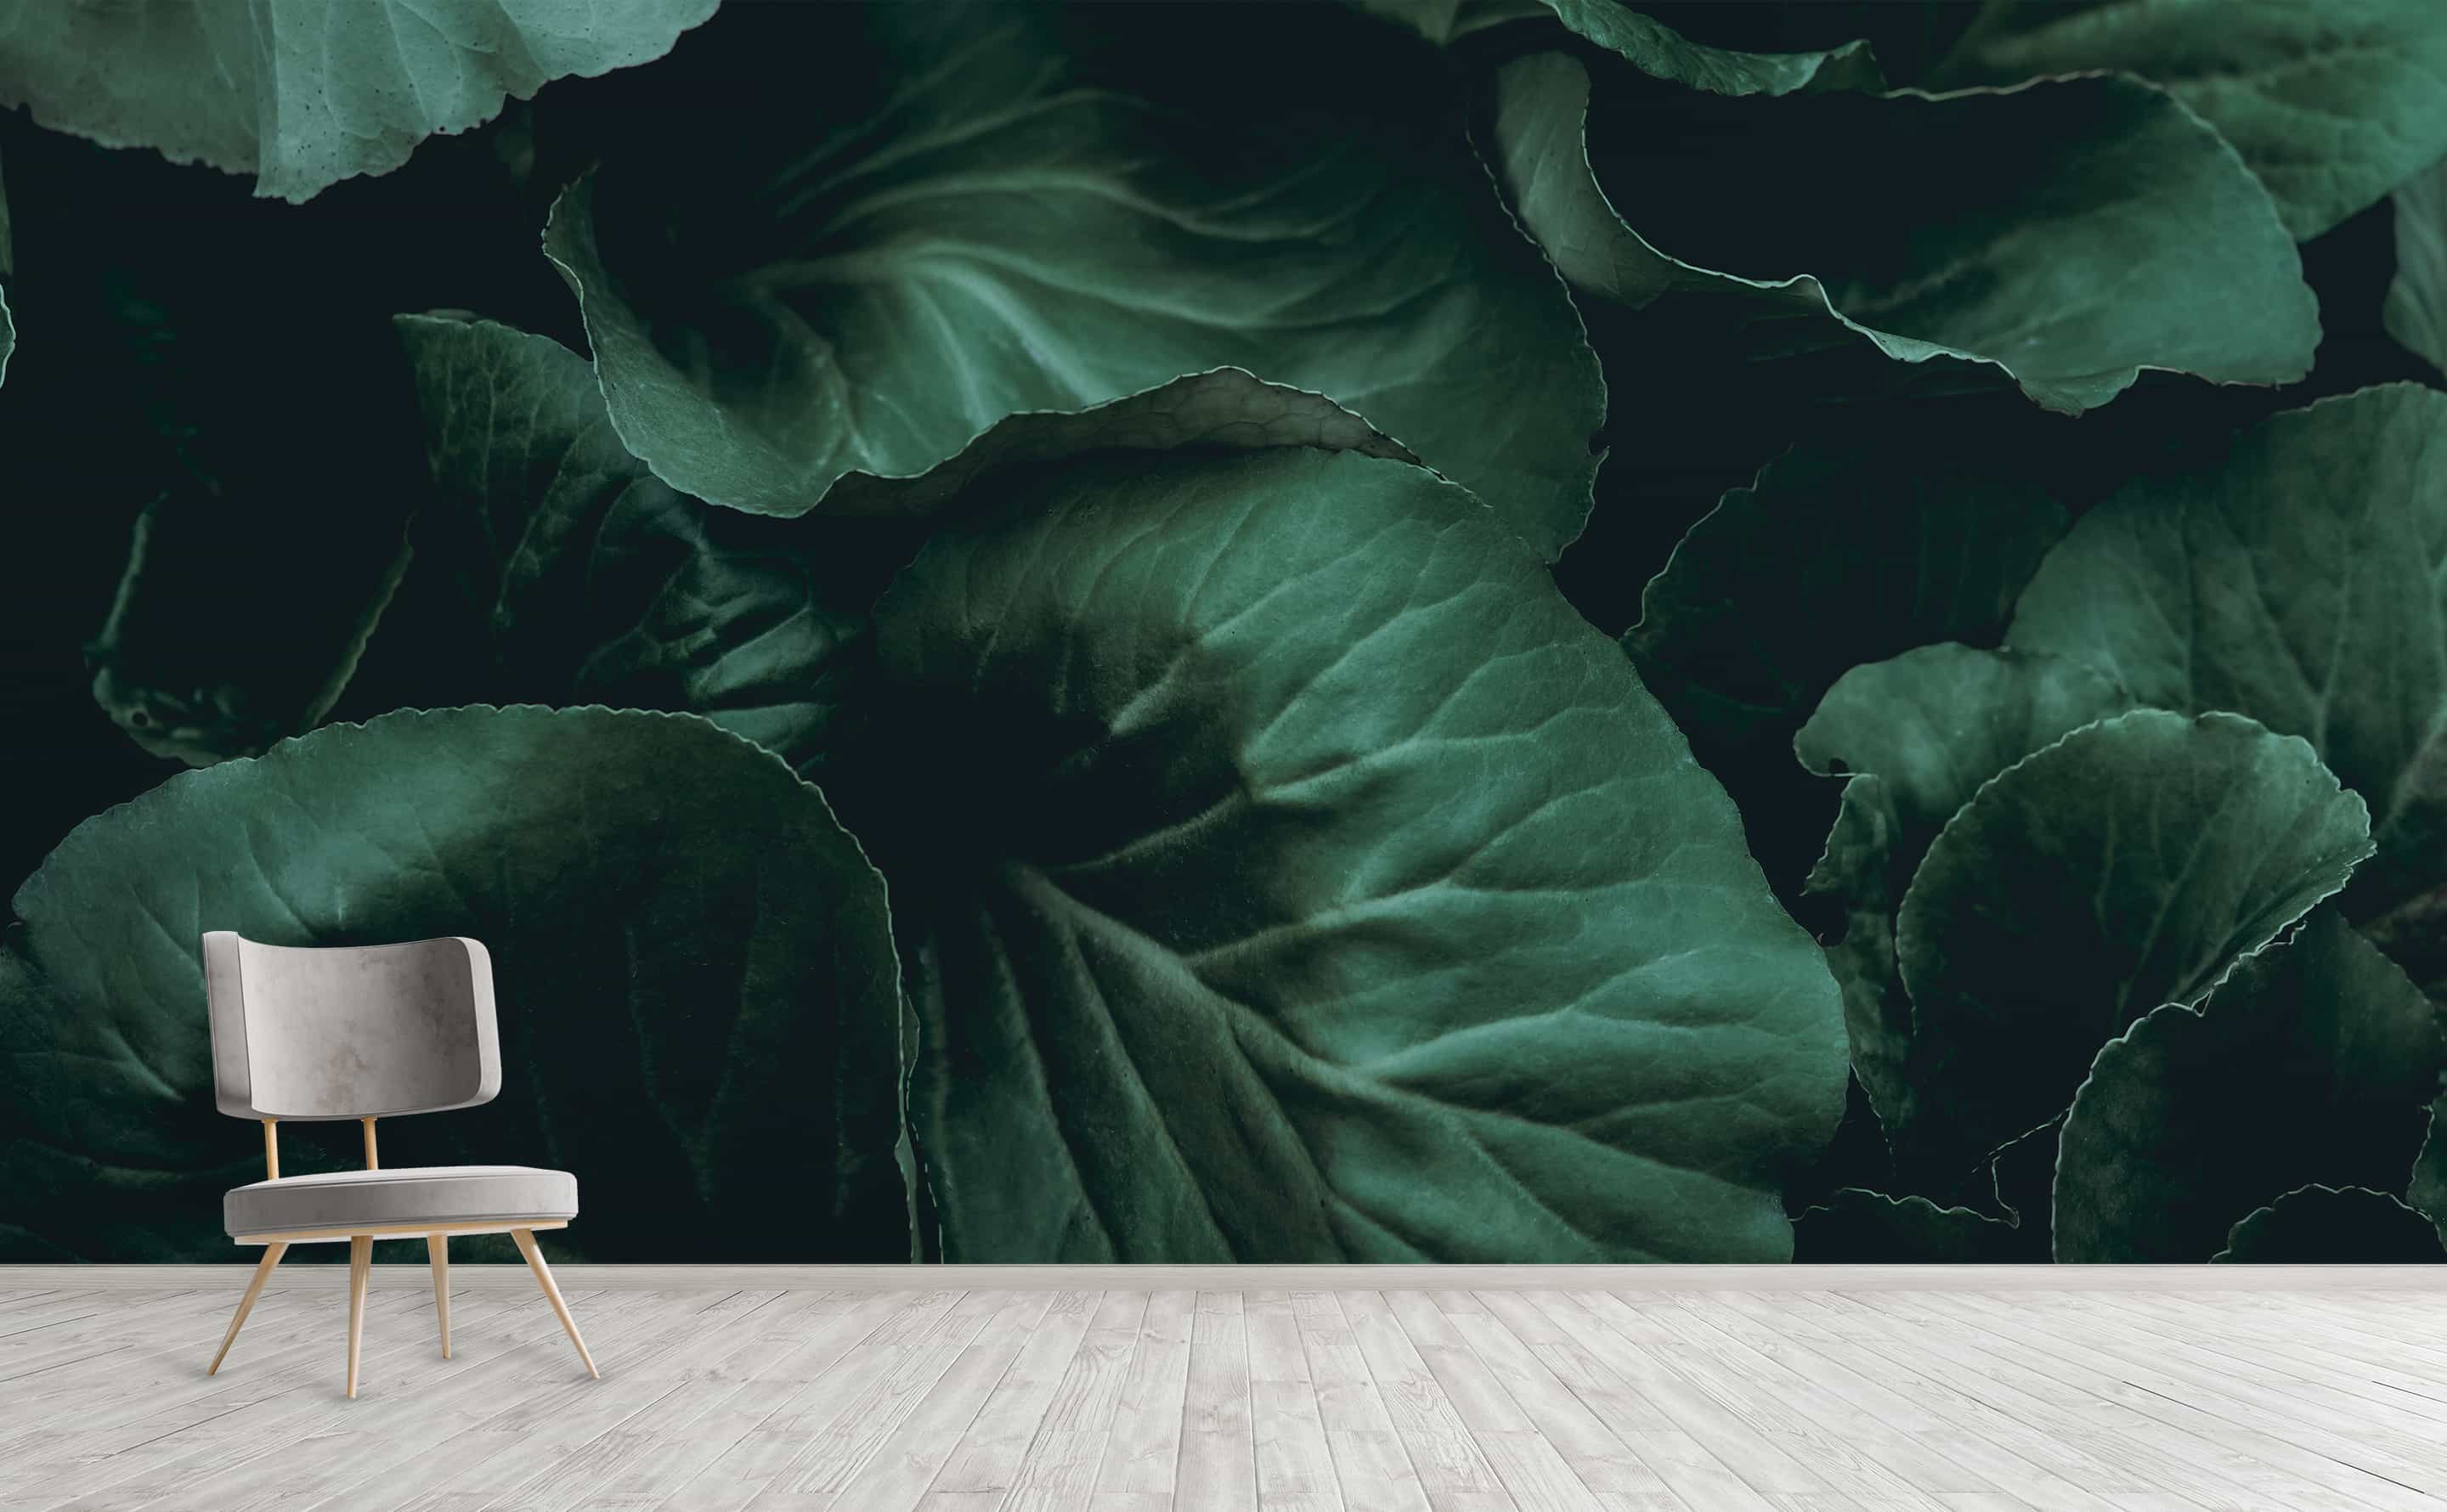
Forest Flora
Green Leaf Foliage Wall Mural | Forest Flora
Forest Flora
Green Leaf Foliage Wall Mural | Forest Flora
Forest Flora
Green Leaf Foliage Wall Mural | Forest Flora
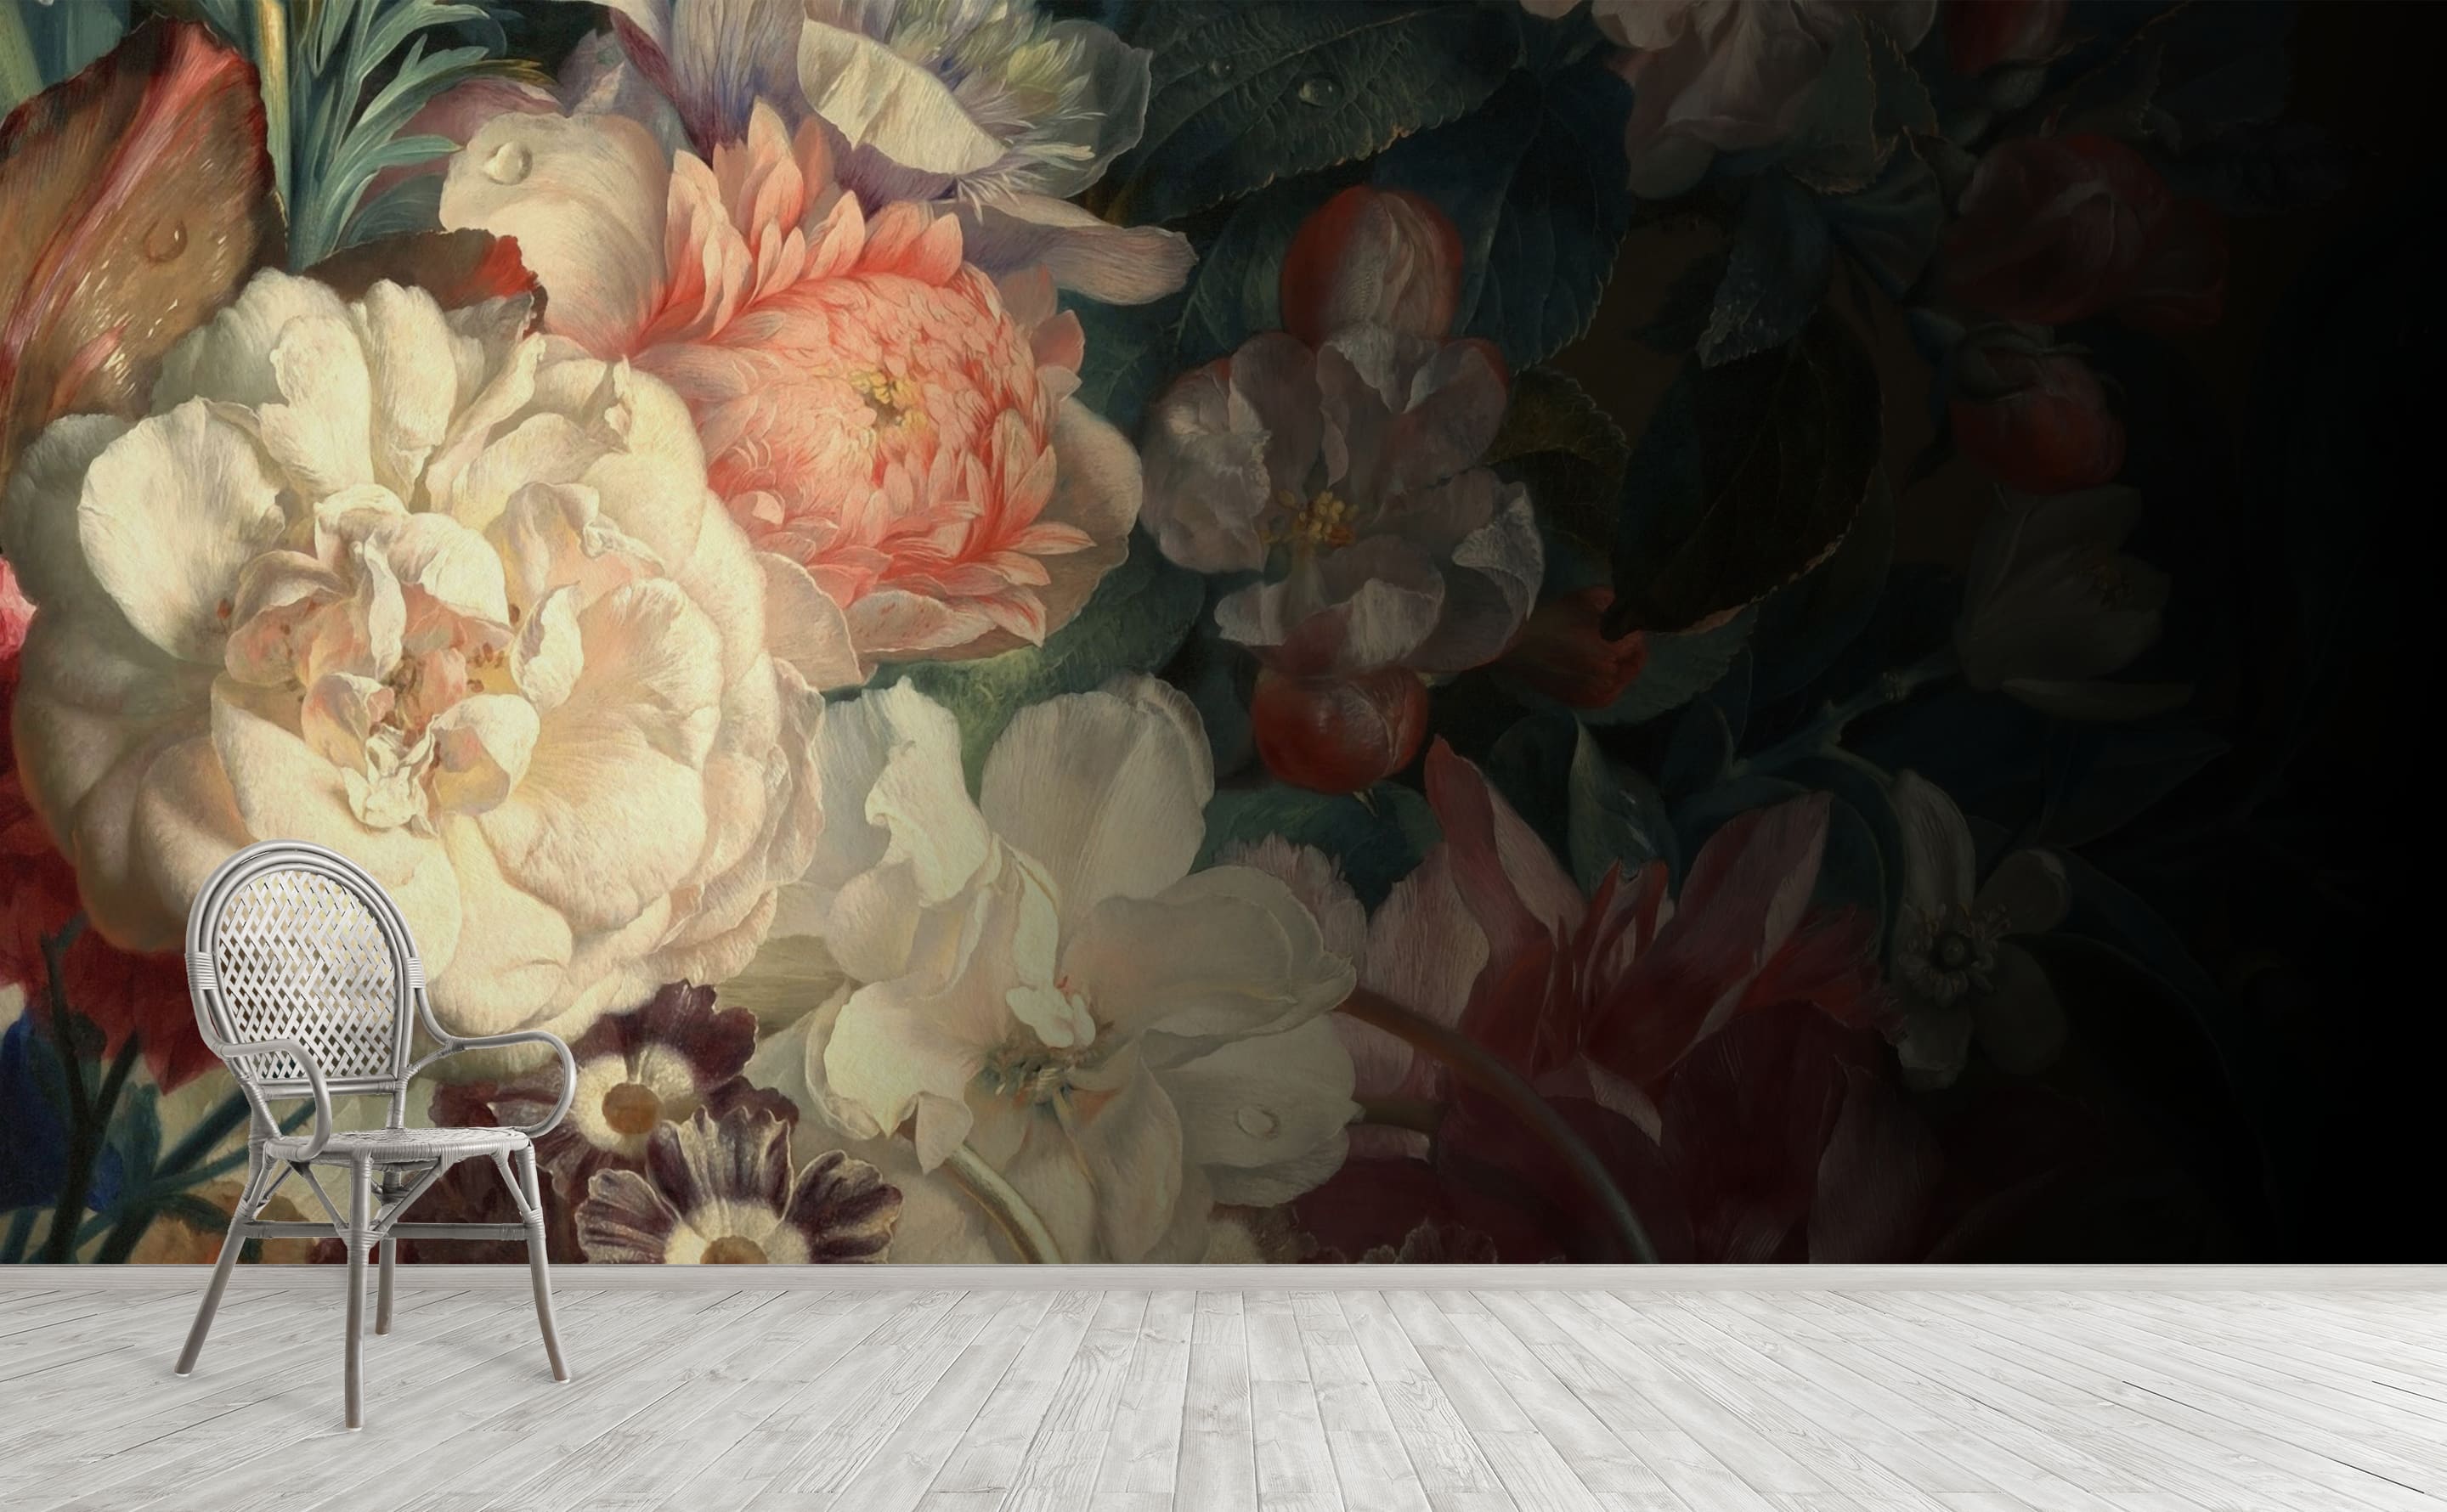
Dark Romance
Still Life Flowers Wall Mural | Dark Romance
Dark Romance
Still Life Flowers Wall Mural | Dark Romance
Dark Romance
Still Life Flowers Wall Mural | Dark Romance
Vibrant Dreams
Bold Floral Wall Mural | Vibrant Dreams
Vibrant Dreams
Bold Floral Wall Mural | Vibrant Dreams
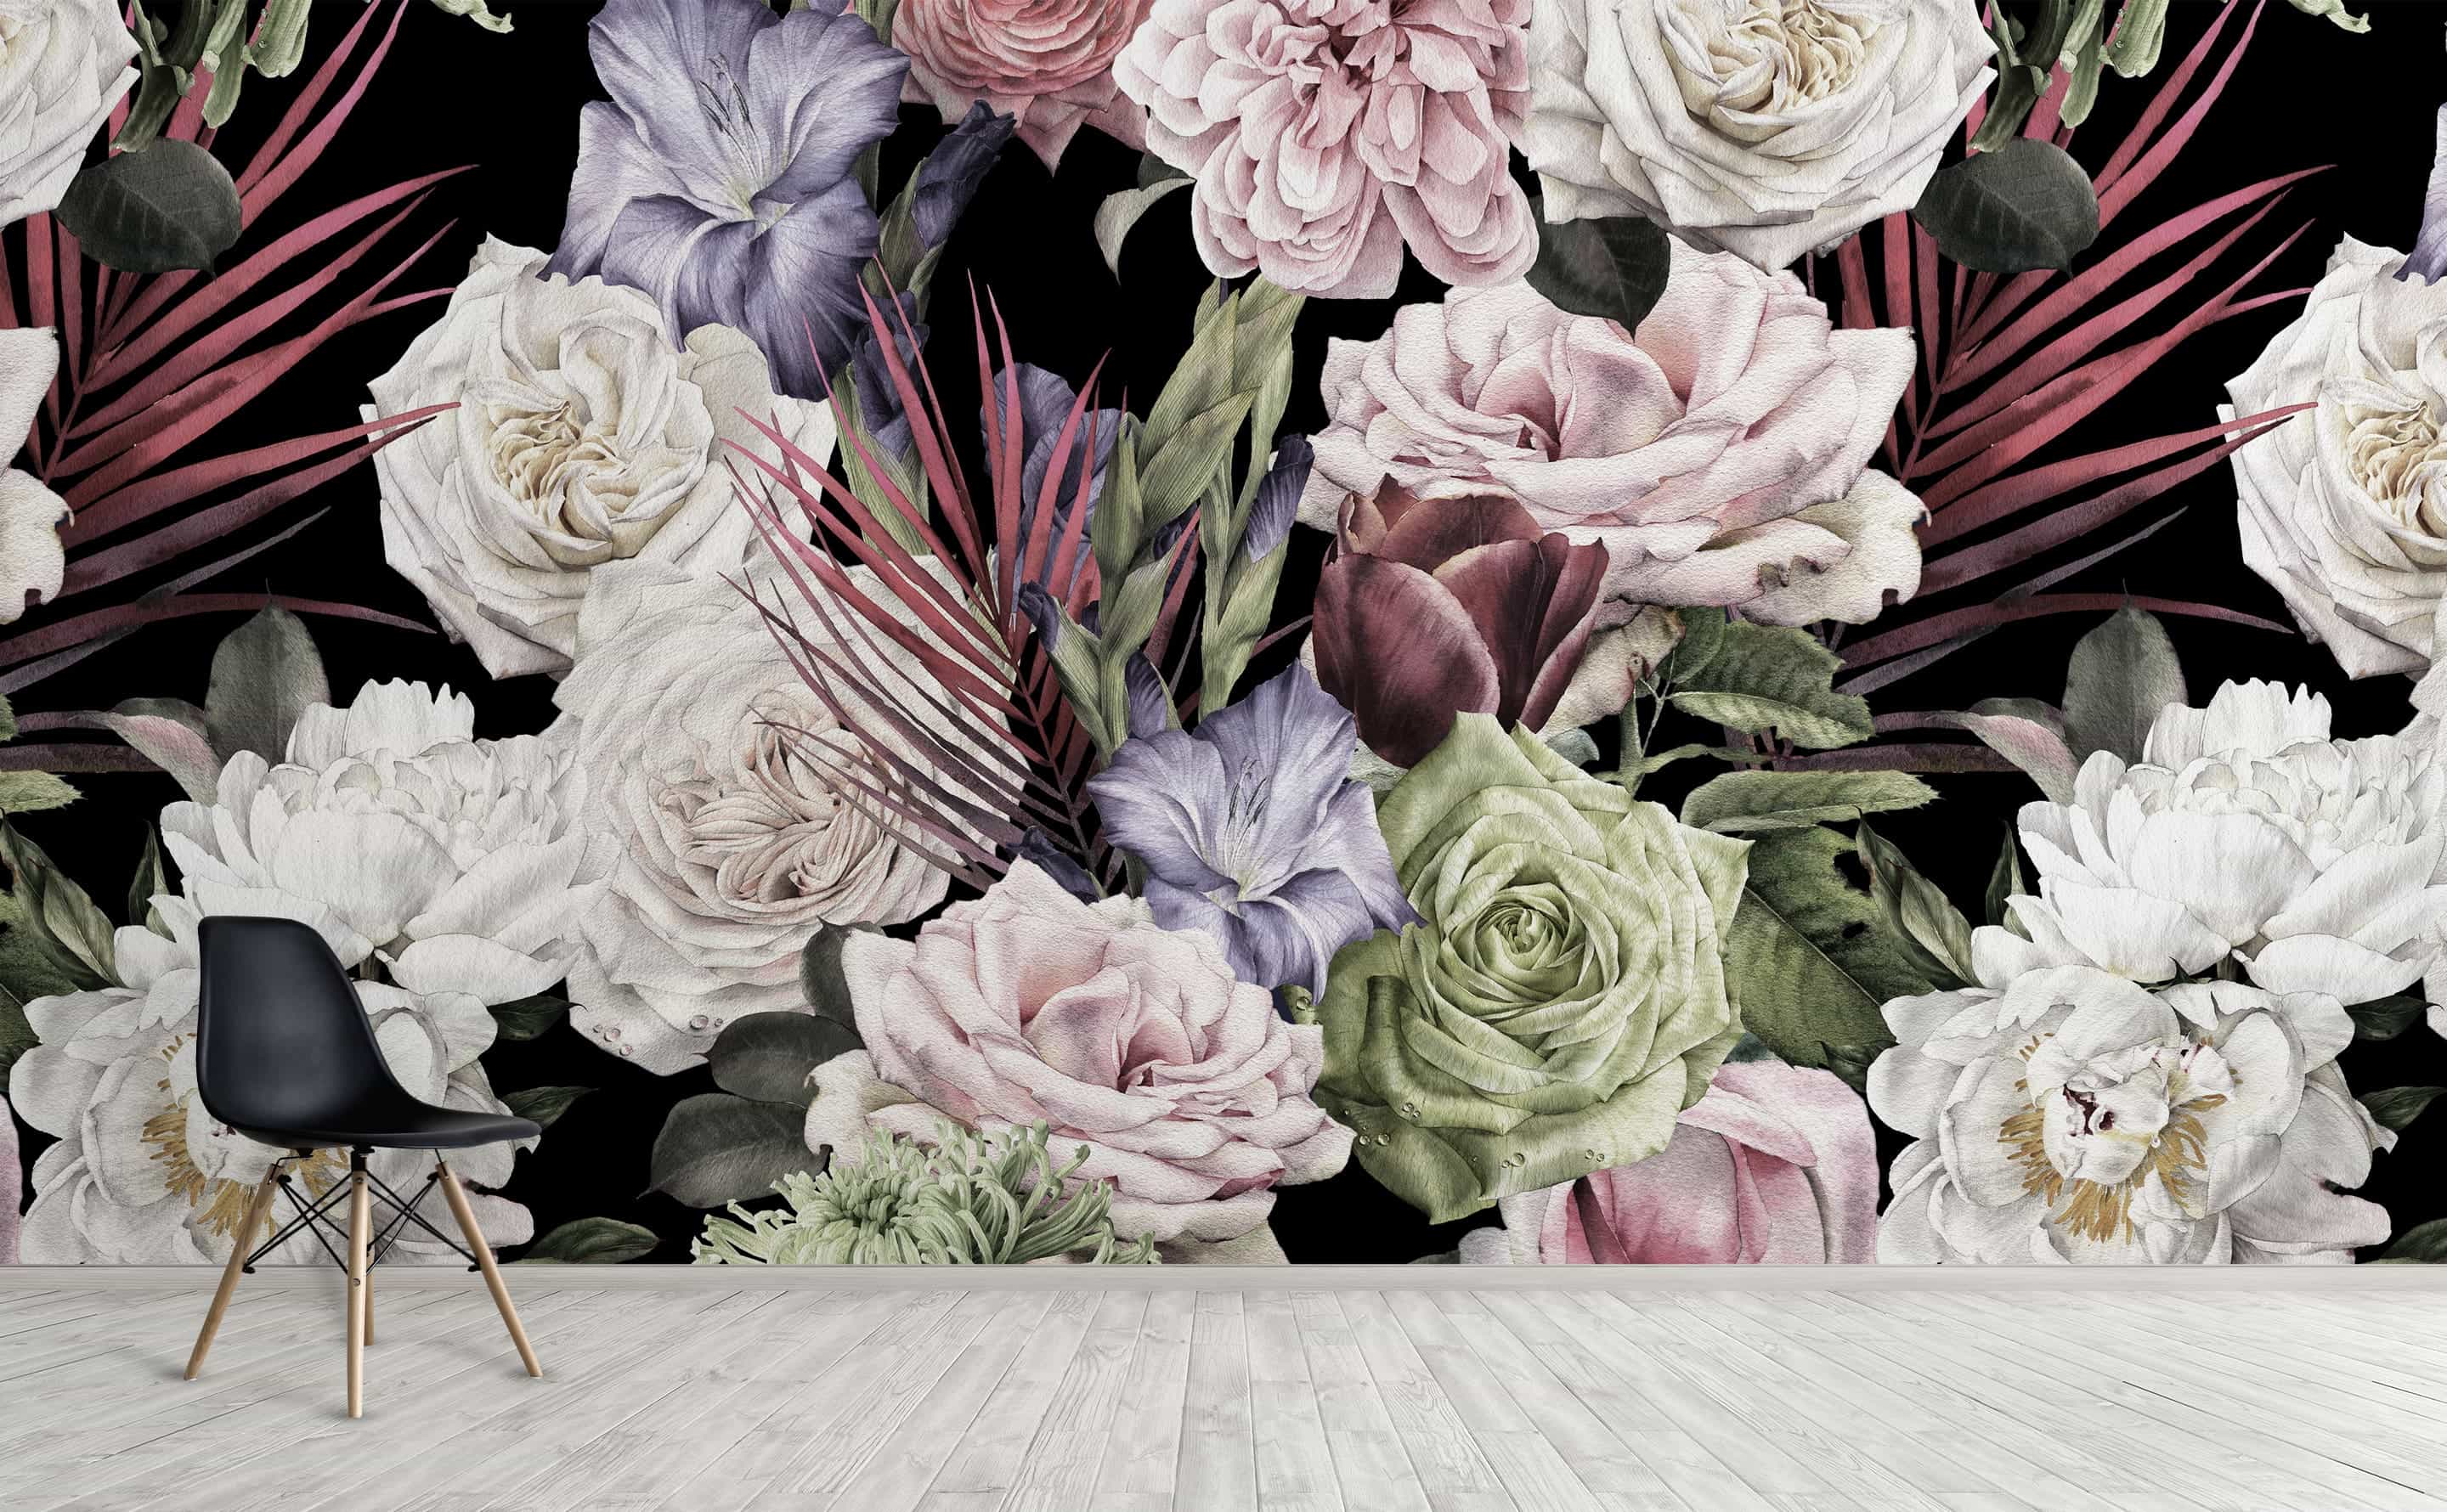
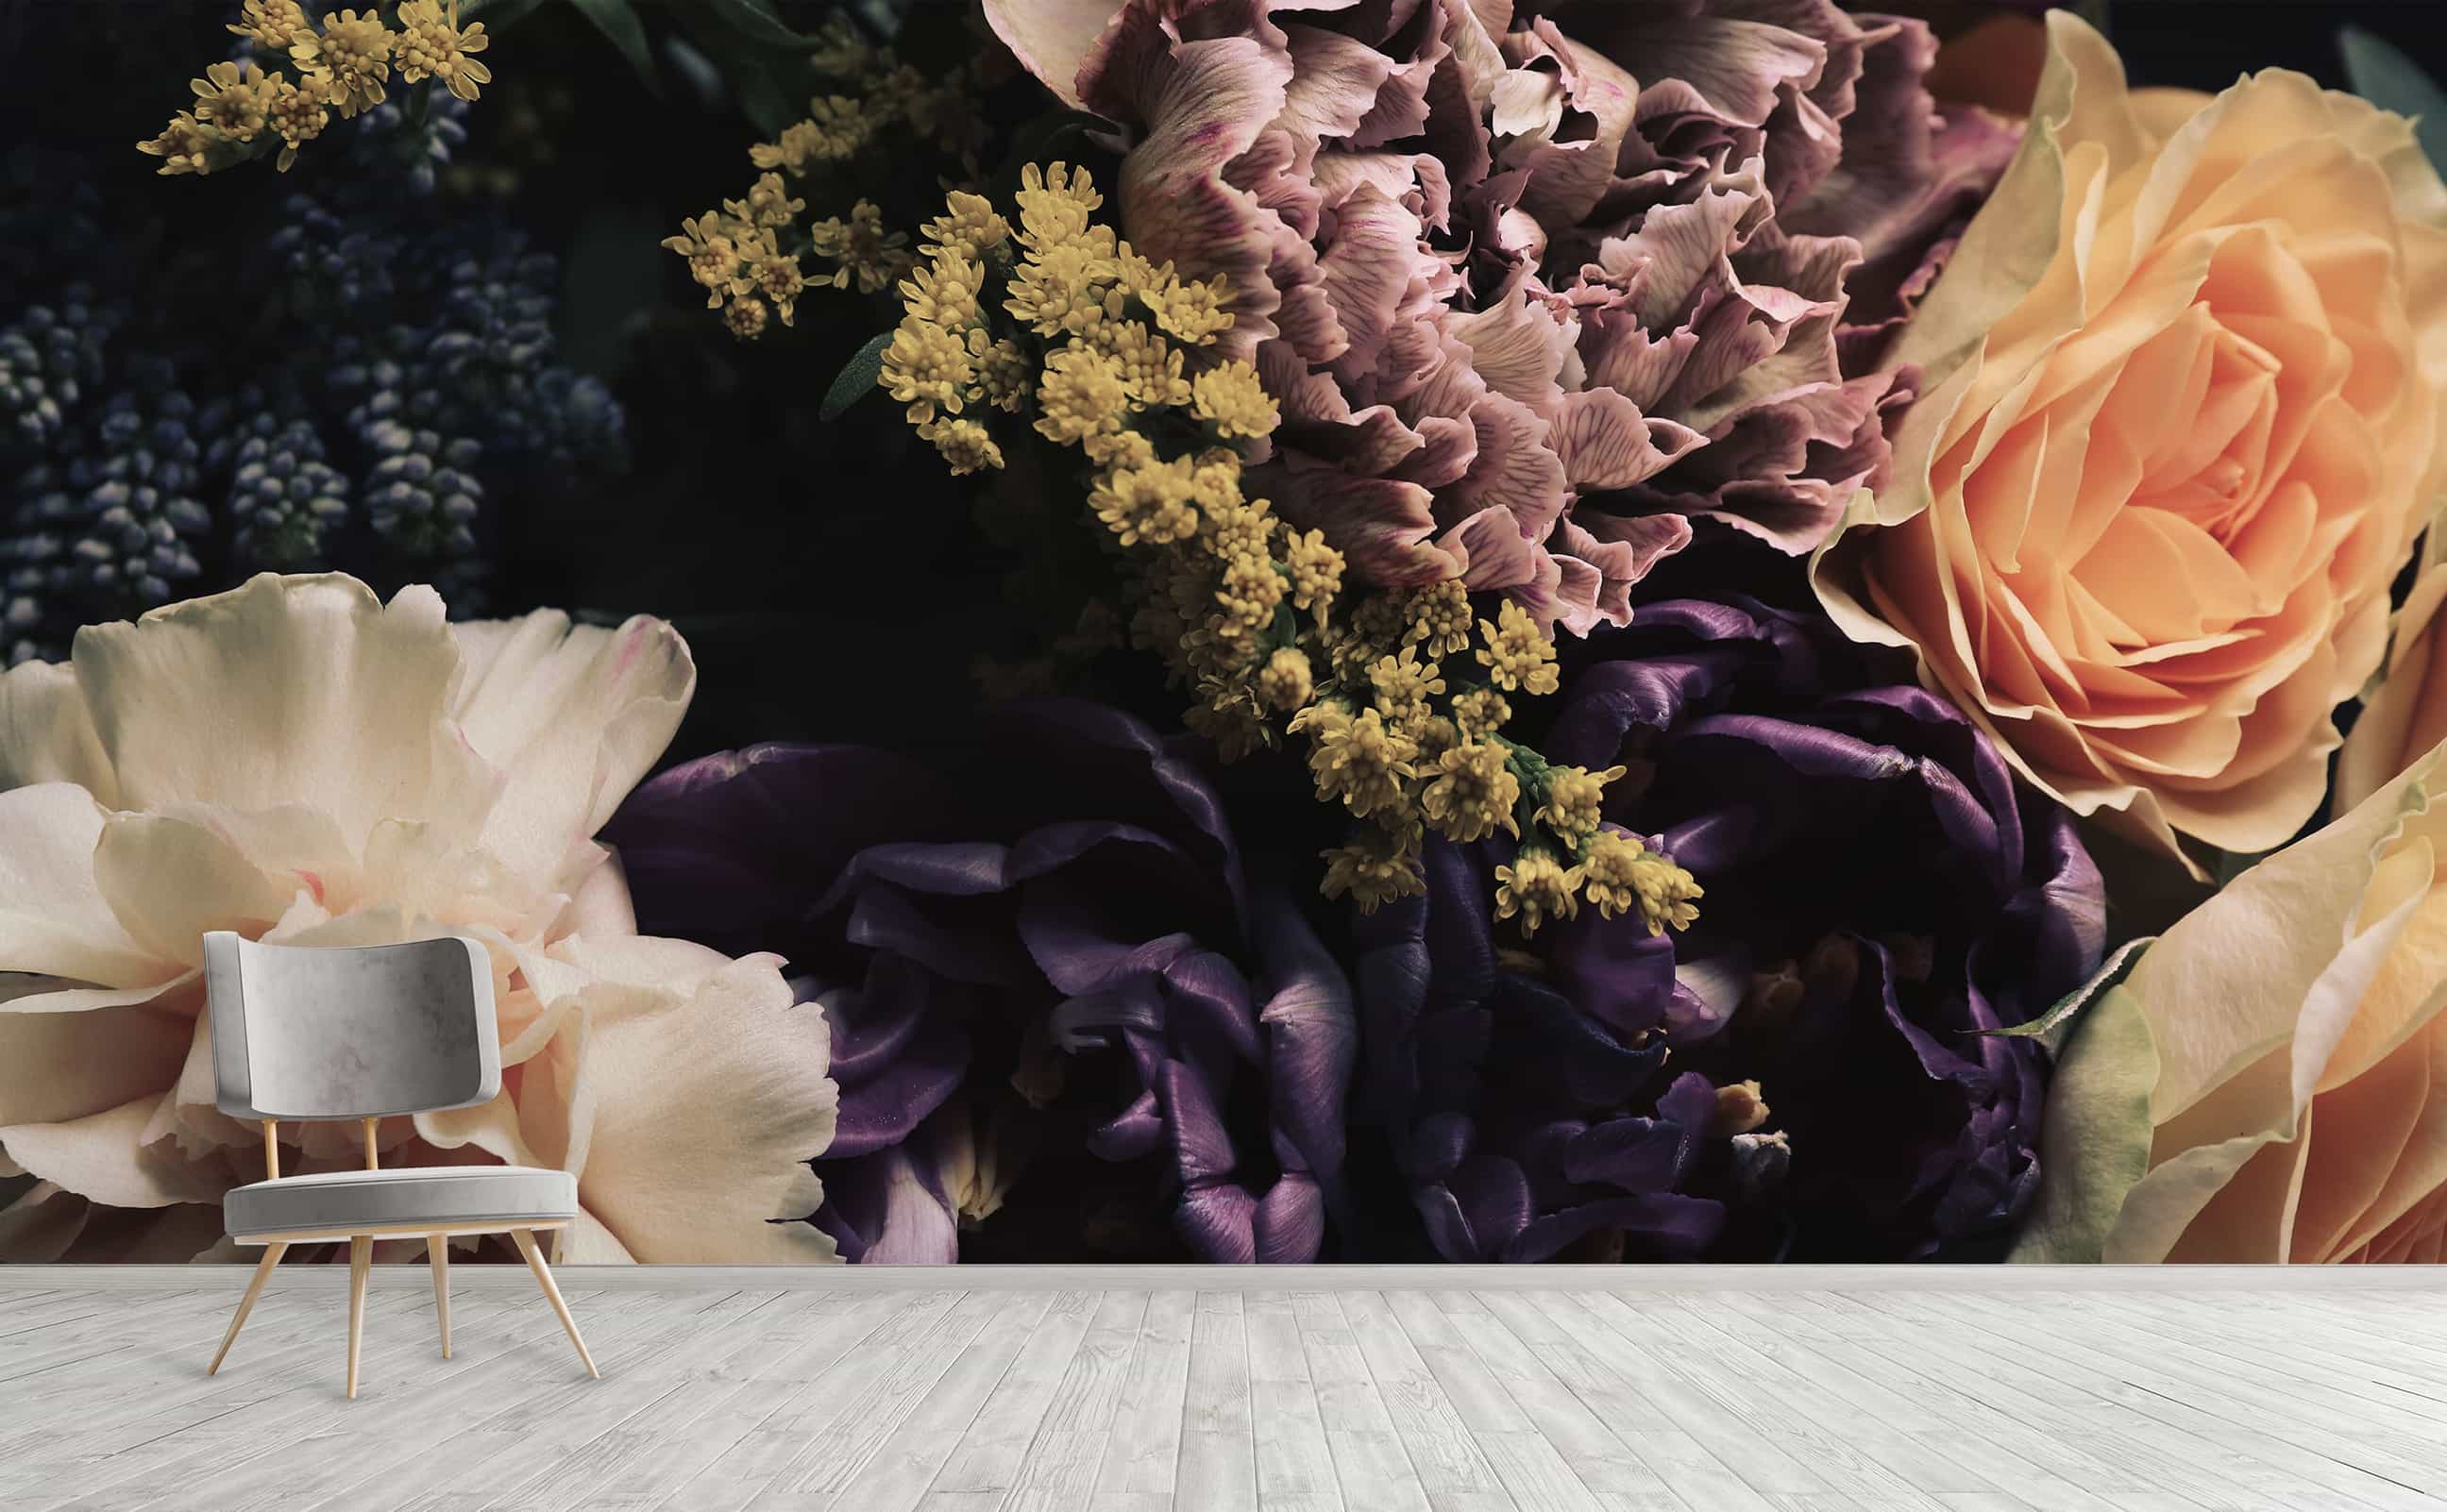
Dusk Blooms
Flower Arrangement Wall Mural | Dusk Blooms
Dusk Blooms
Flower Arrangement Wall Mural | Dusk Blooms
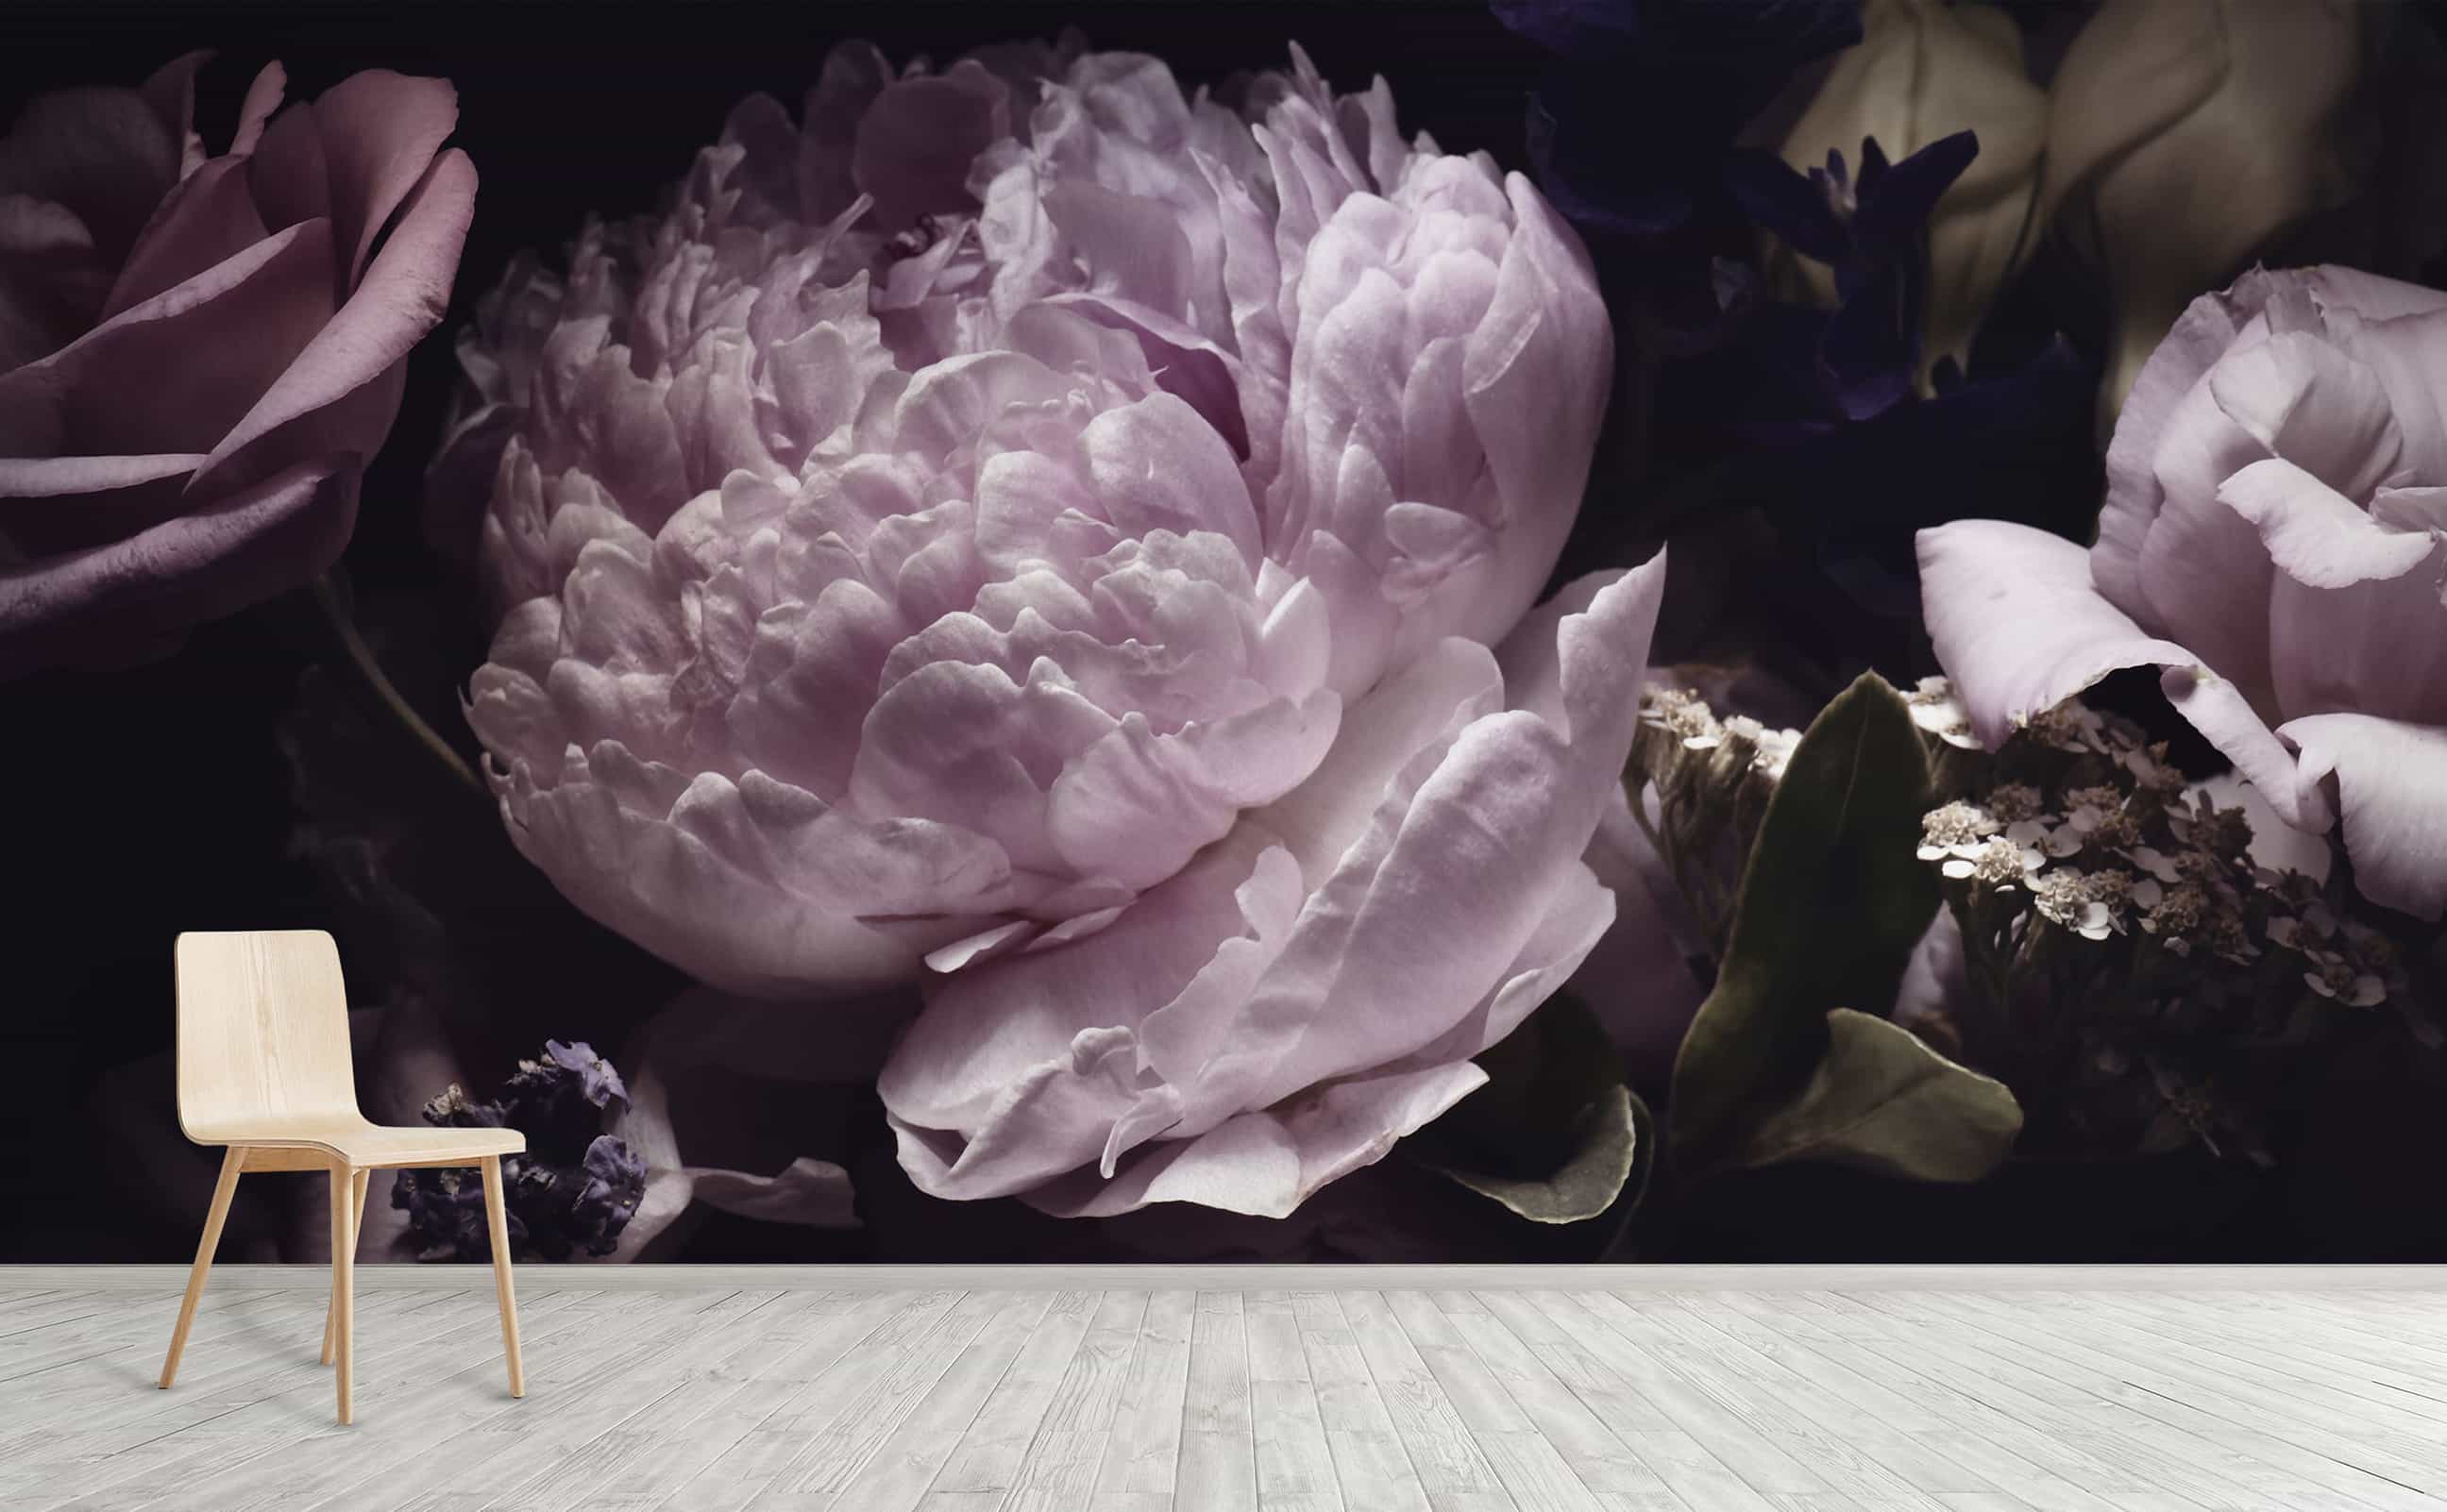
Lavender Nights
Lavender Peonies Wall Mural | Lavender Nights
Lavender Nights
Lavender Peonies Wall Mural | Lavender Nights
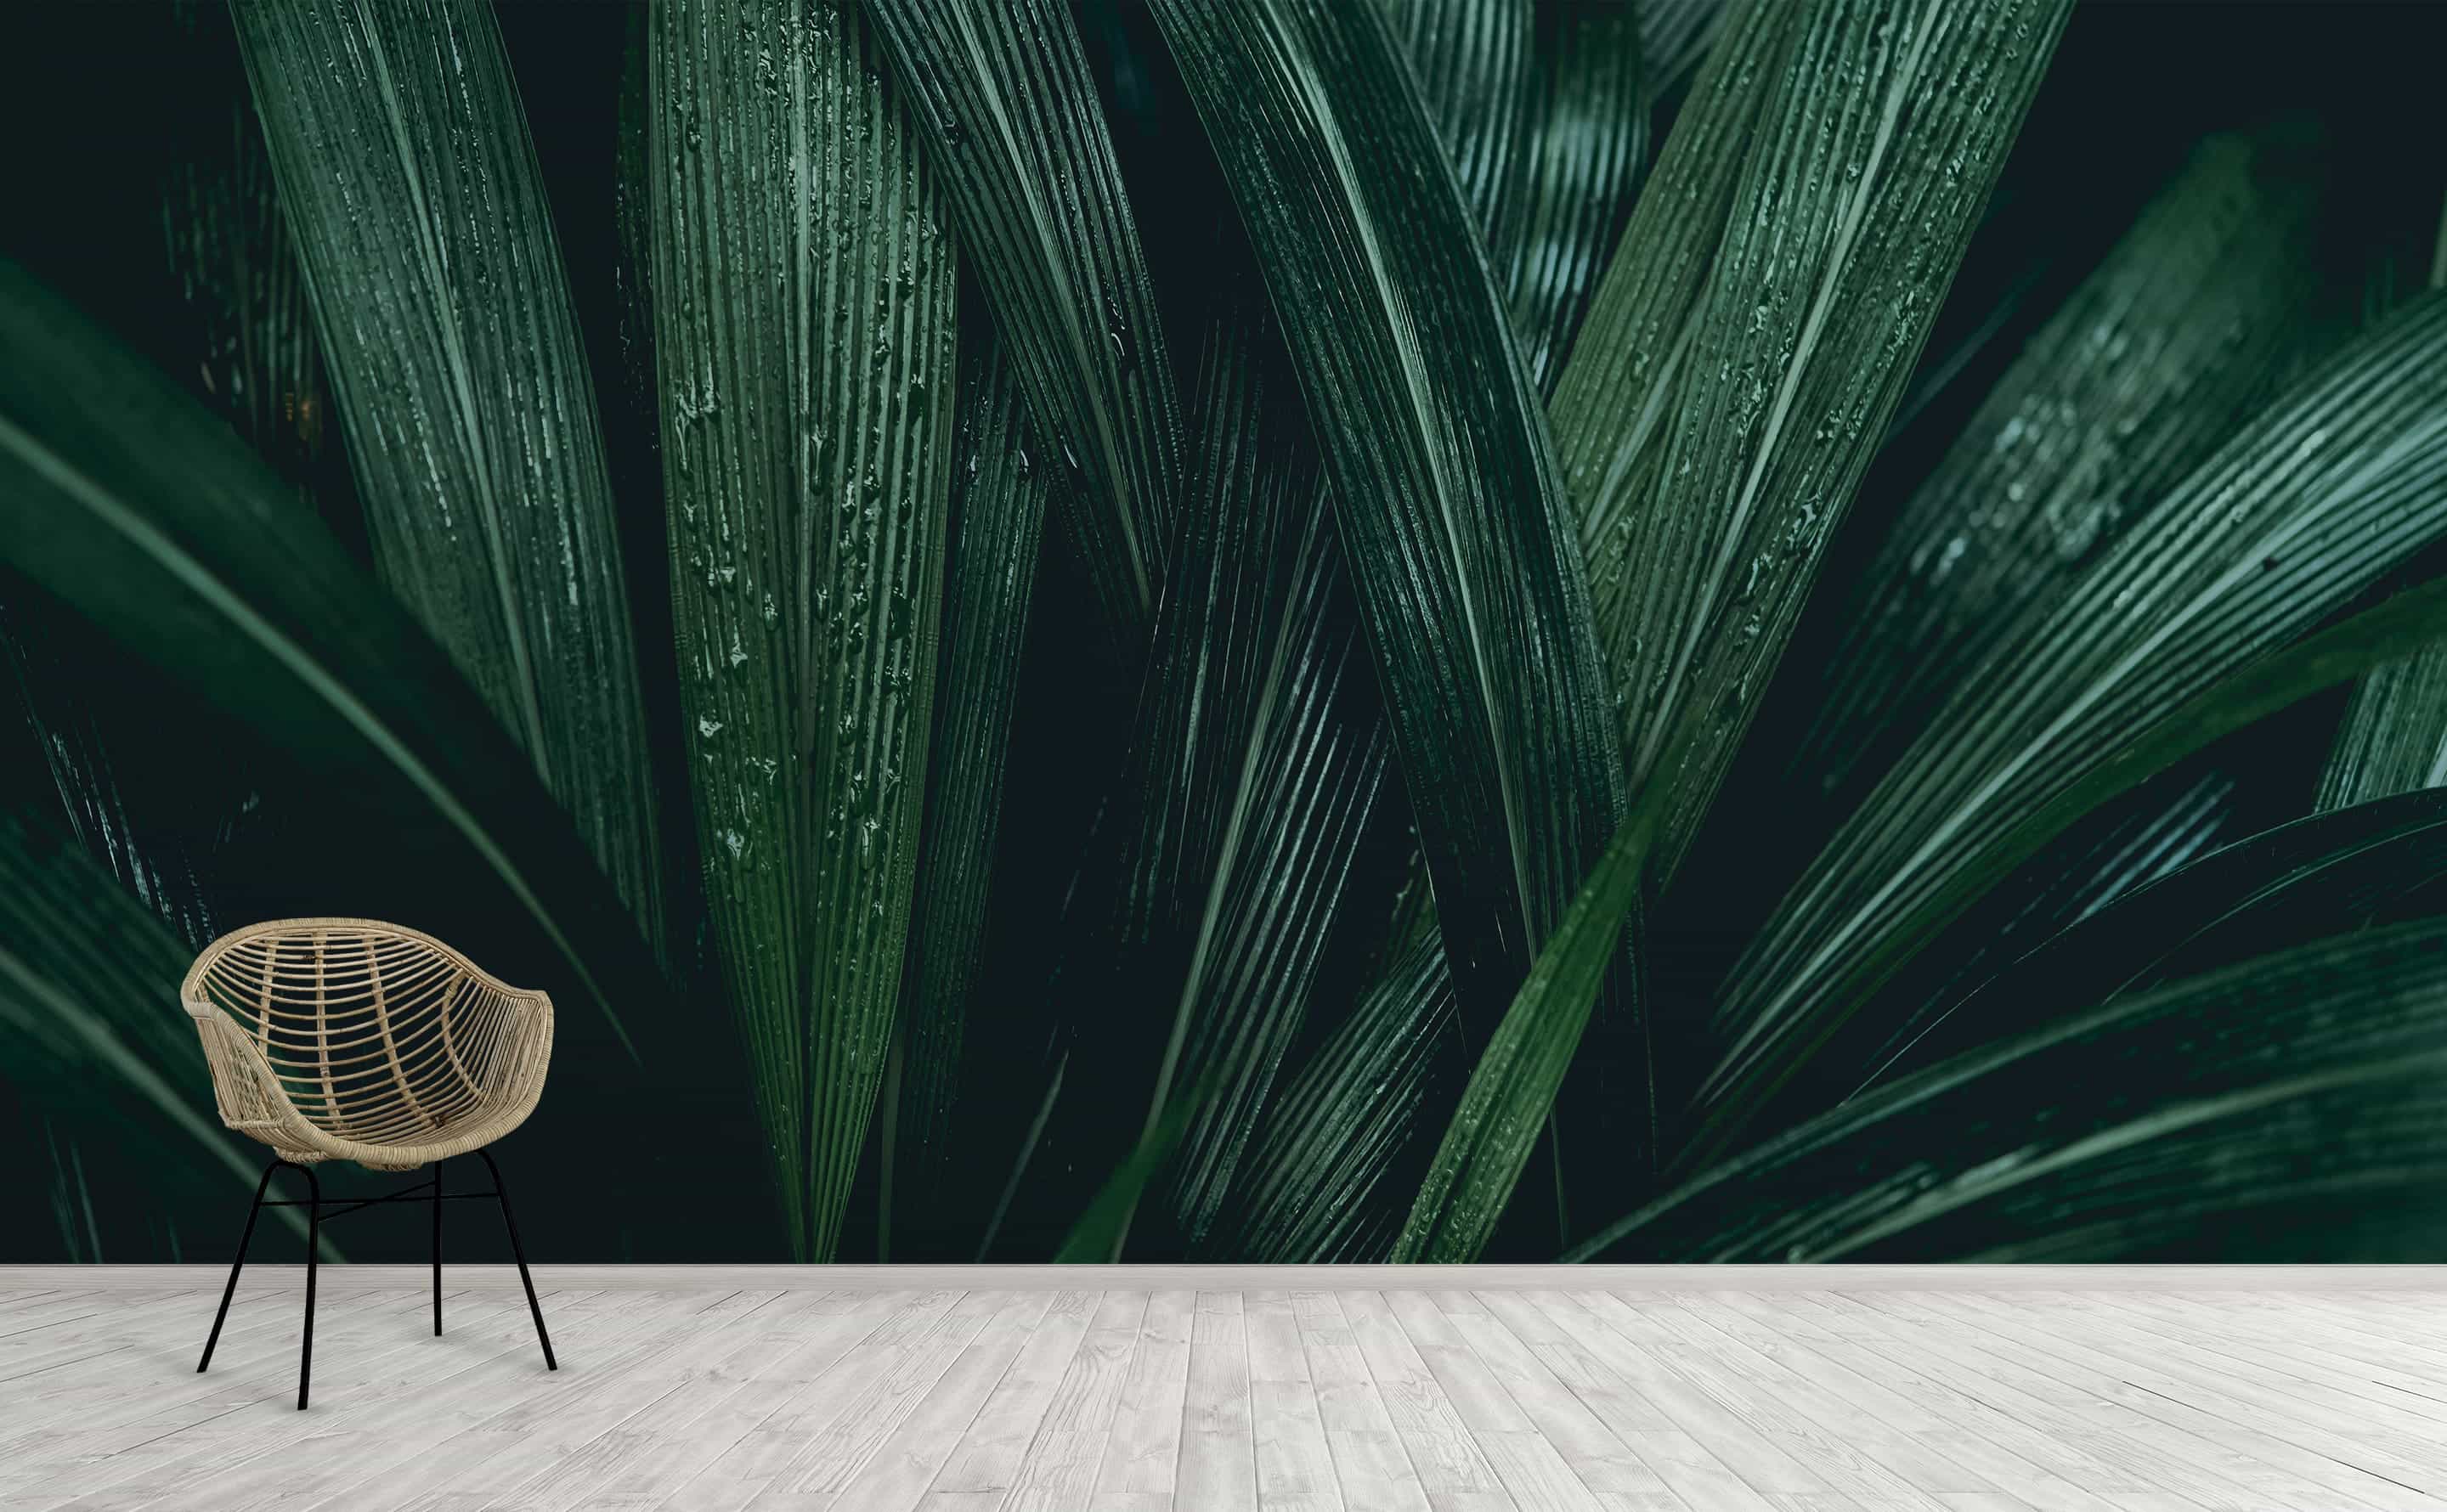
Midnight Rain
Tropical Rainforest Leaves Wall Mural | Midnight Rain
Midnight Rain
Tropical Rainforest Leaves Wall Mural | Midnight Rain
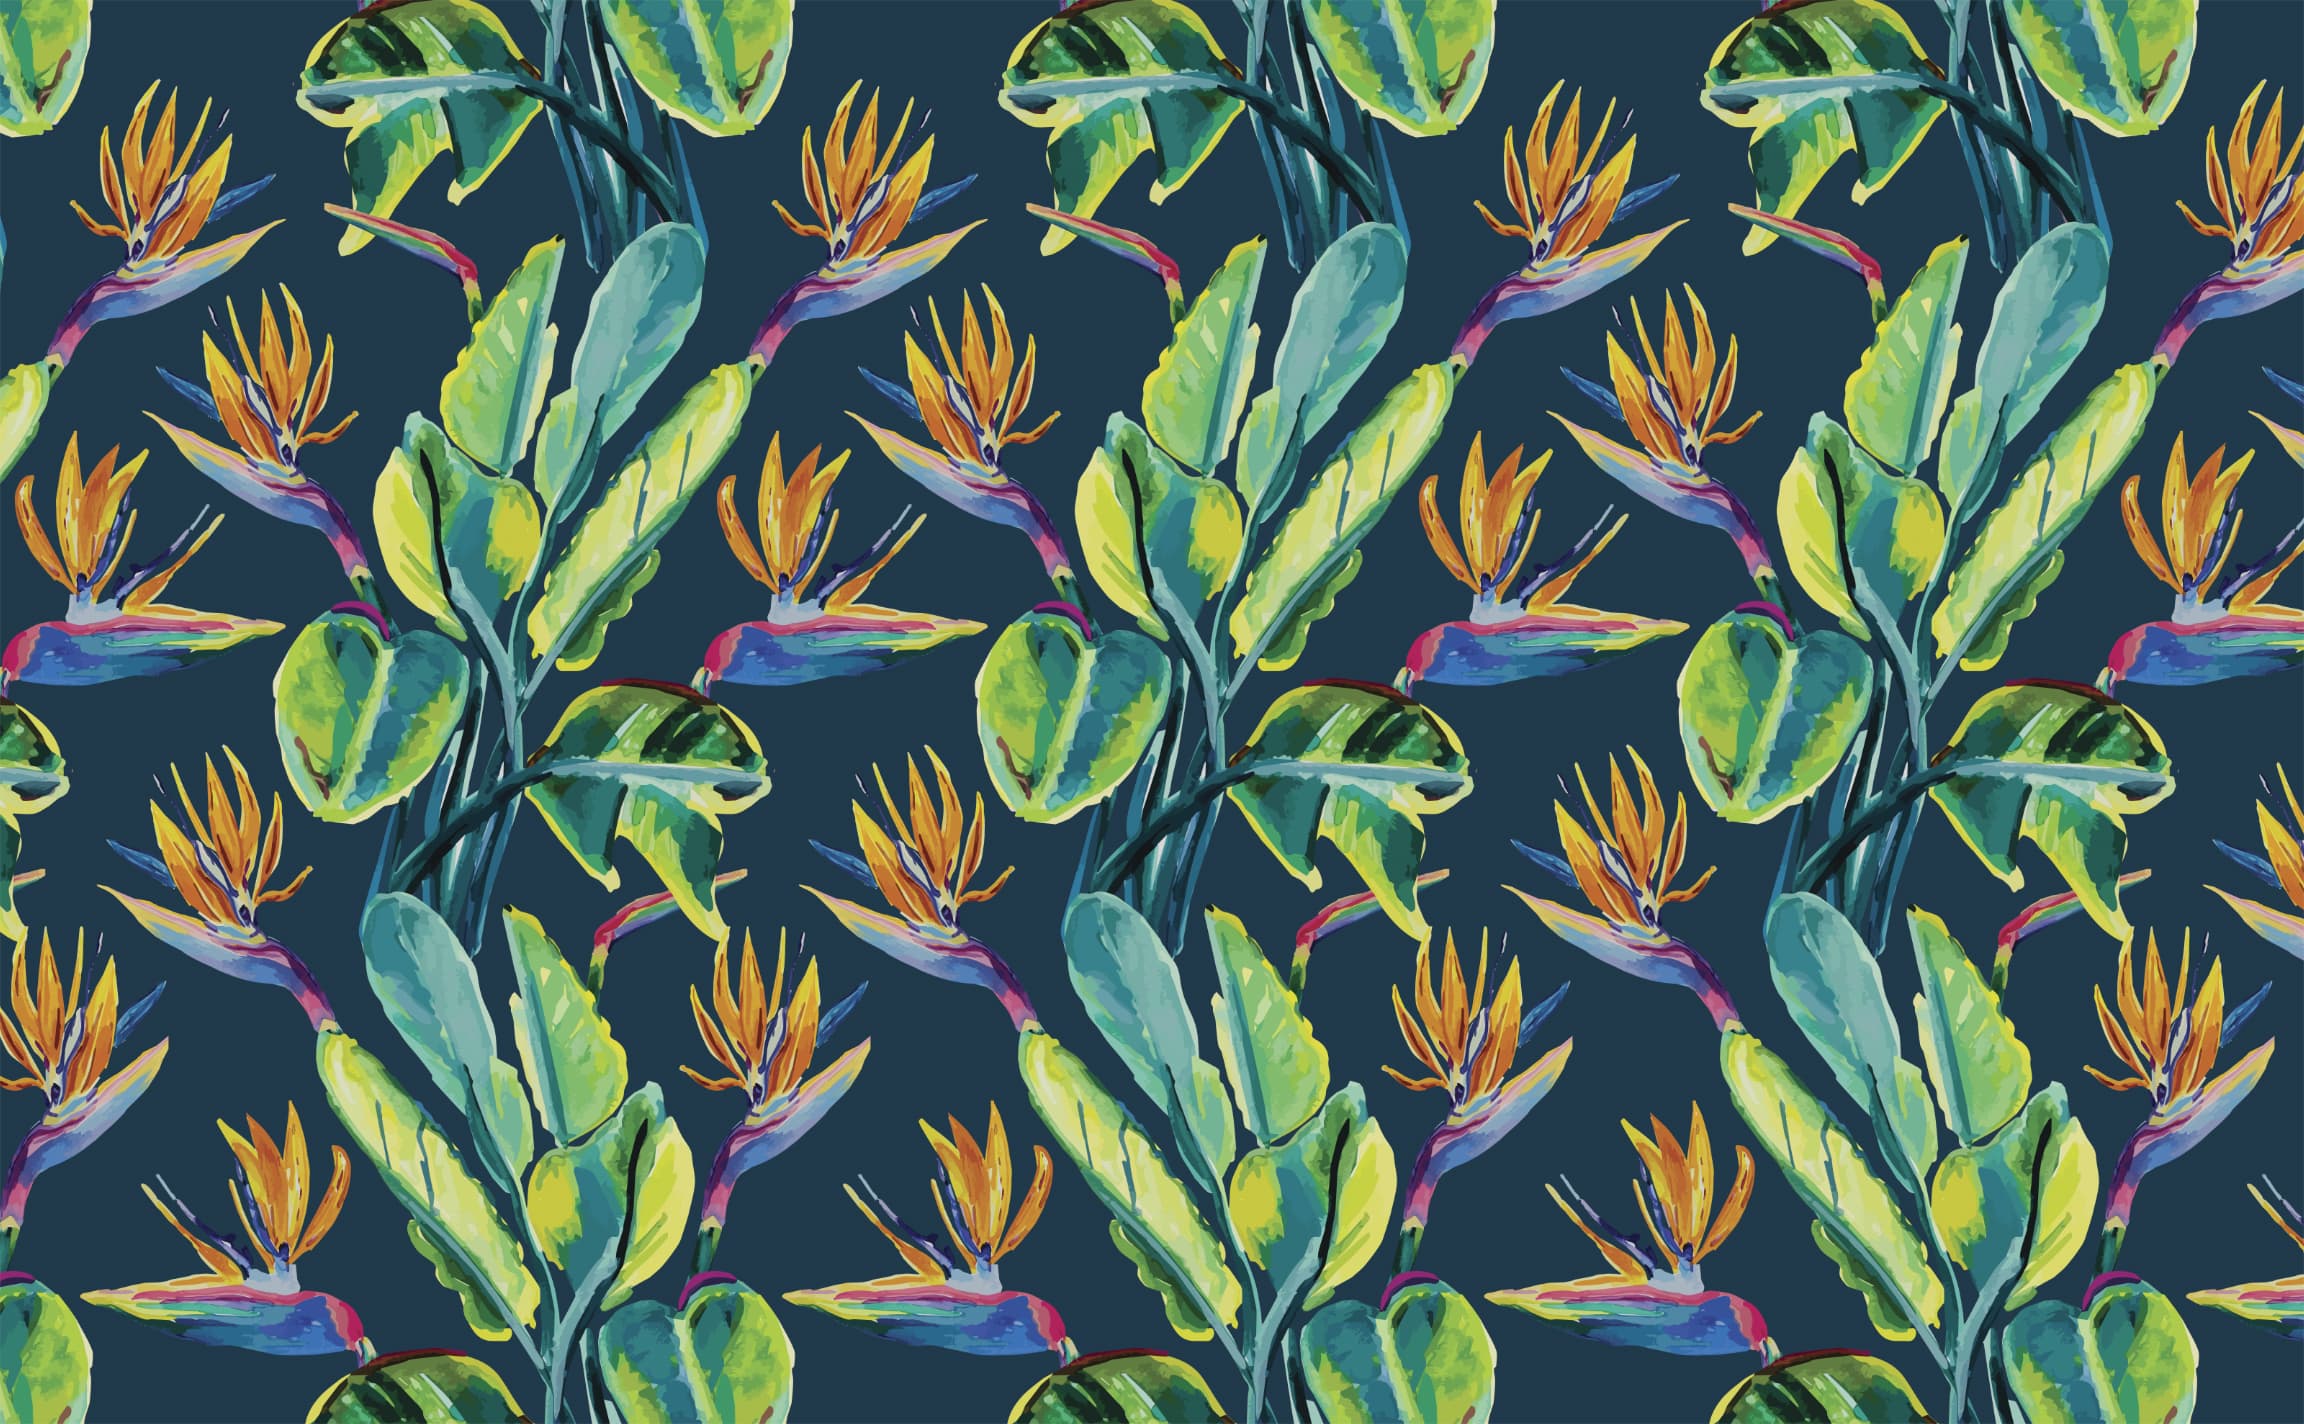
Whispers of Paradise
birds of paradise with Light orange blooms and accents of pink, lavender, and blue Pattern Wallpaper
Whispers of Paradise
birds of paradise with Light orange blooms and accents of pink, lavender, and blue Pattern Wallpaper
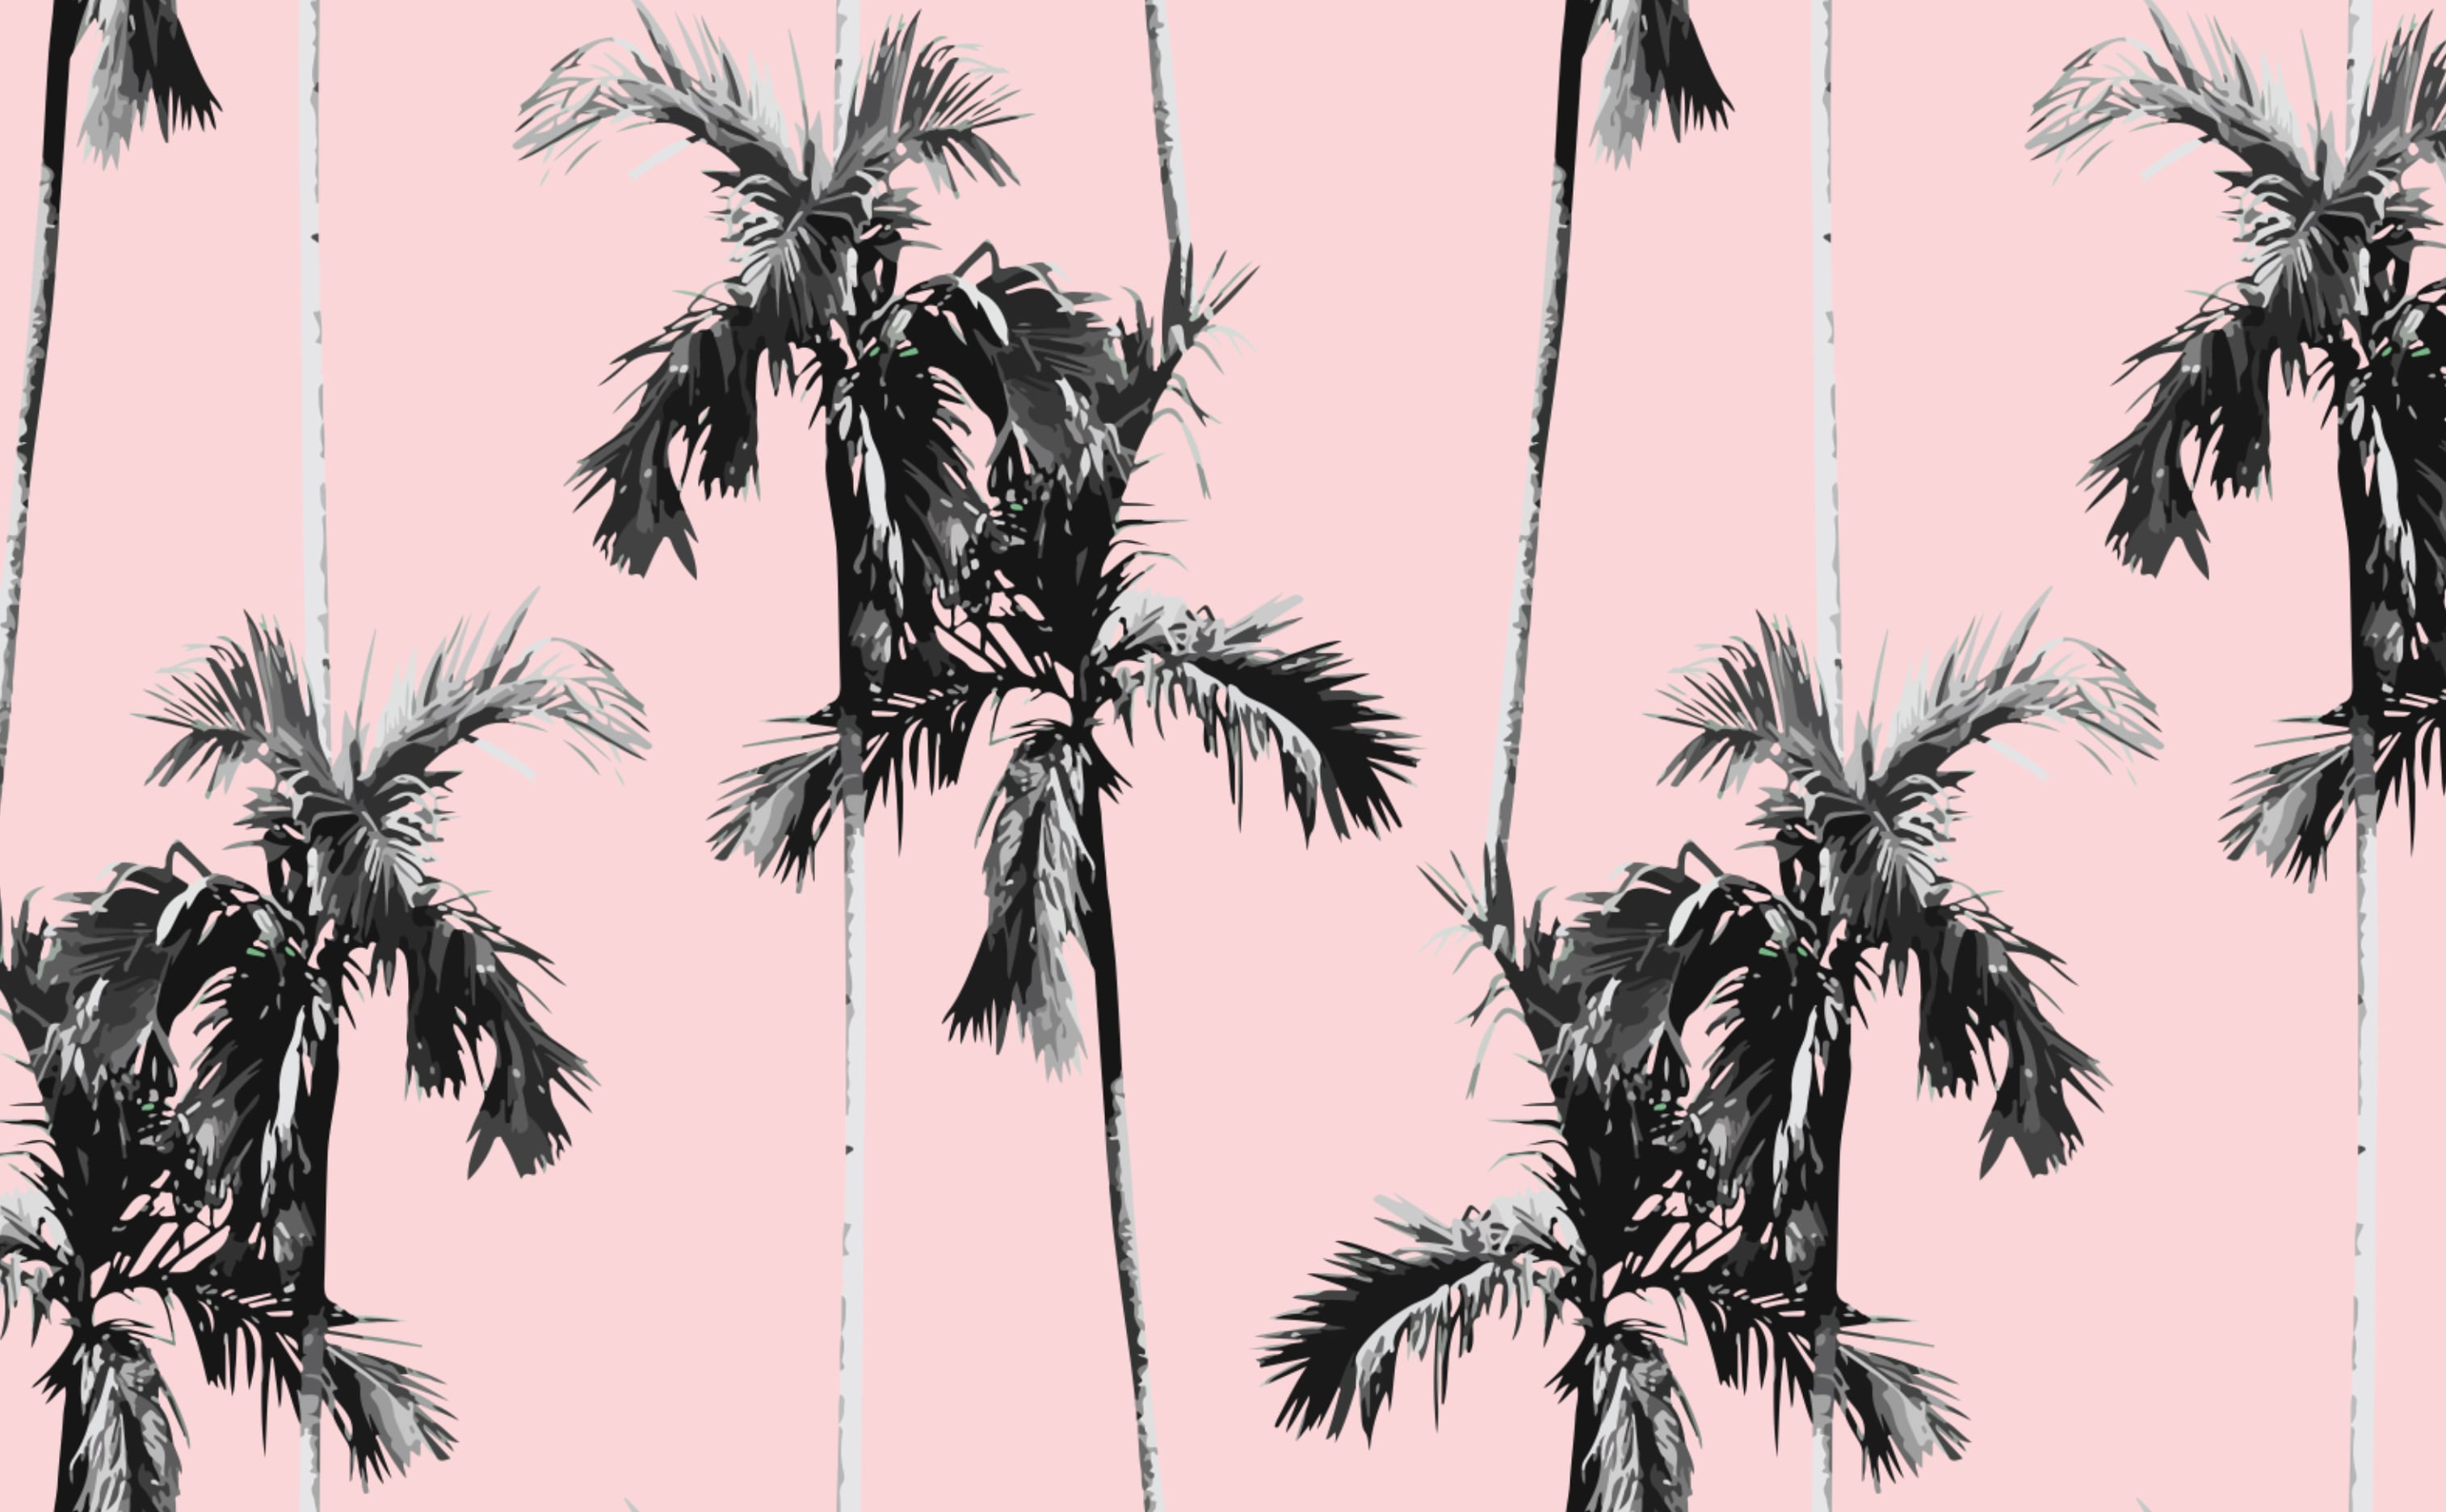
Forever Palms
Vintage Photo Look Palm Trees Wallpaper
Forever Palms
Vintage Photo Look Palm Trees Wallpaper
Forever Palms
Vintage Photo Look Palm Trees Wallpaper
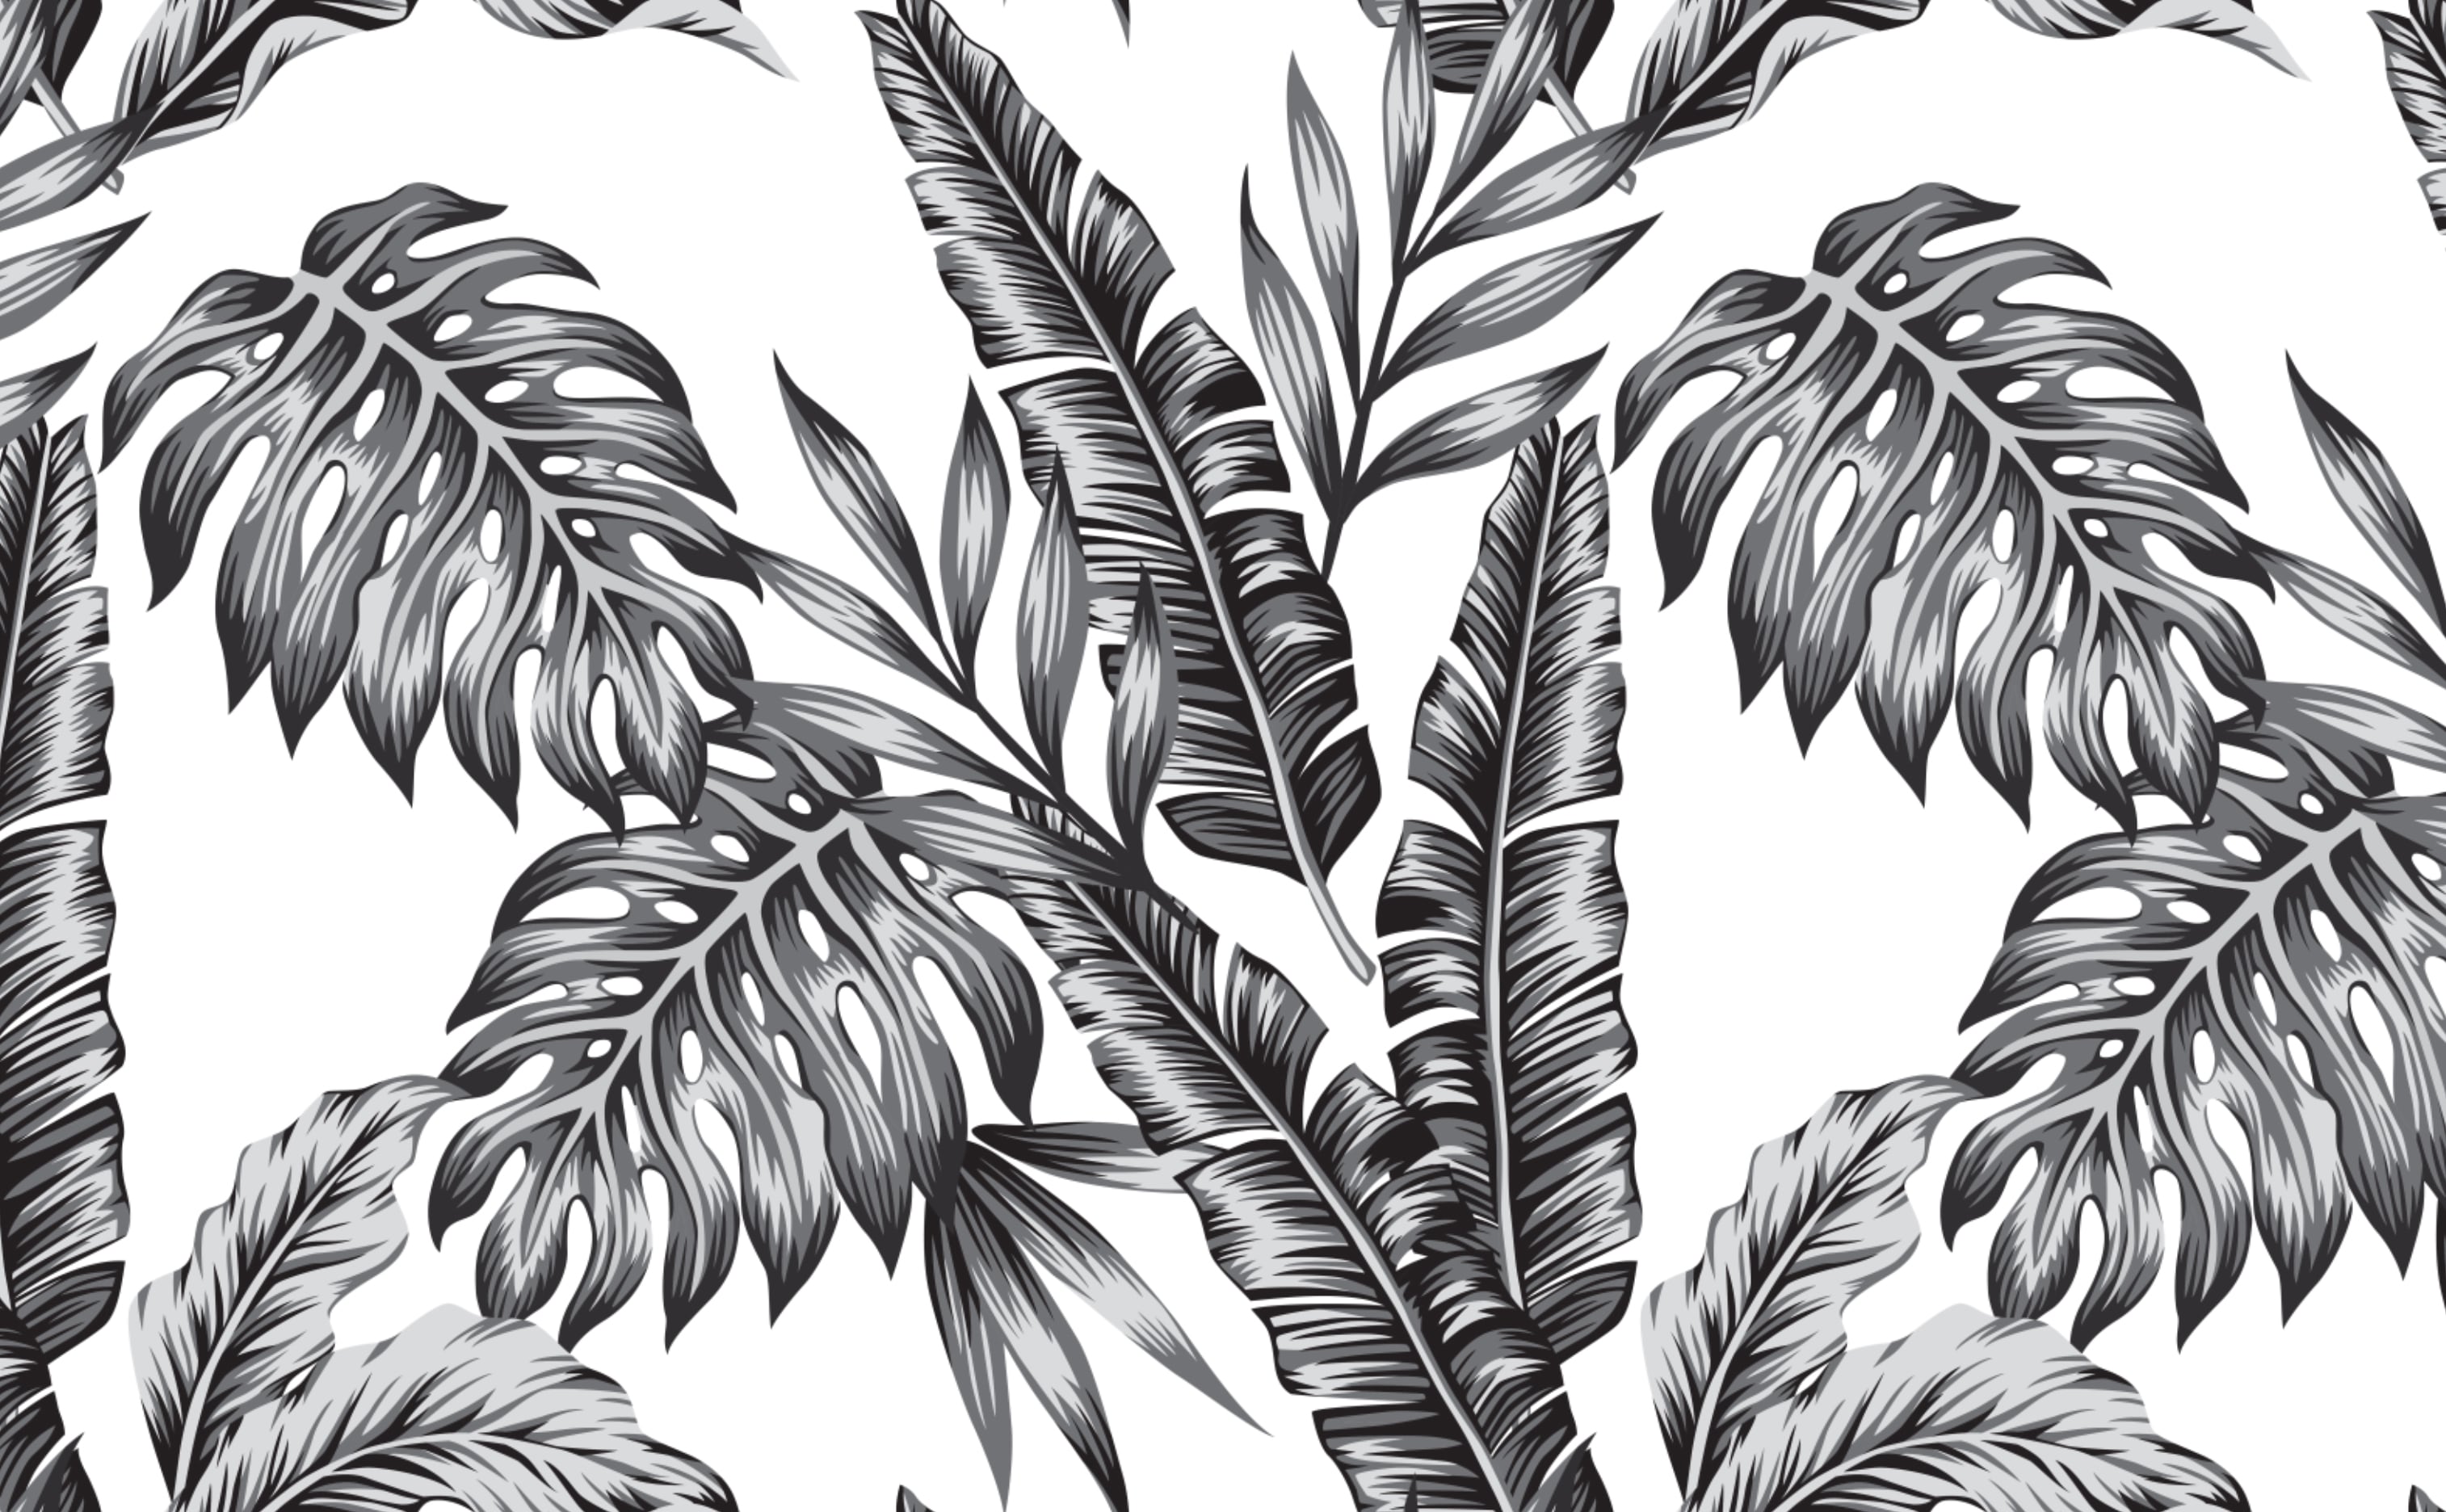
Retro Palms Black
Palm Leaves Tropical Wallpaper
Retro Palms Black
Palm Leaves Tropical Wallpaper
Retro Palms Black
Palm Leaves Tropical Wallpaper
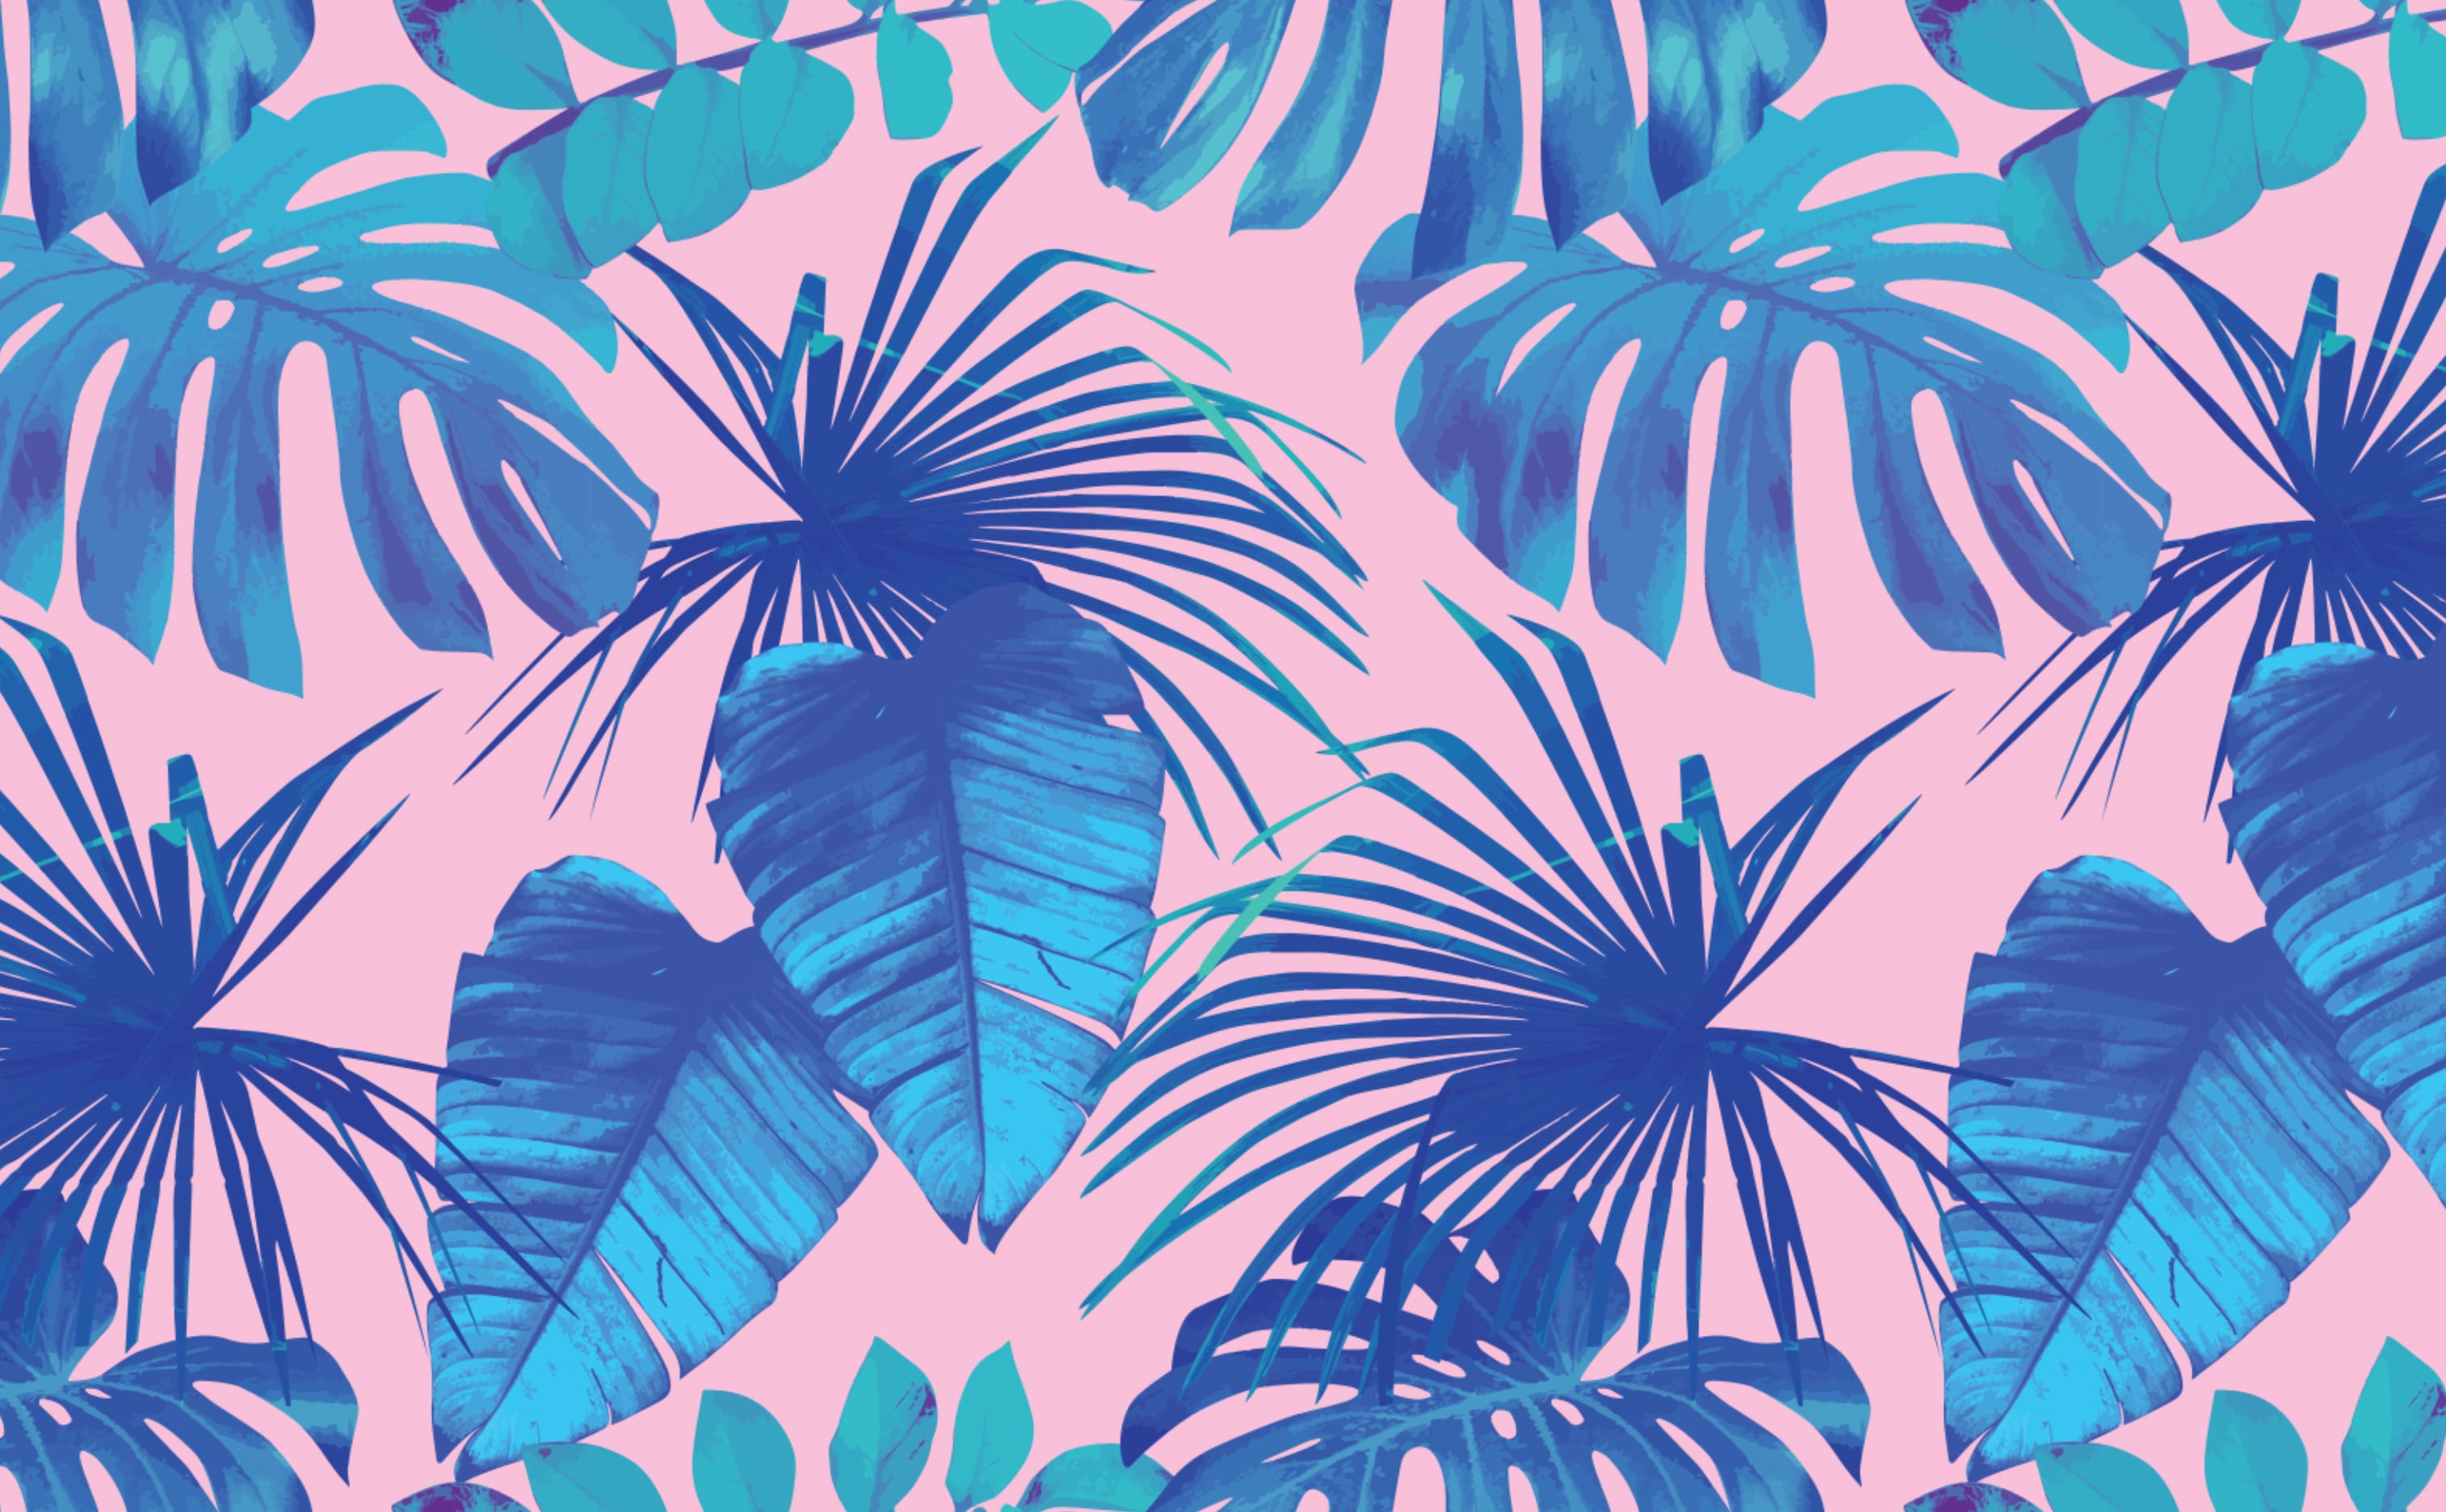
Miami Palms
Tropical Leaves Wallpaper
Miami Palms
Tropical Leaves Wallpaper
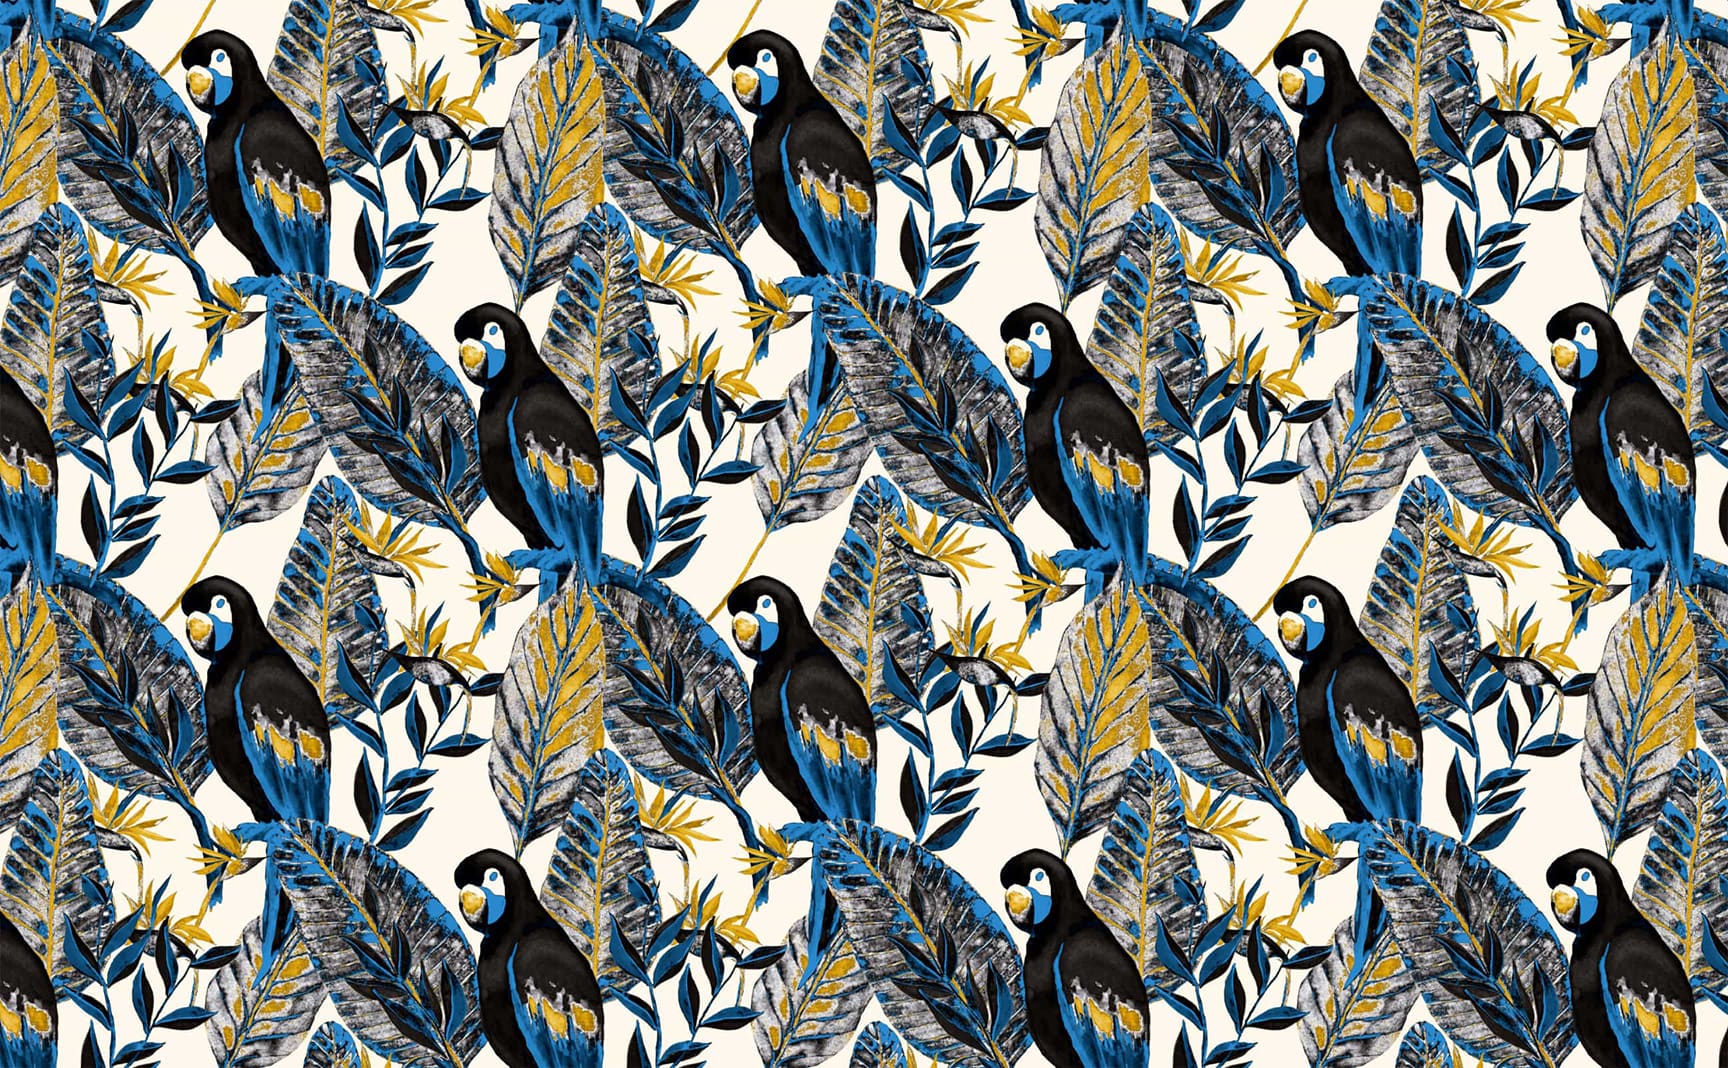
Macaw Botanica
Stylized watercolor exotic parrot and botanical Pattern Wallpaper
Macaw Botanica
Stylized watercolor exotic parrot and botanical Pattern Wallpaper
The Palms in White
Palm Leaves Tropical Wallpaper
The Palms in White
Palm Leaves Tropical Wallpaper
Blooms of Paradise
Tropical floral garden bird of paradise Pattern Wallpaper
Blooms of Paradise
Tropical floral garden bird of paradise Pattern Wallpaper
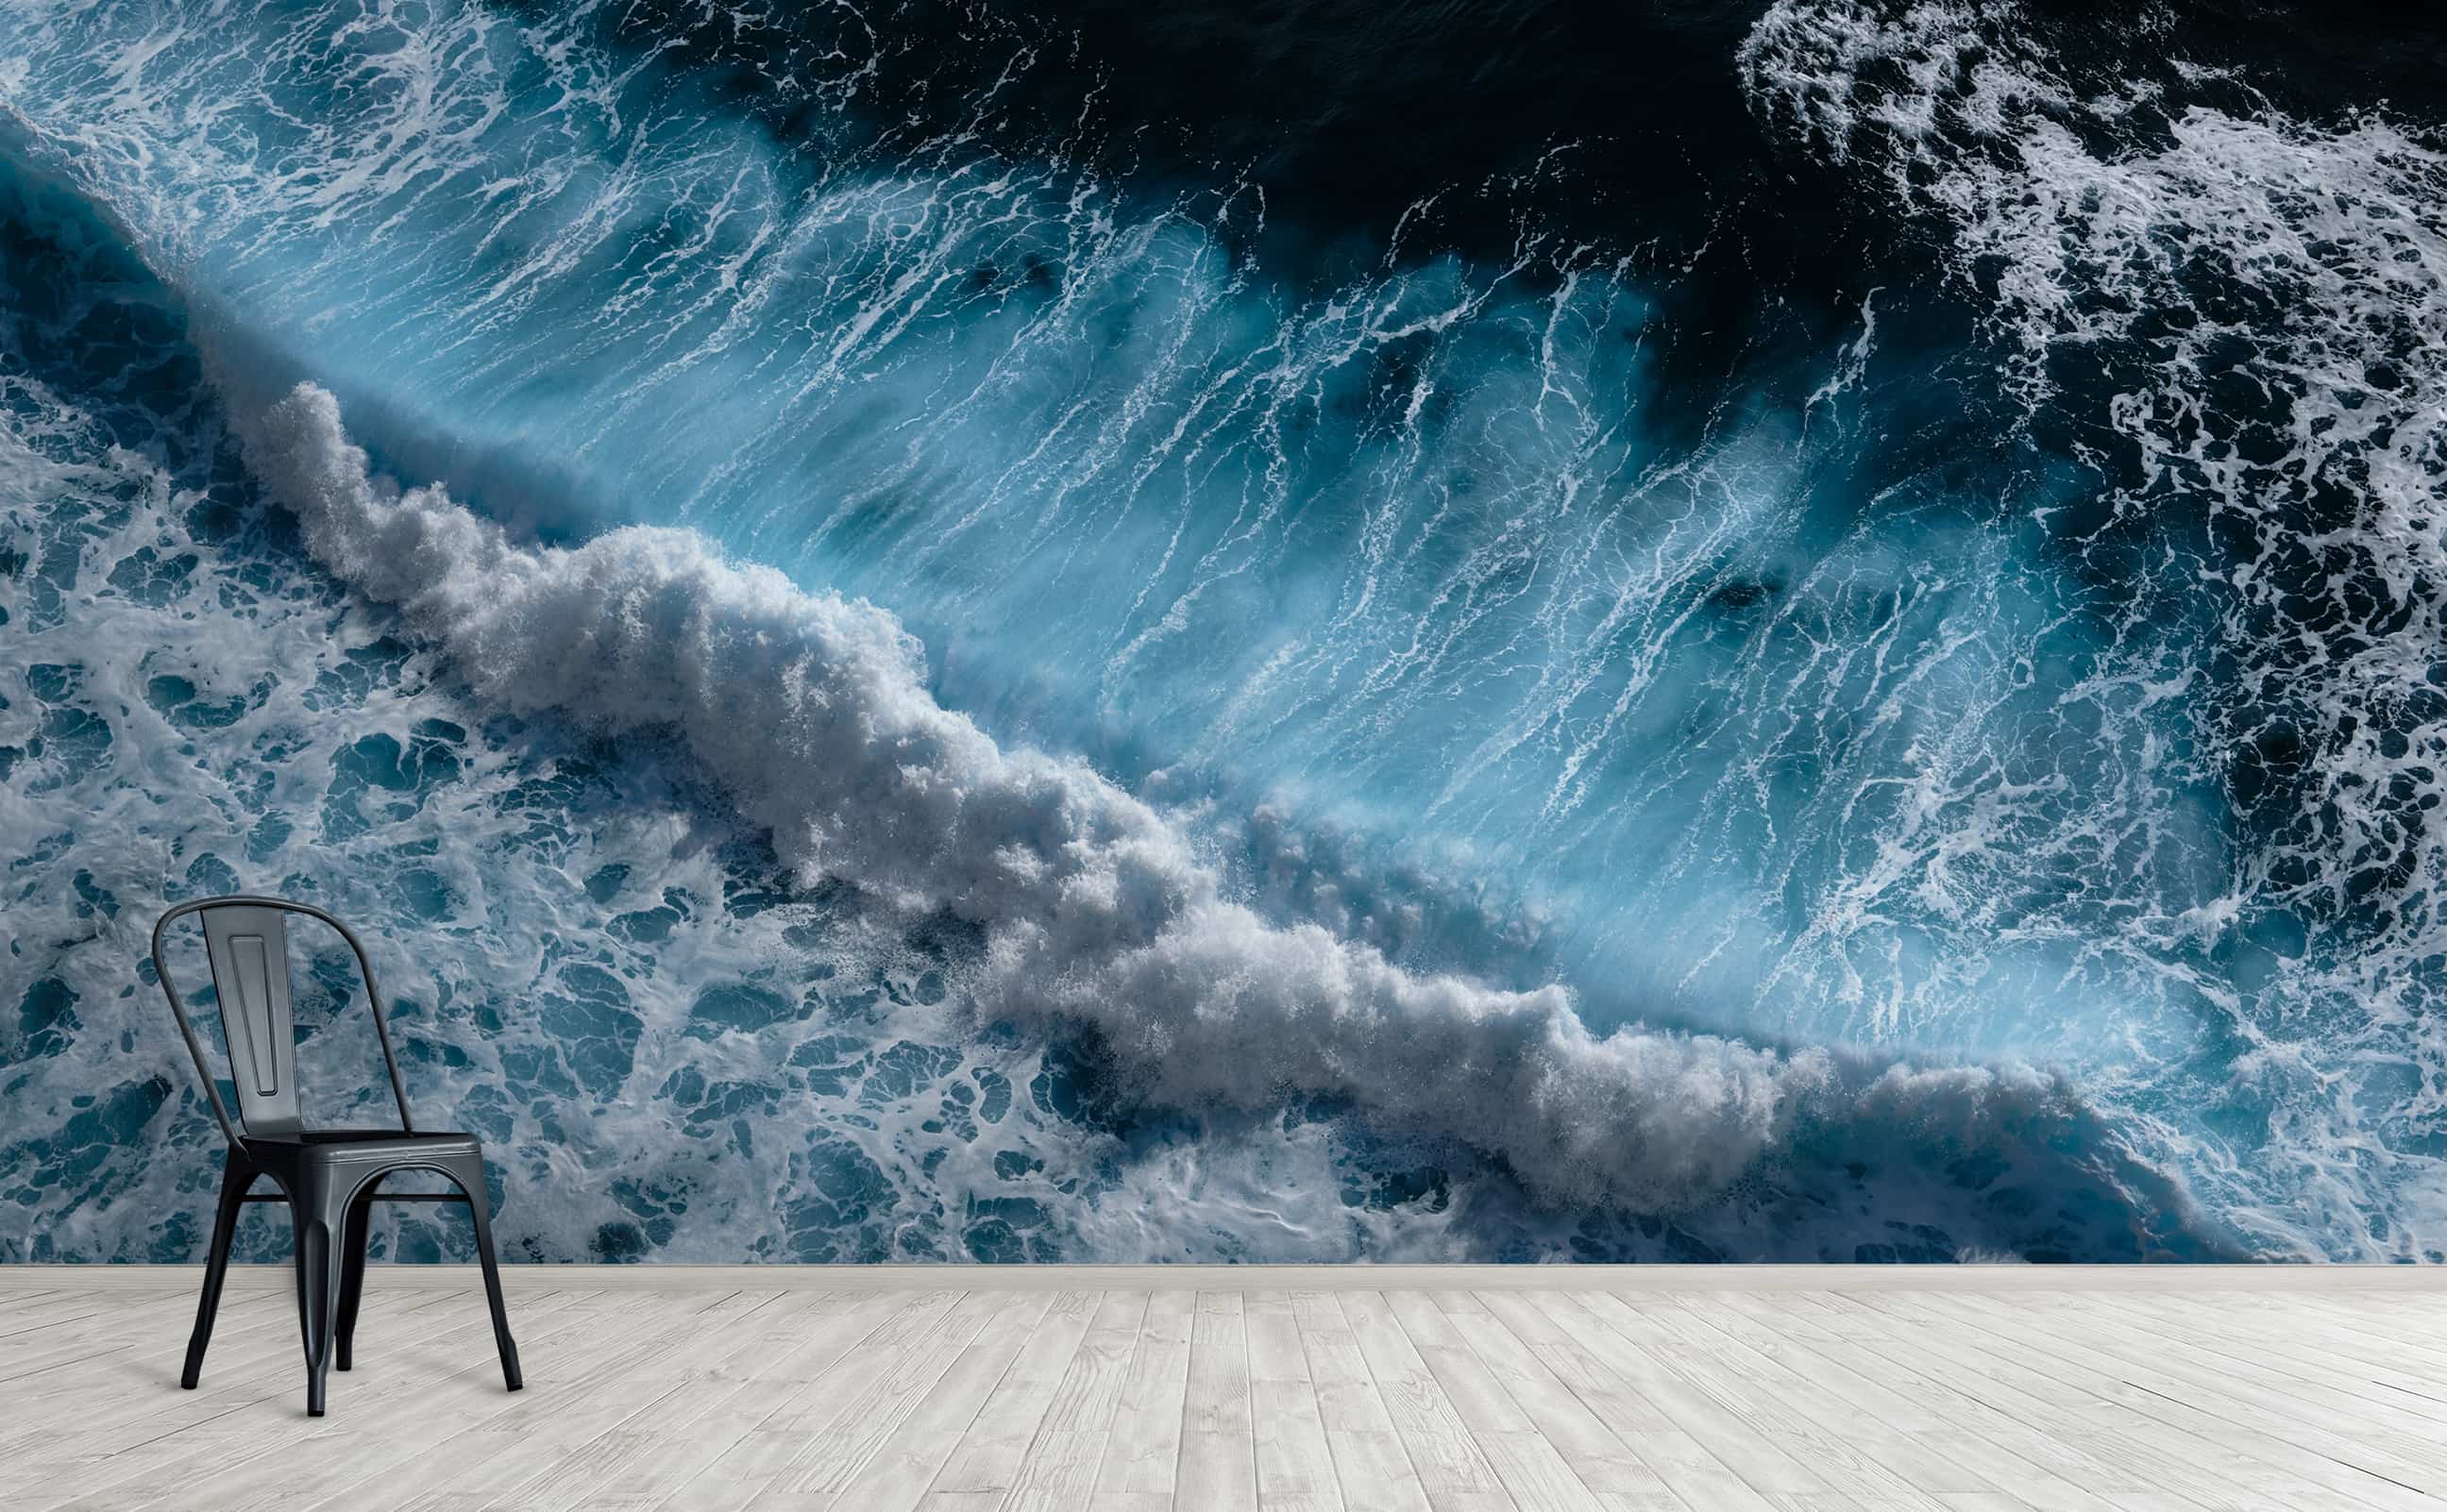
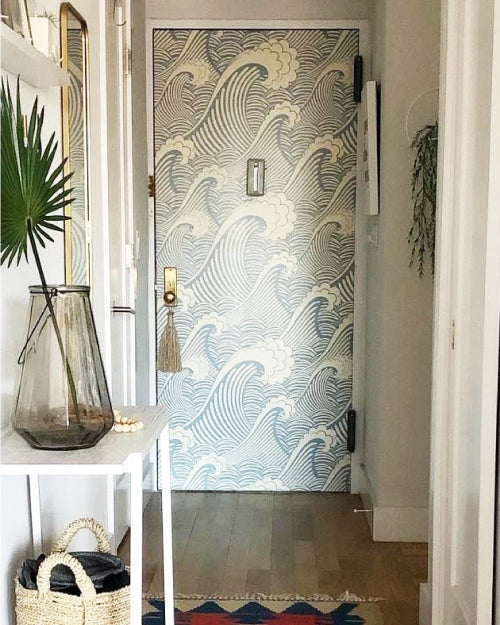
Endless Surf
Dark blue ocean water waves Wall Mural | Endless Surf
Endless Surf
Dark blue ocean water waves Wall Mural | Endless Surf
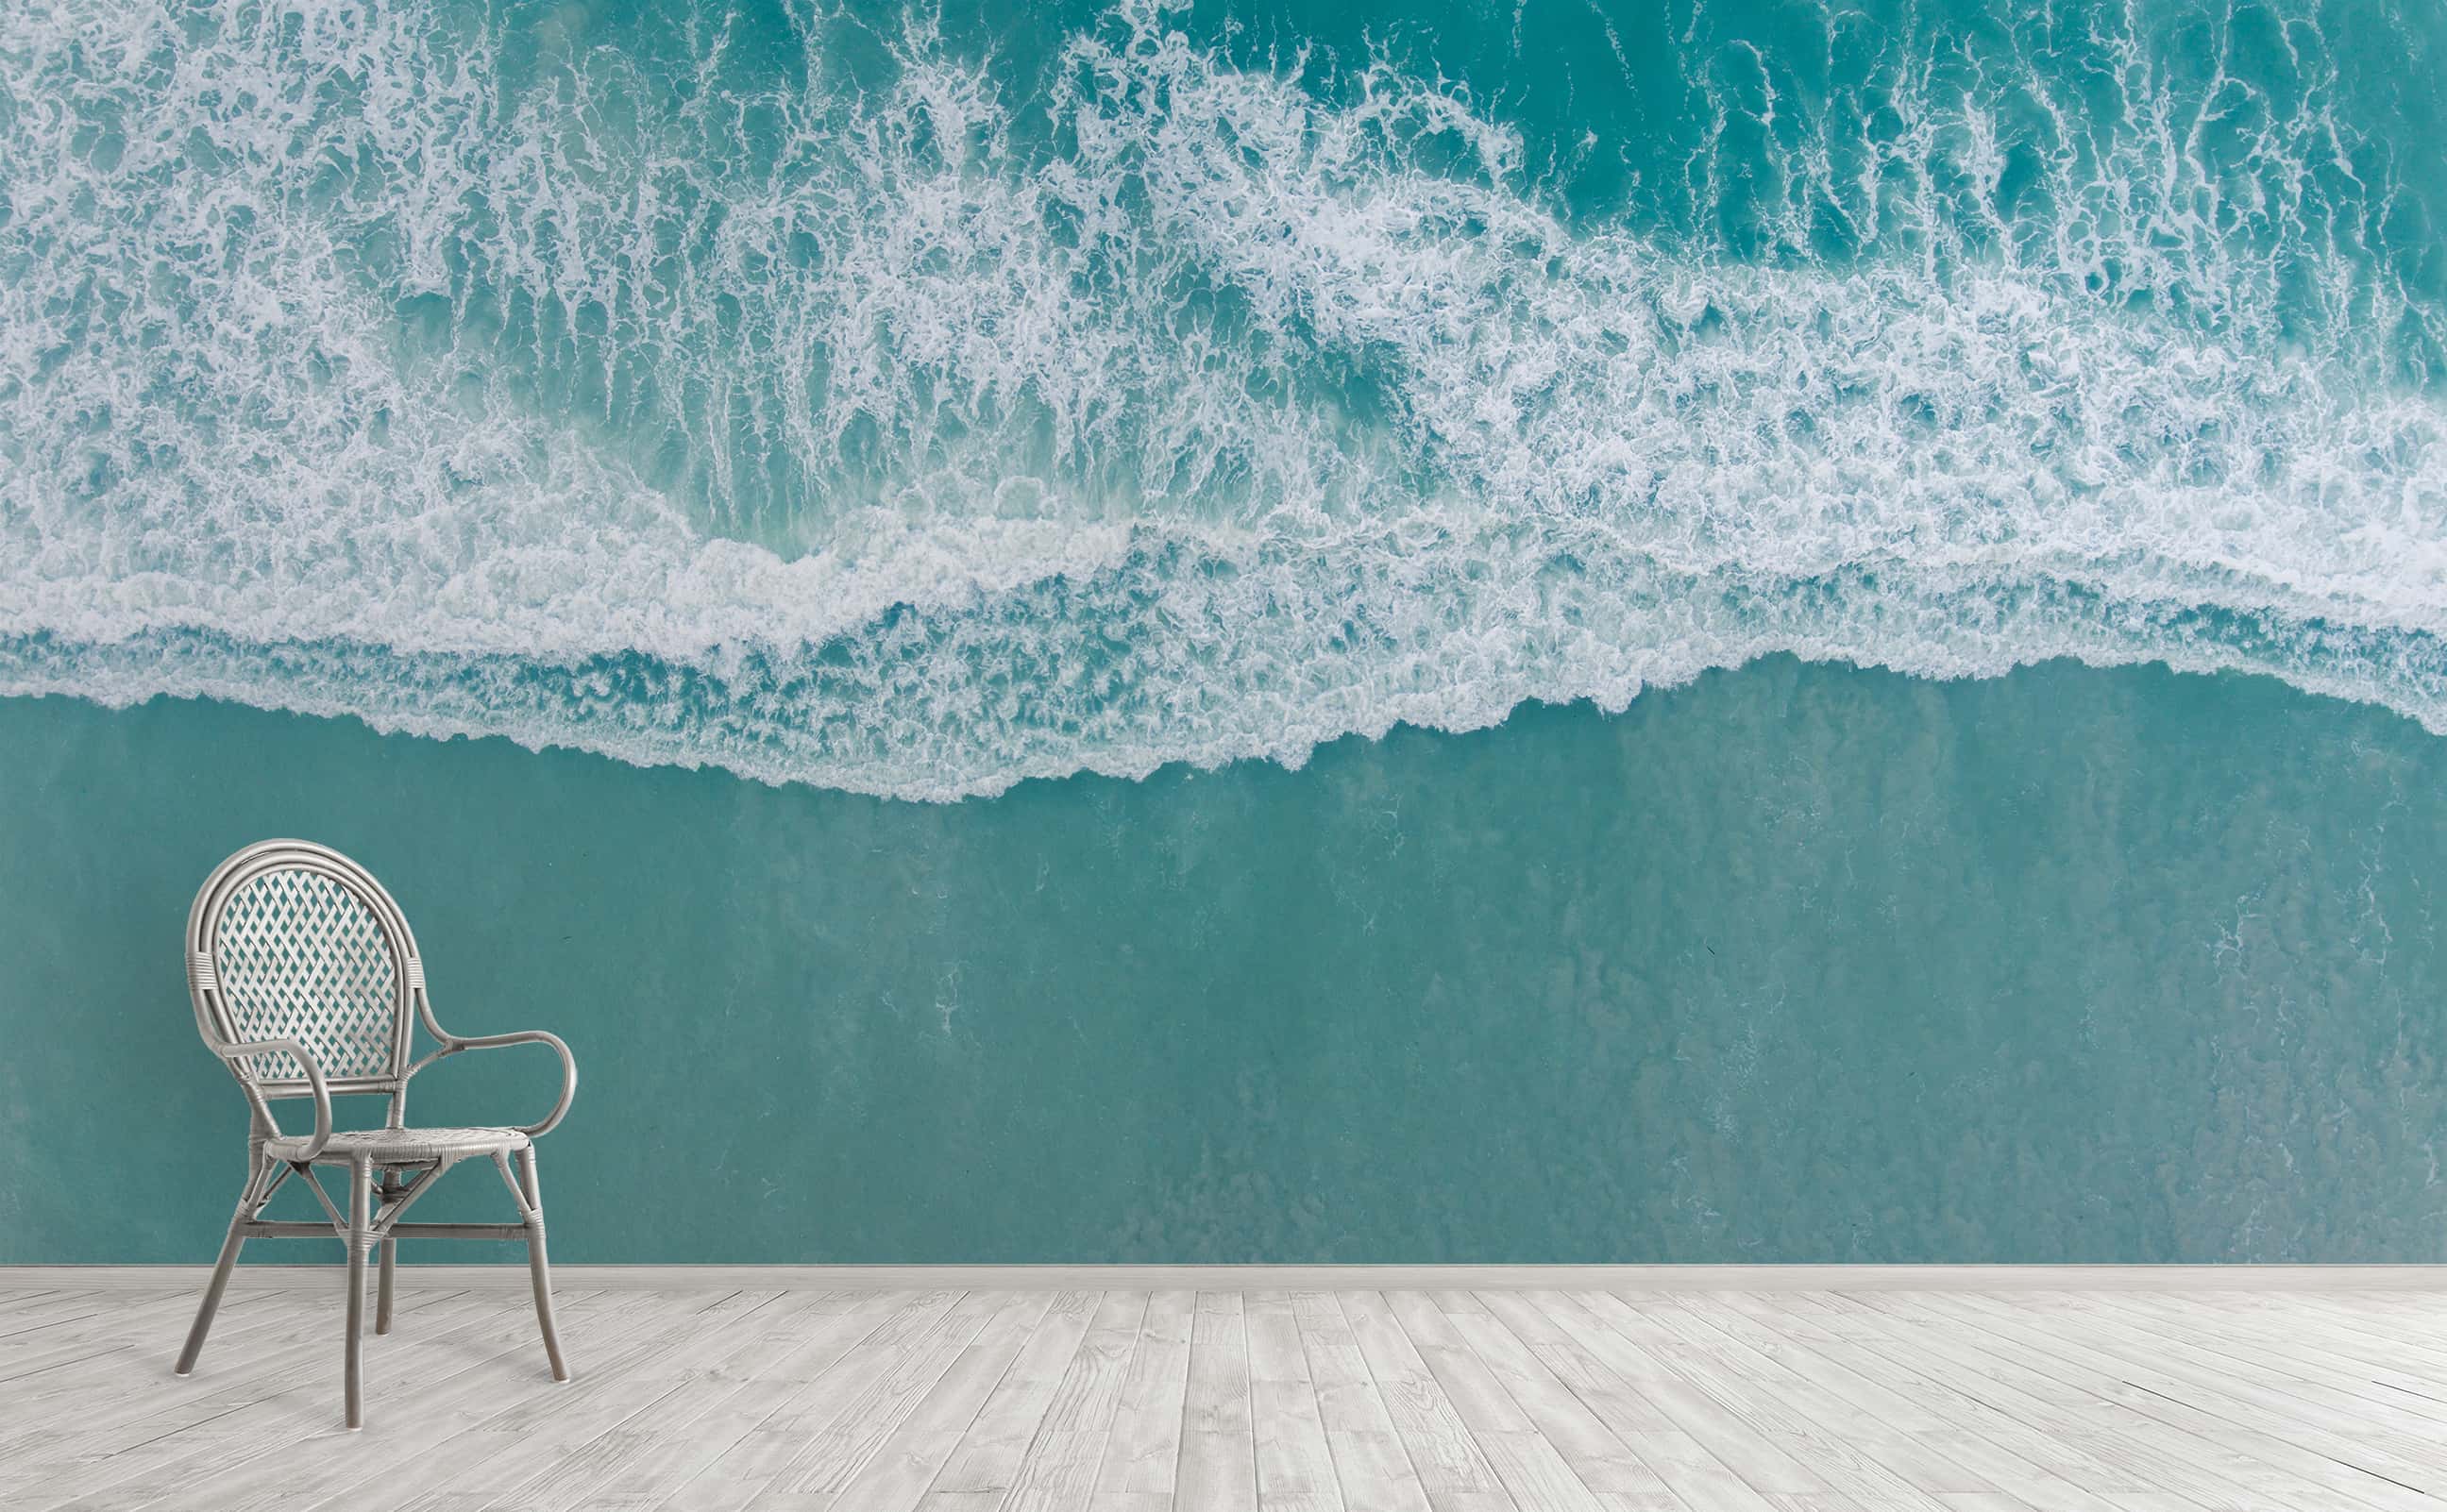
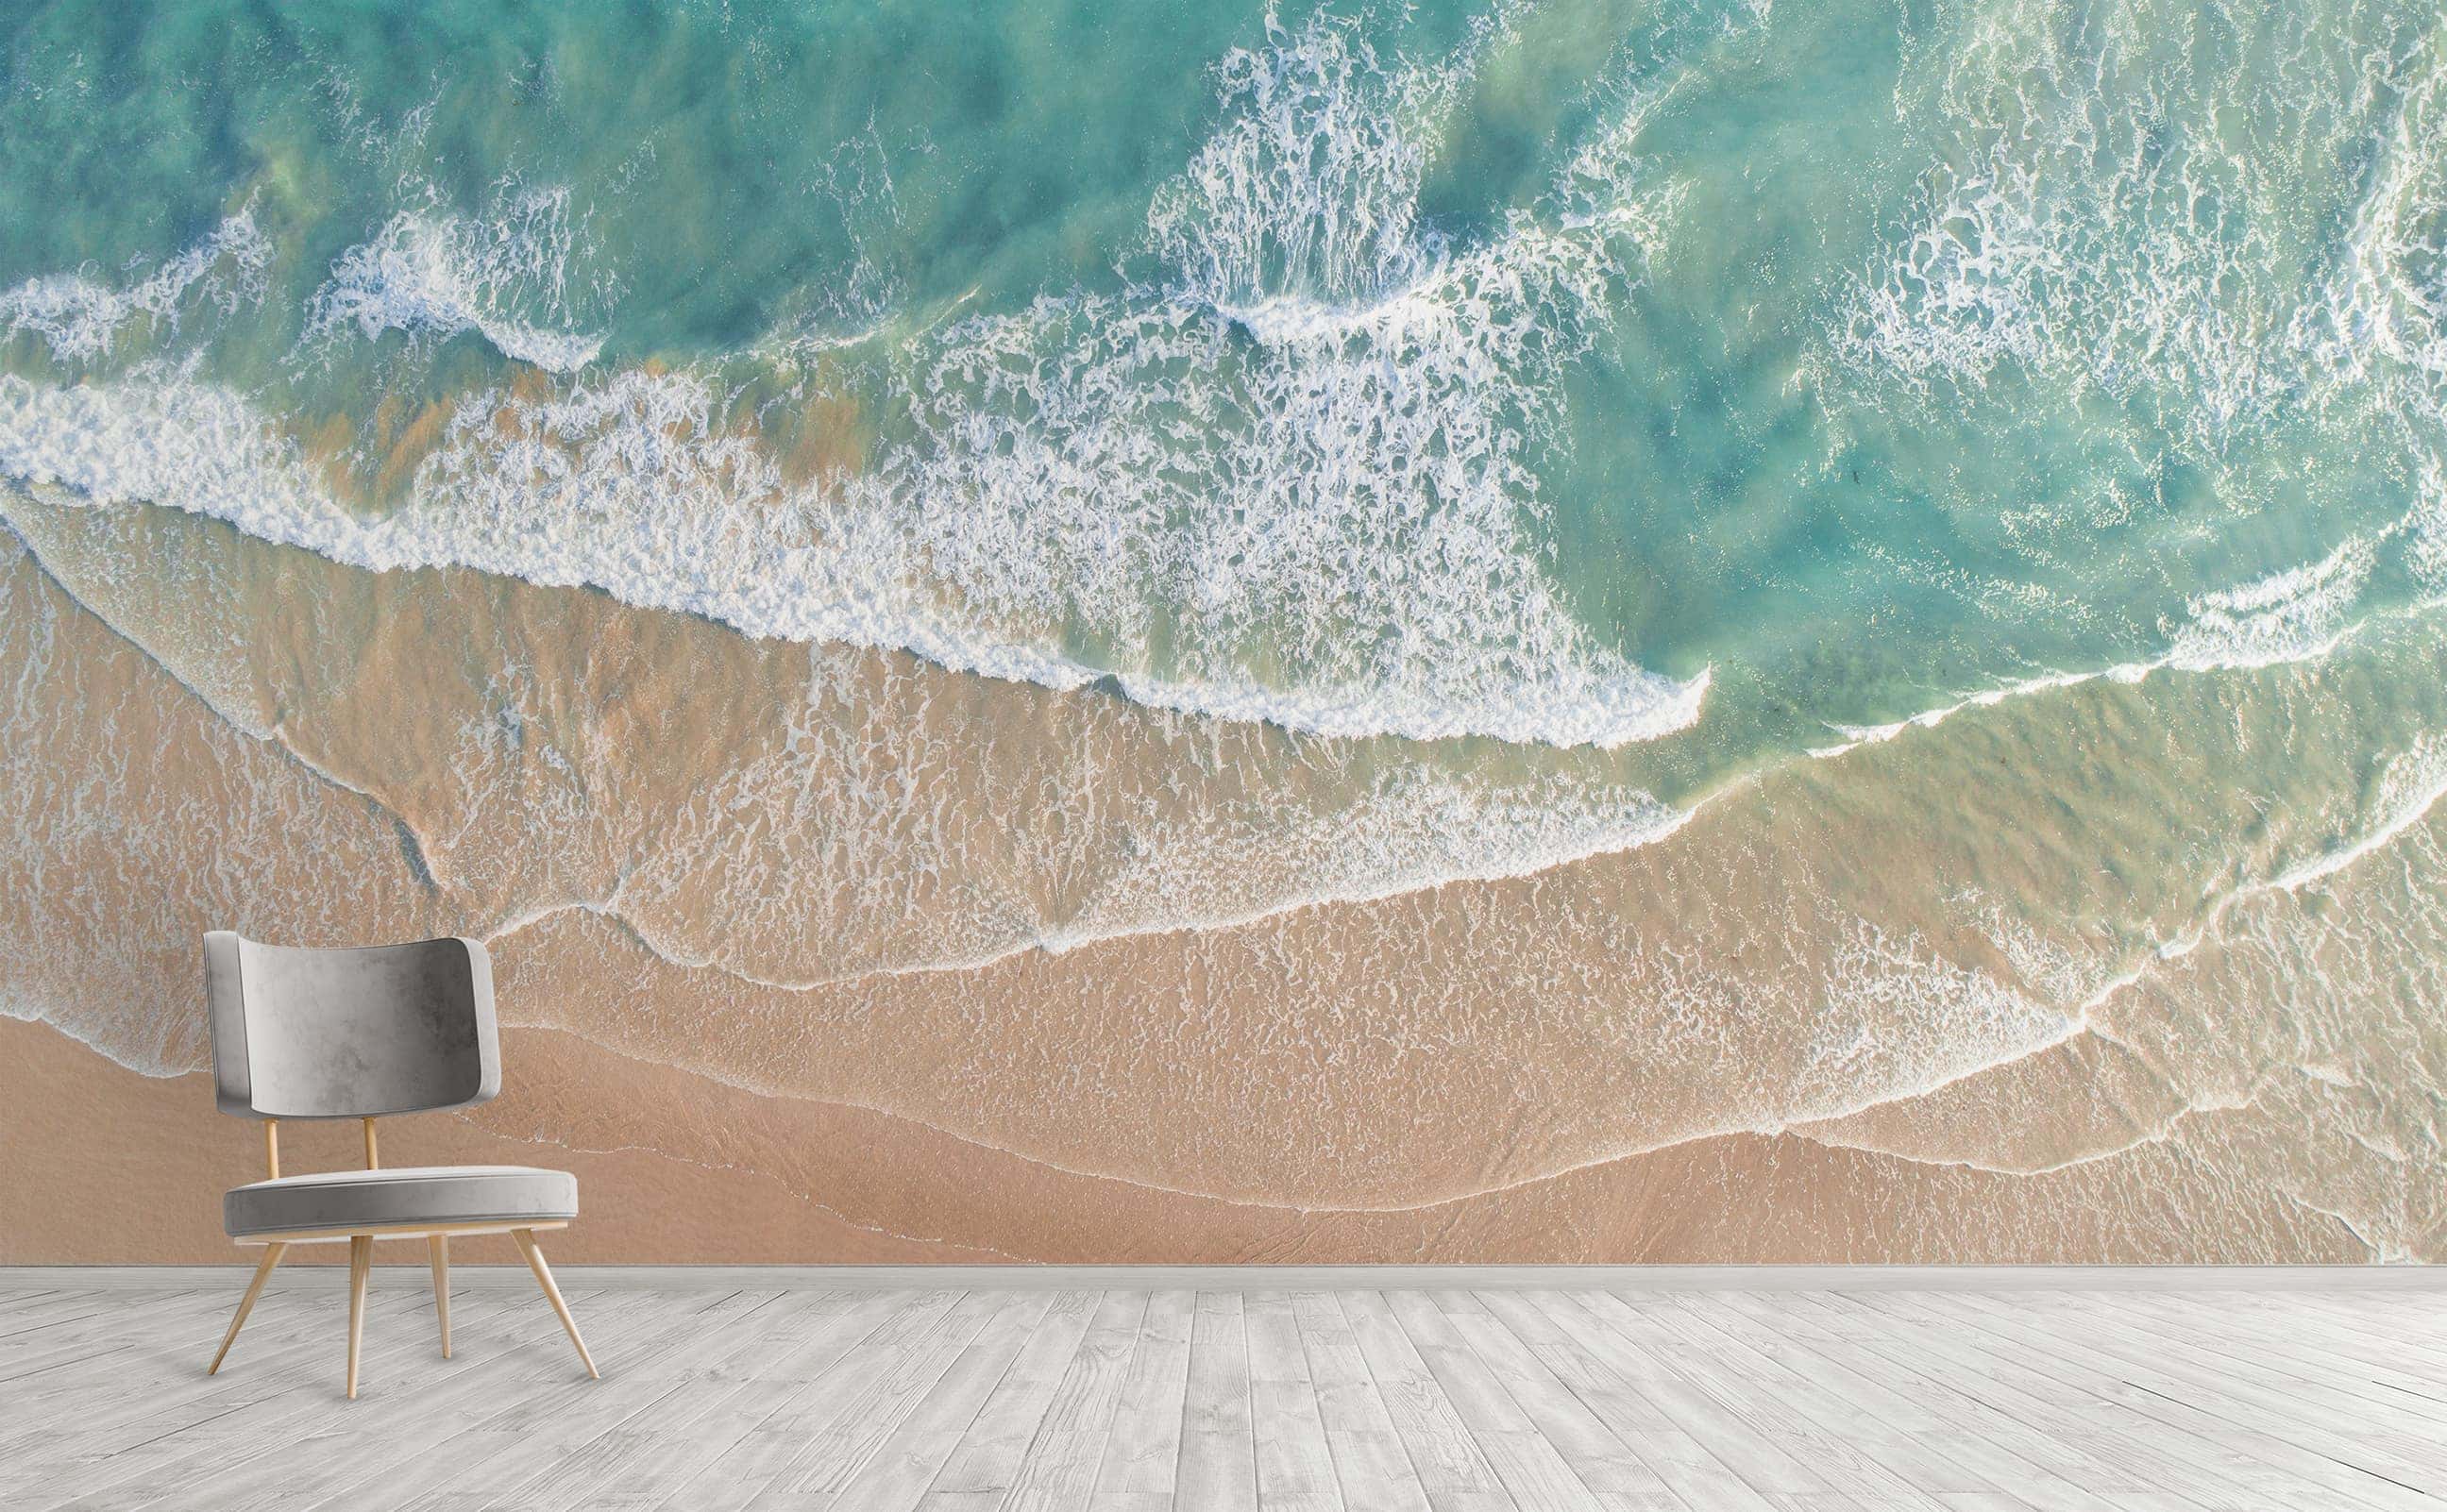
Ocean Escape
Calming seafoam green aerial ocean wave Wall Mural | Ocean Escape
Ocean Escape
Calming seafoam green aerial ocean wave Wall Mural | Ocean Escape
Ocean Escape
Calming seafoam green aerial ocean wave Wall Mural | Ocean Escape
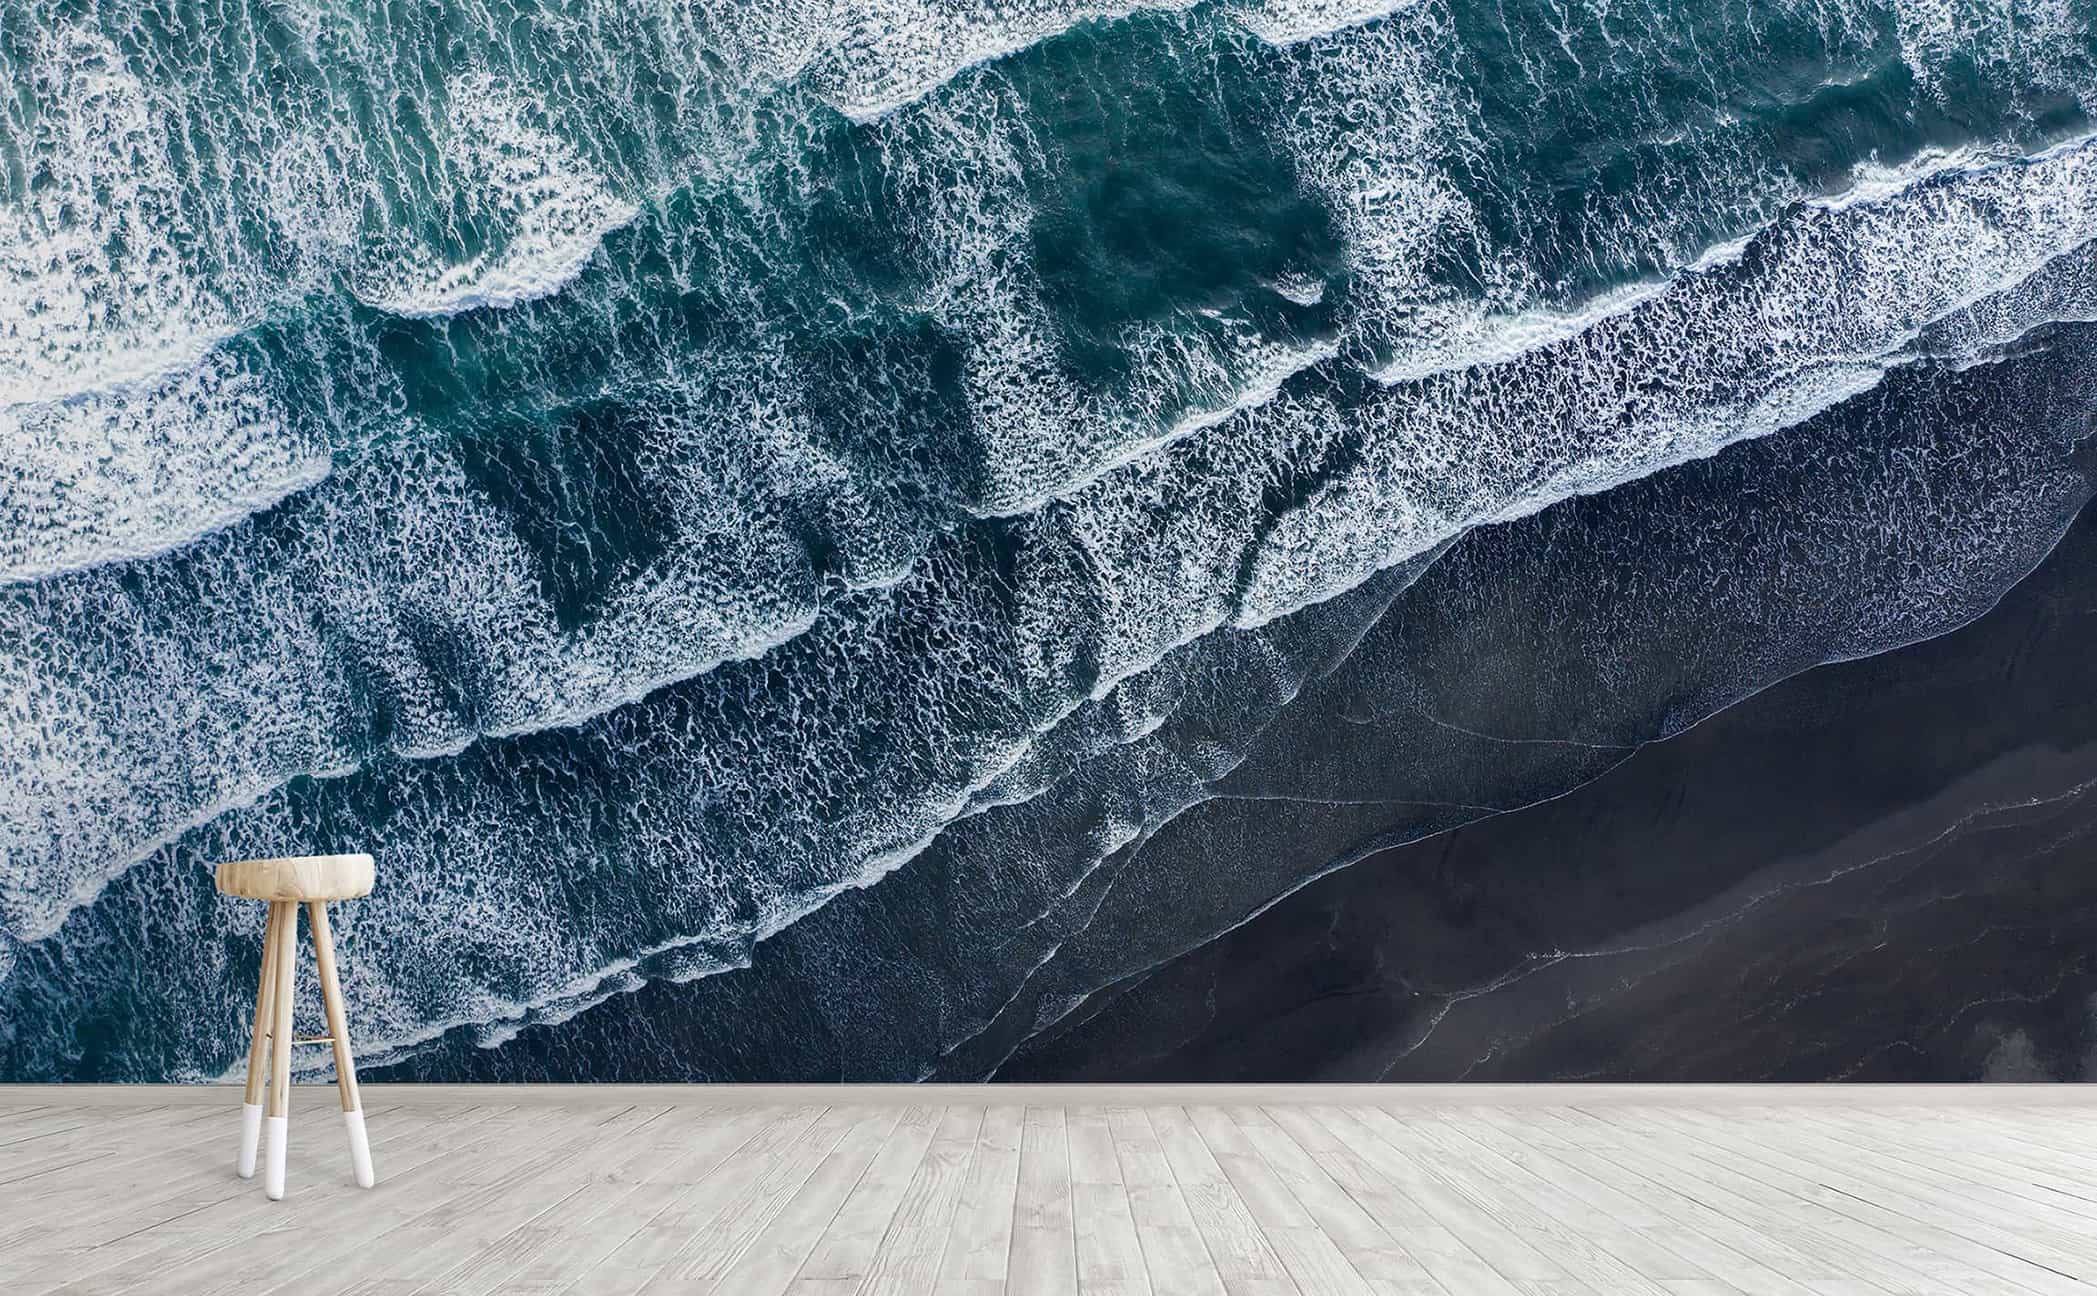
Black Sand Beach
Coastal ocean beach wave Wall Mural | Black Sand Beach
Black Sand Beach
Coastal ocean beach wave Wall Mural | Black Sand Beach
Black Sand Beach
Coastal ocean beach wave Wall Mural | Black Sand Beach
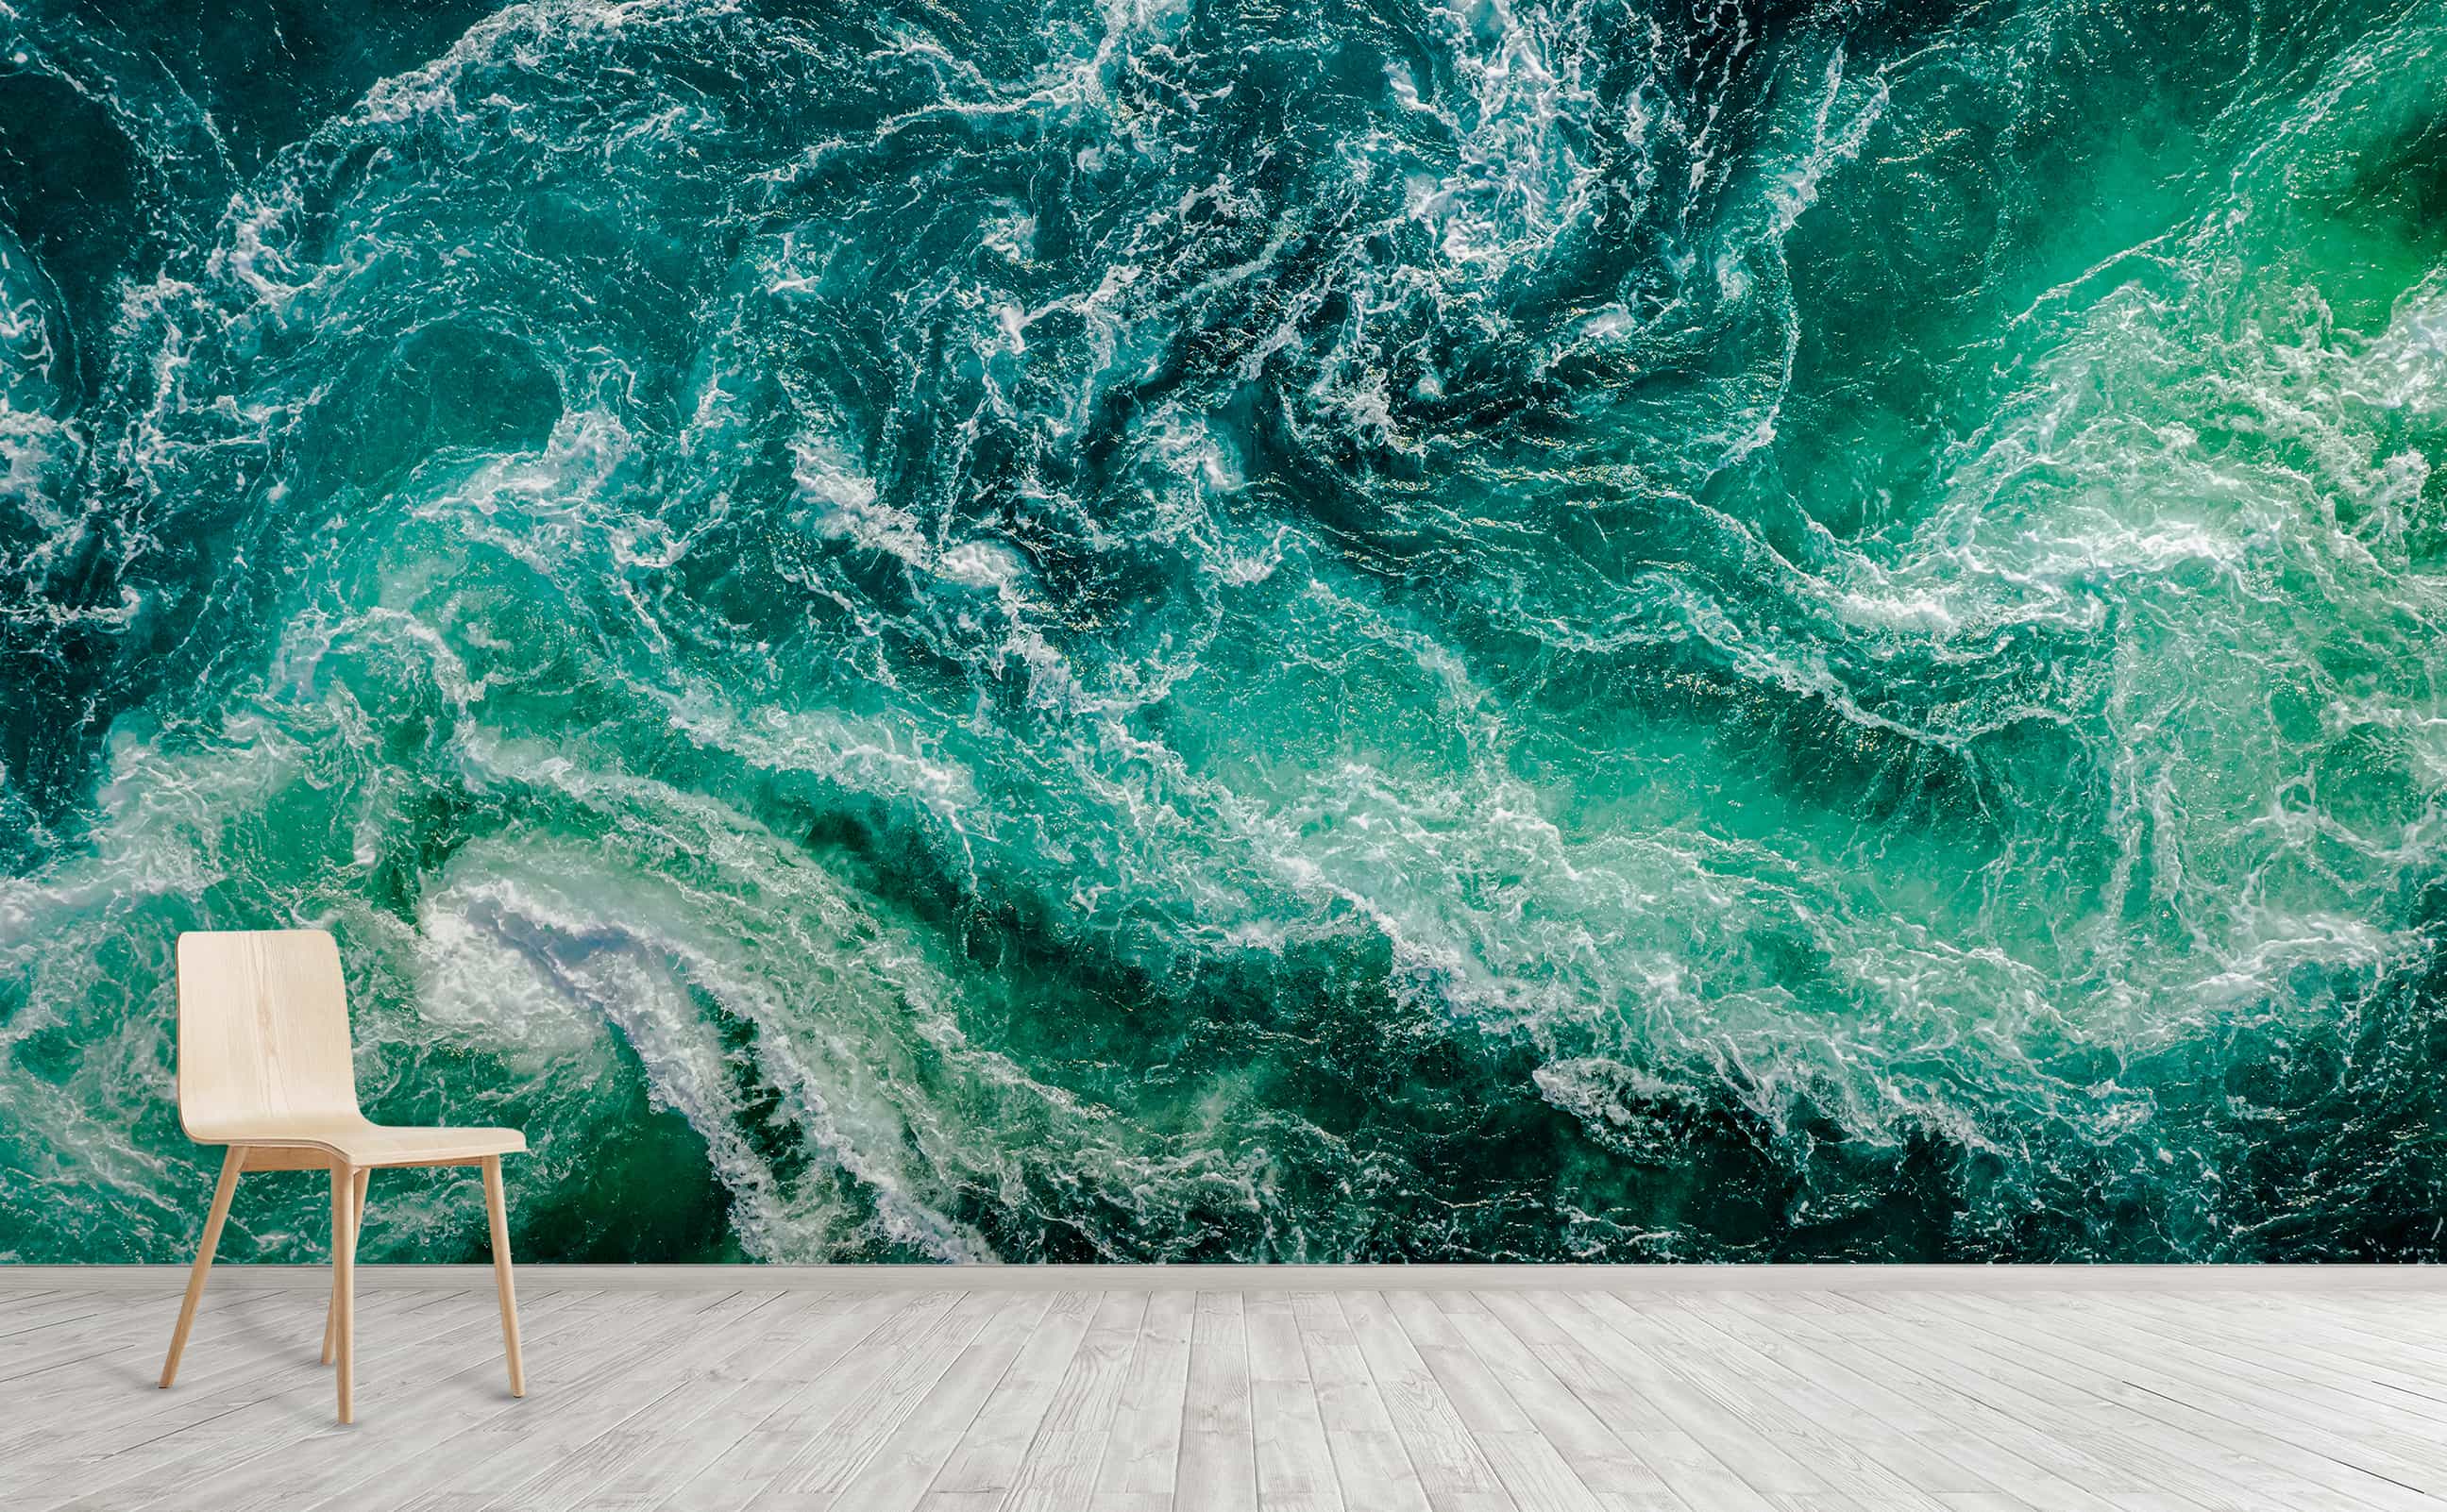
Maelstrom
Swirling emerald green ocean wave Wall Mural | Maelstrom
Maelstrom
Swirling emerald green ocean wave Wall Mural | Maelstrom
Caribbean Morning
Light blue aerial sandy beach wave Wall Mural | Caribbean Morning
Caribbean Morning
Light blue aerial sandy beach wave Wall Mural | Caribbean Morning
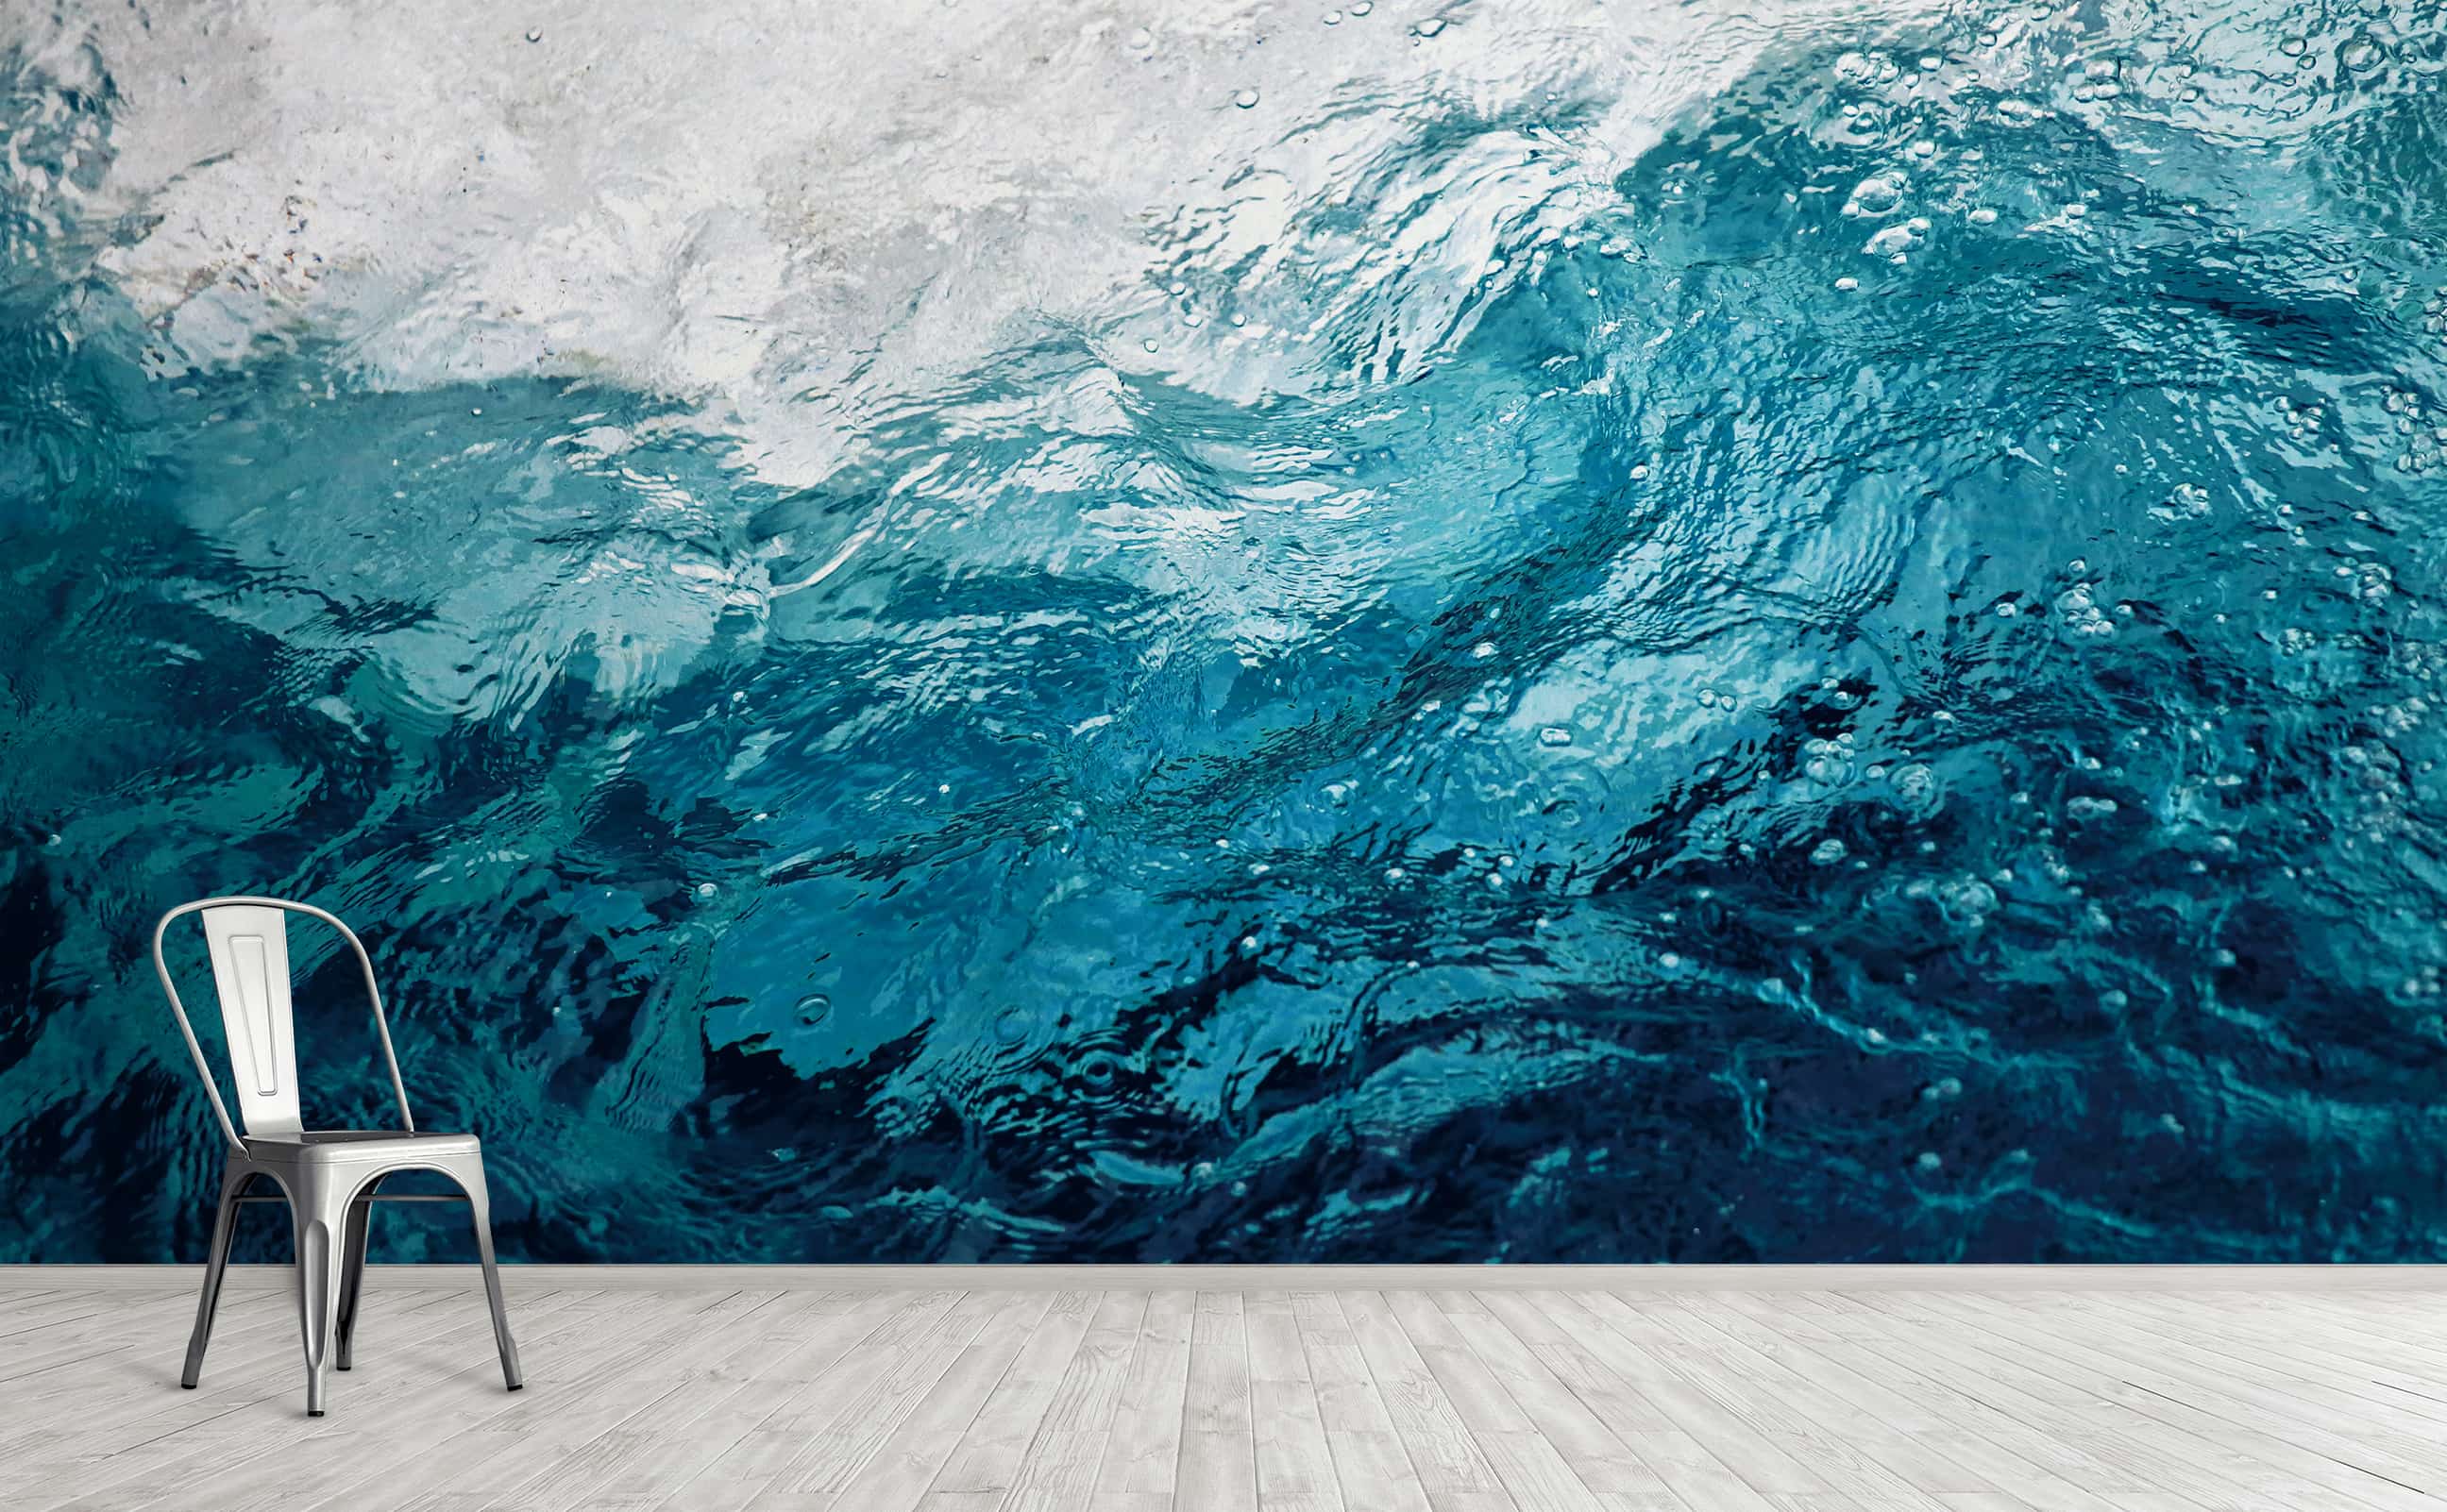
Tidal Pool
Blue water ripple close-up Wall Mural | Tidal Pool
Tidal Pool
Blue water ripple close-up Wall Mural | Tidal Pool
White Crest
Cresting deep blue ocean wave Wall Mural | White Crest
White Crest
Cresting deep blue ocean wave Wall Mural | White Crest
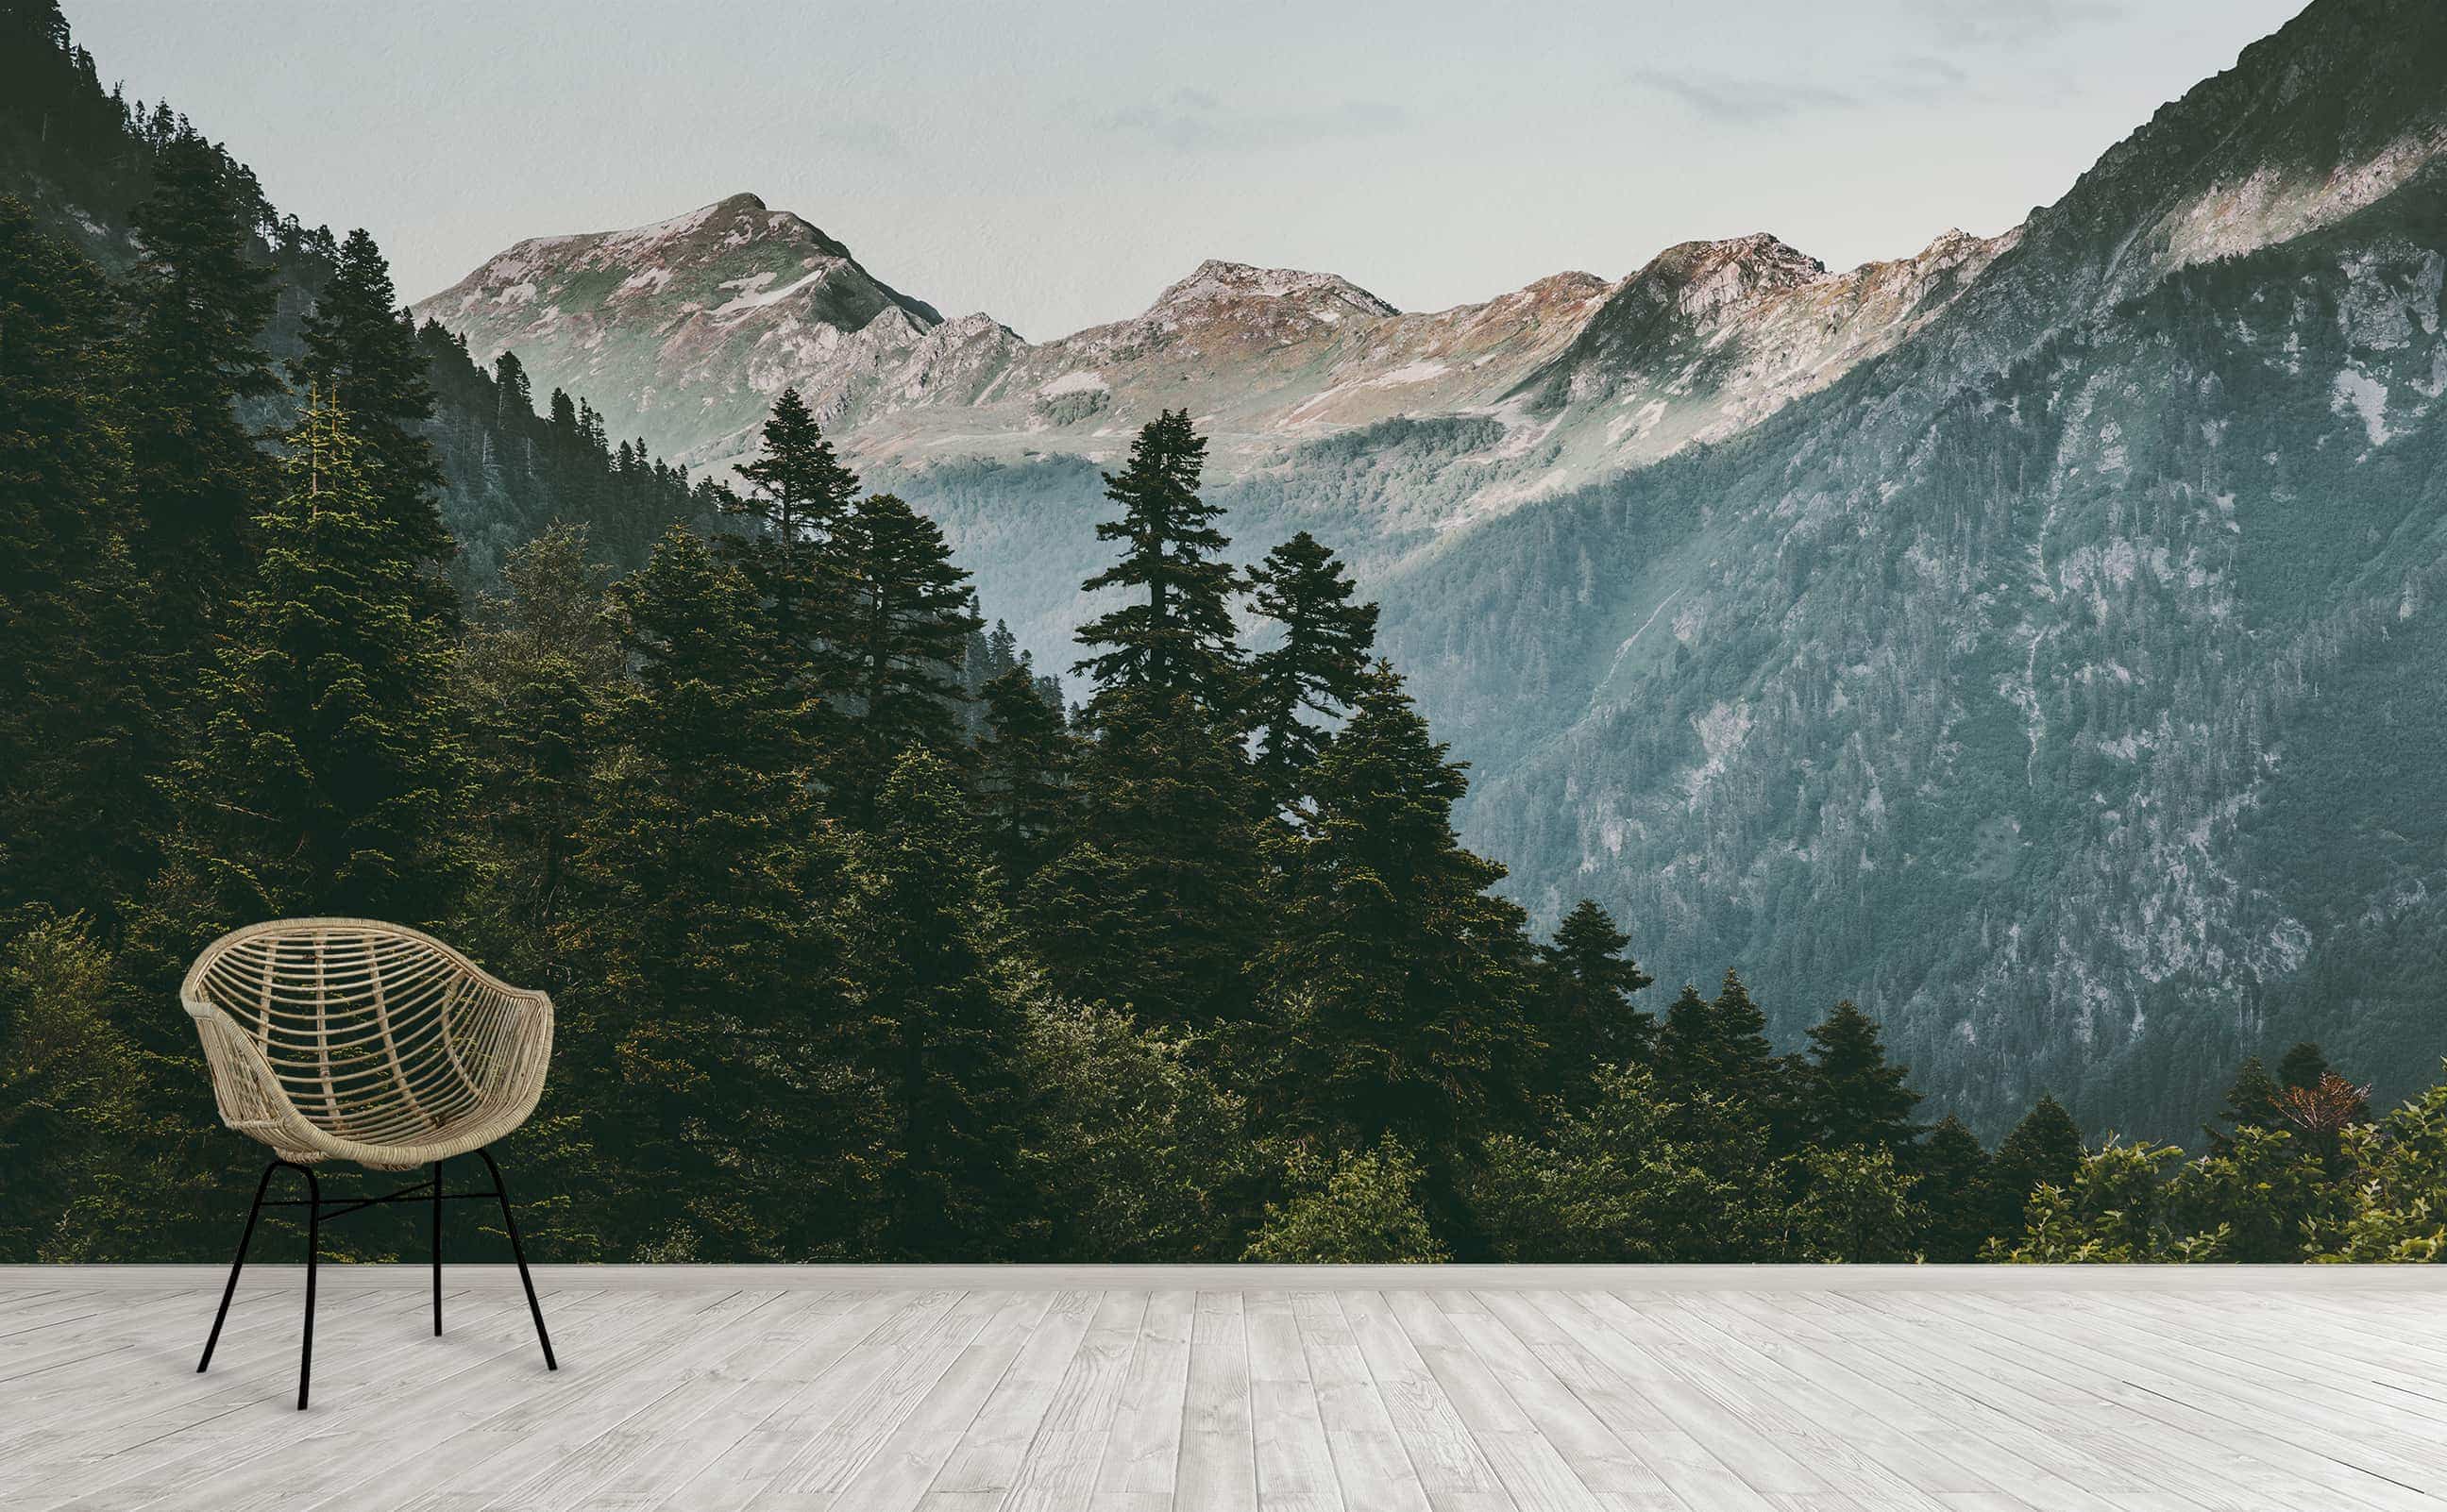
To the Timberline
Rocky mountain pine forest landscape Wall Mural | To the Timberline
To the Timberline
Rocky mountain pine forest landscape Wall Mural | To the Timberline
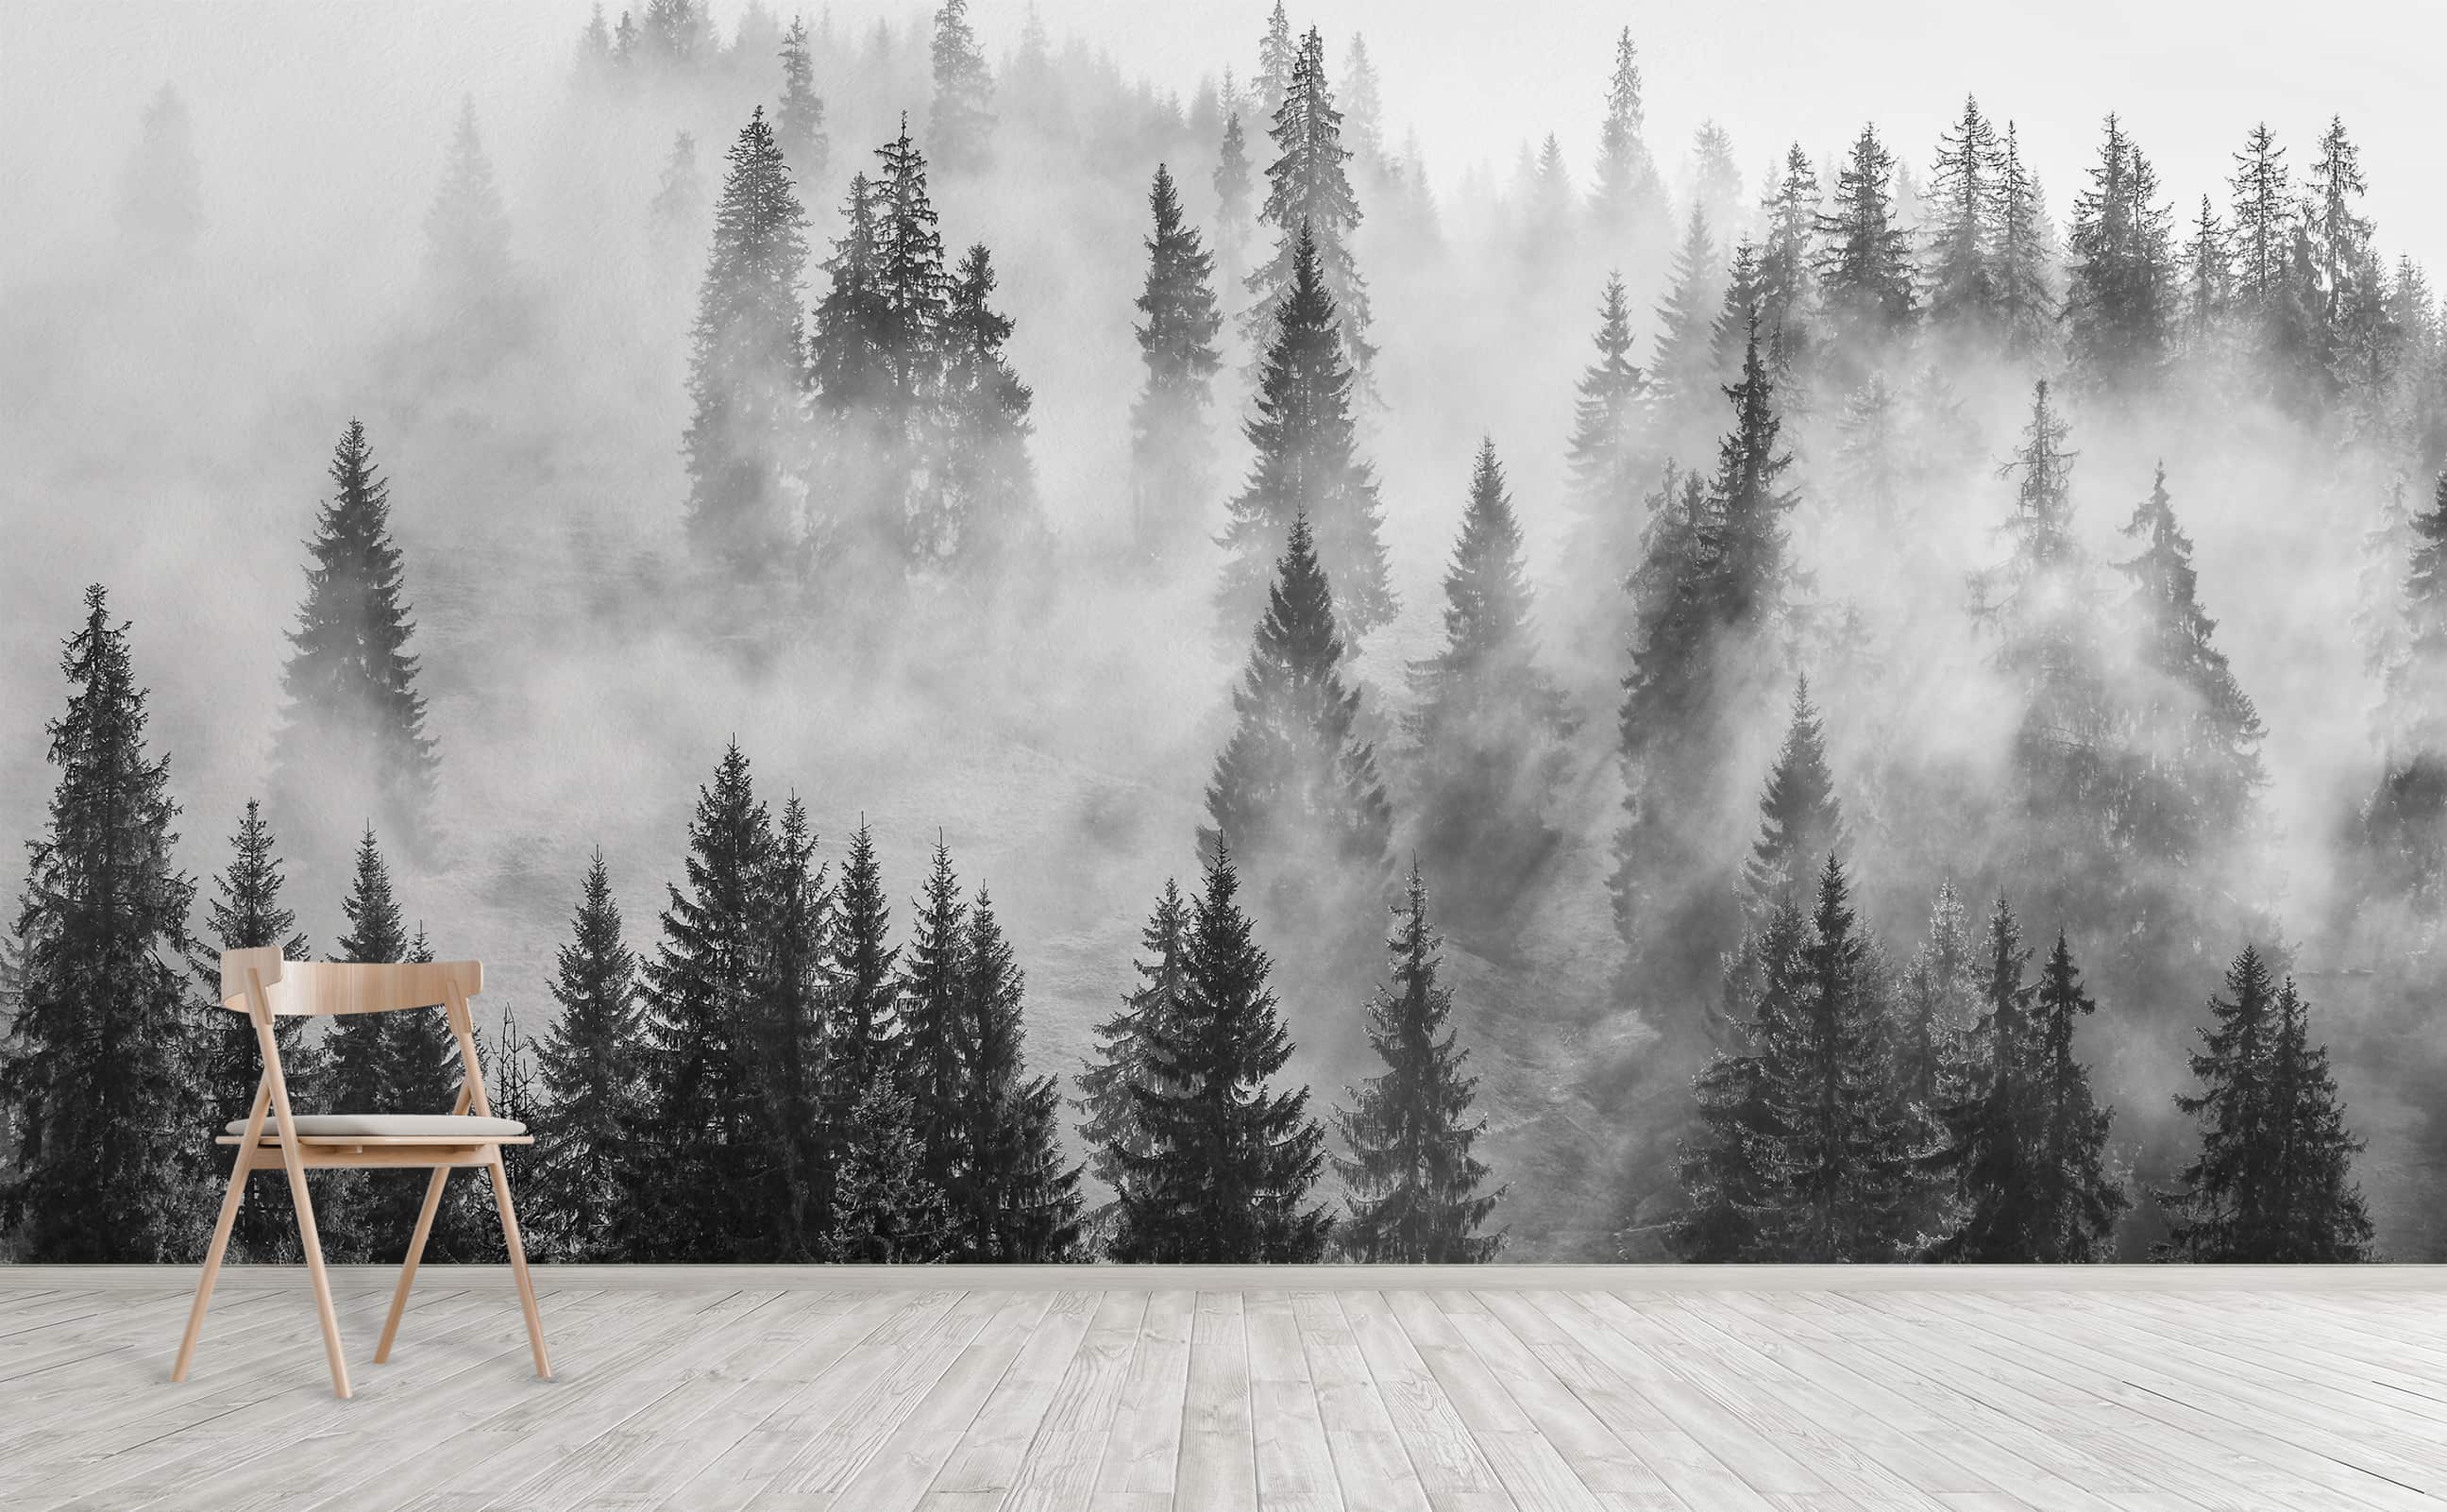
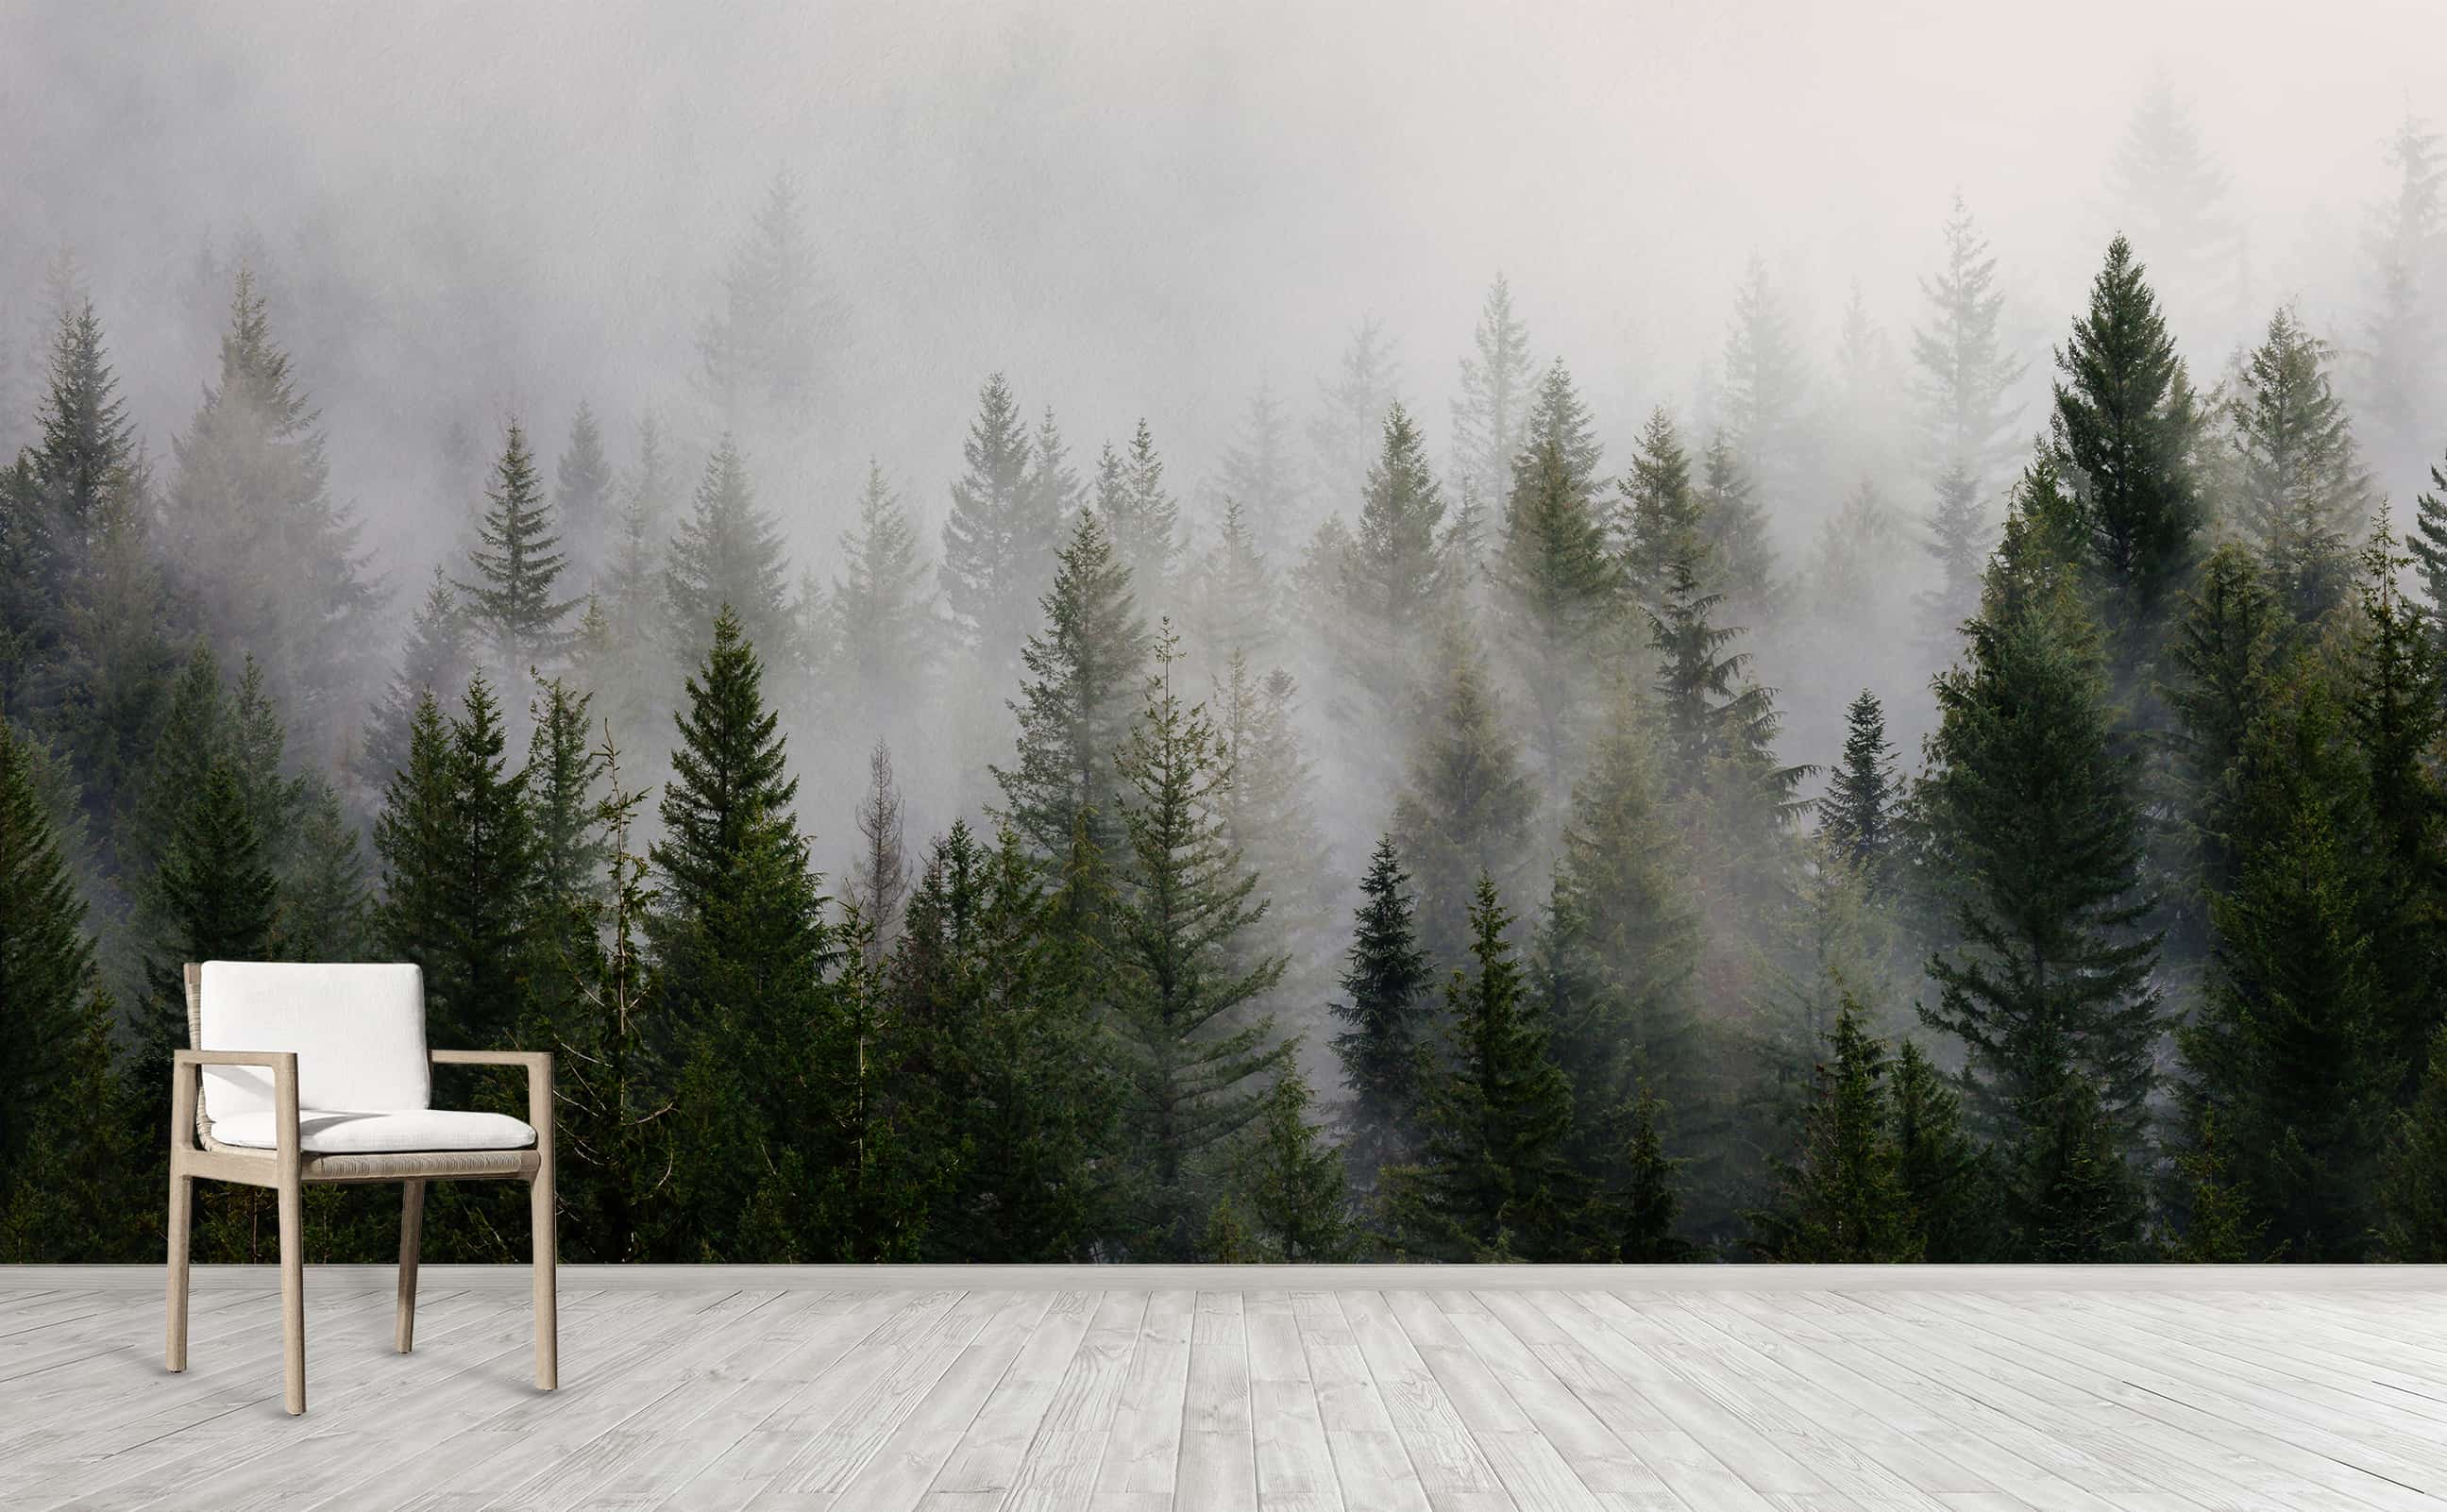
Forest of Shadows
Misty grayscale forest landscape Wall Mural | Forest of Shadows
Forest of Shadows
Misty grayscale forest landscape Wall Mural | Forest of Shadows
Forest of Shadows
Misty grayscale forest landscape Wall Mural | Forest of Shadows
Far from Home
Soft pink sky over misty woodland landscape Wall Mural | Far from Home
Far from Home
Soft pink sky over misty woodland landscape Wall Mural | Far from Home
Far from Home
Soft pink sky over misty woodland landscape Wall Mural | Far from Home
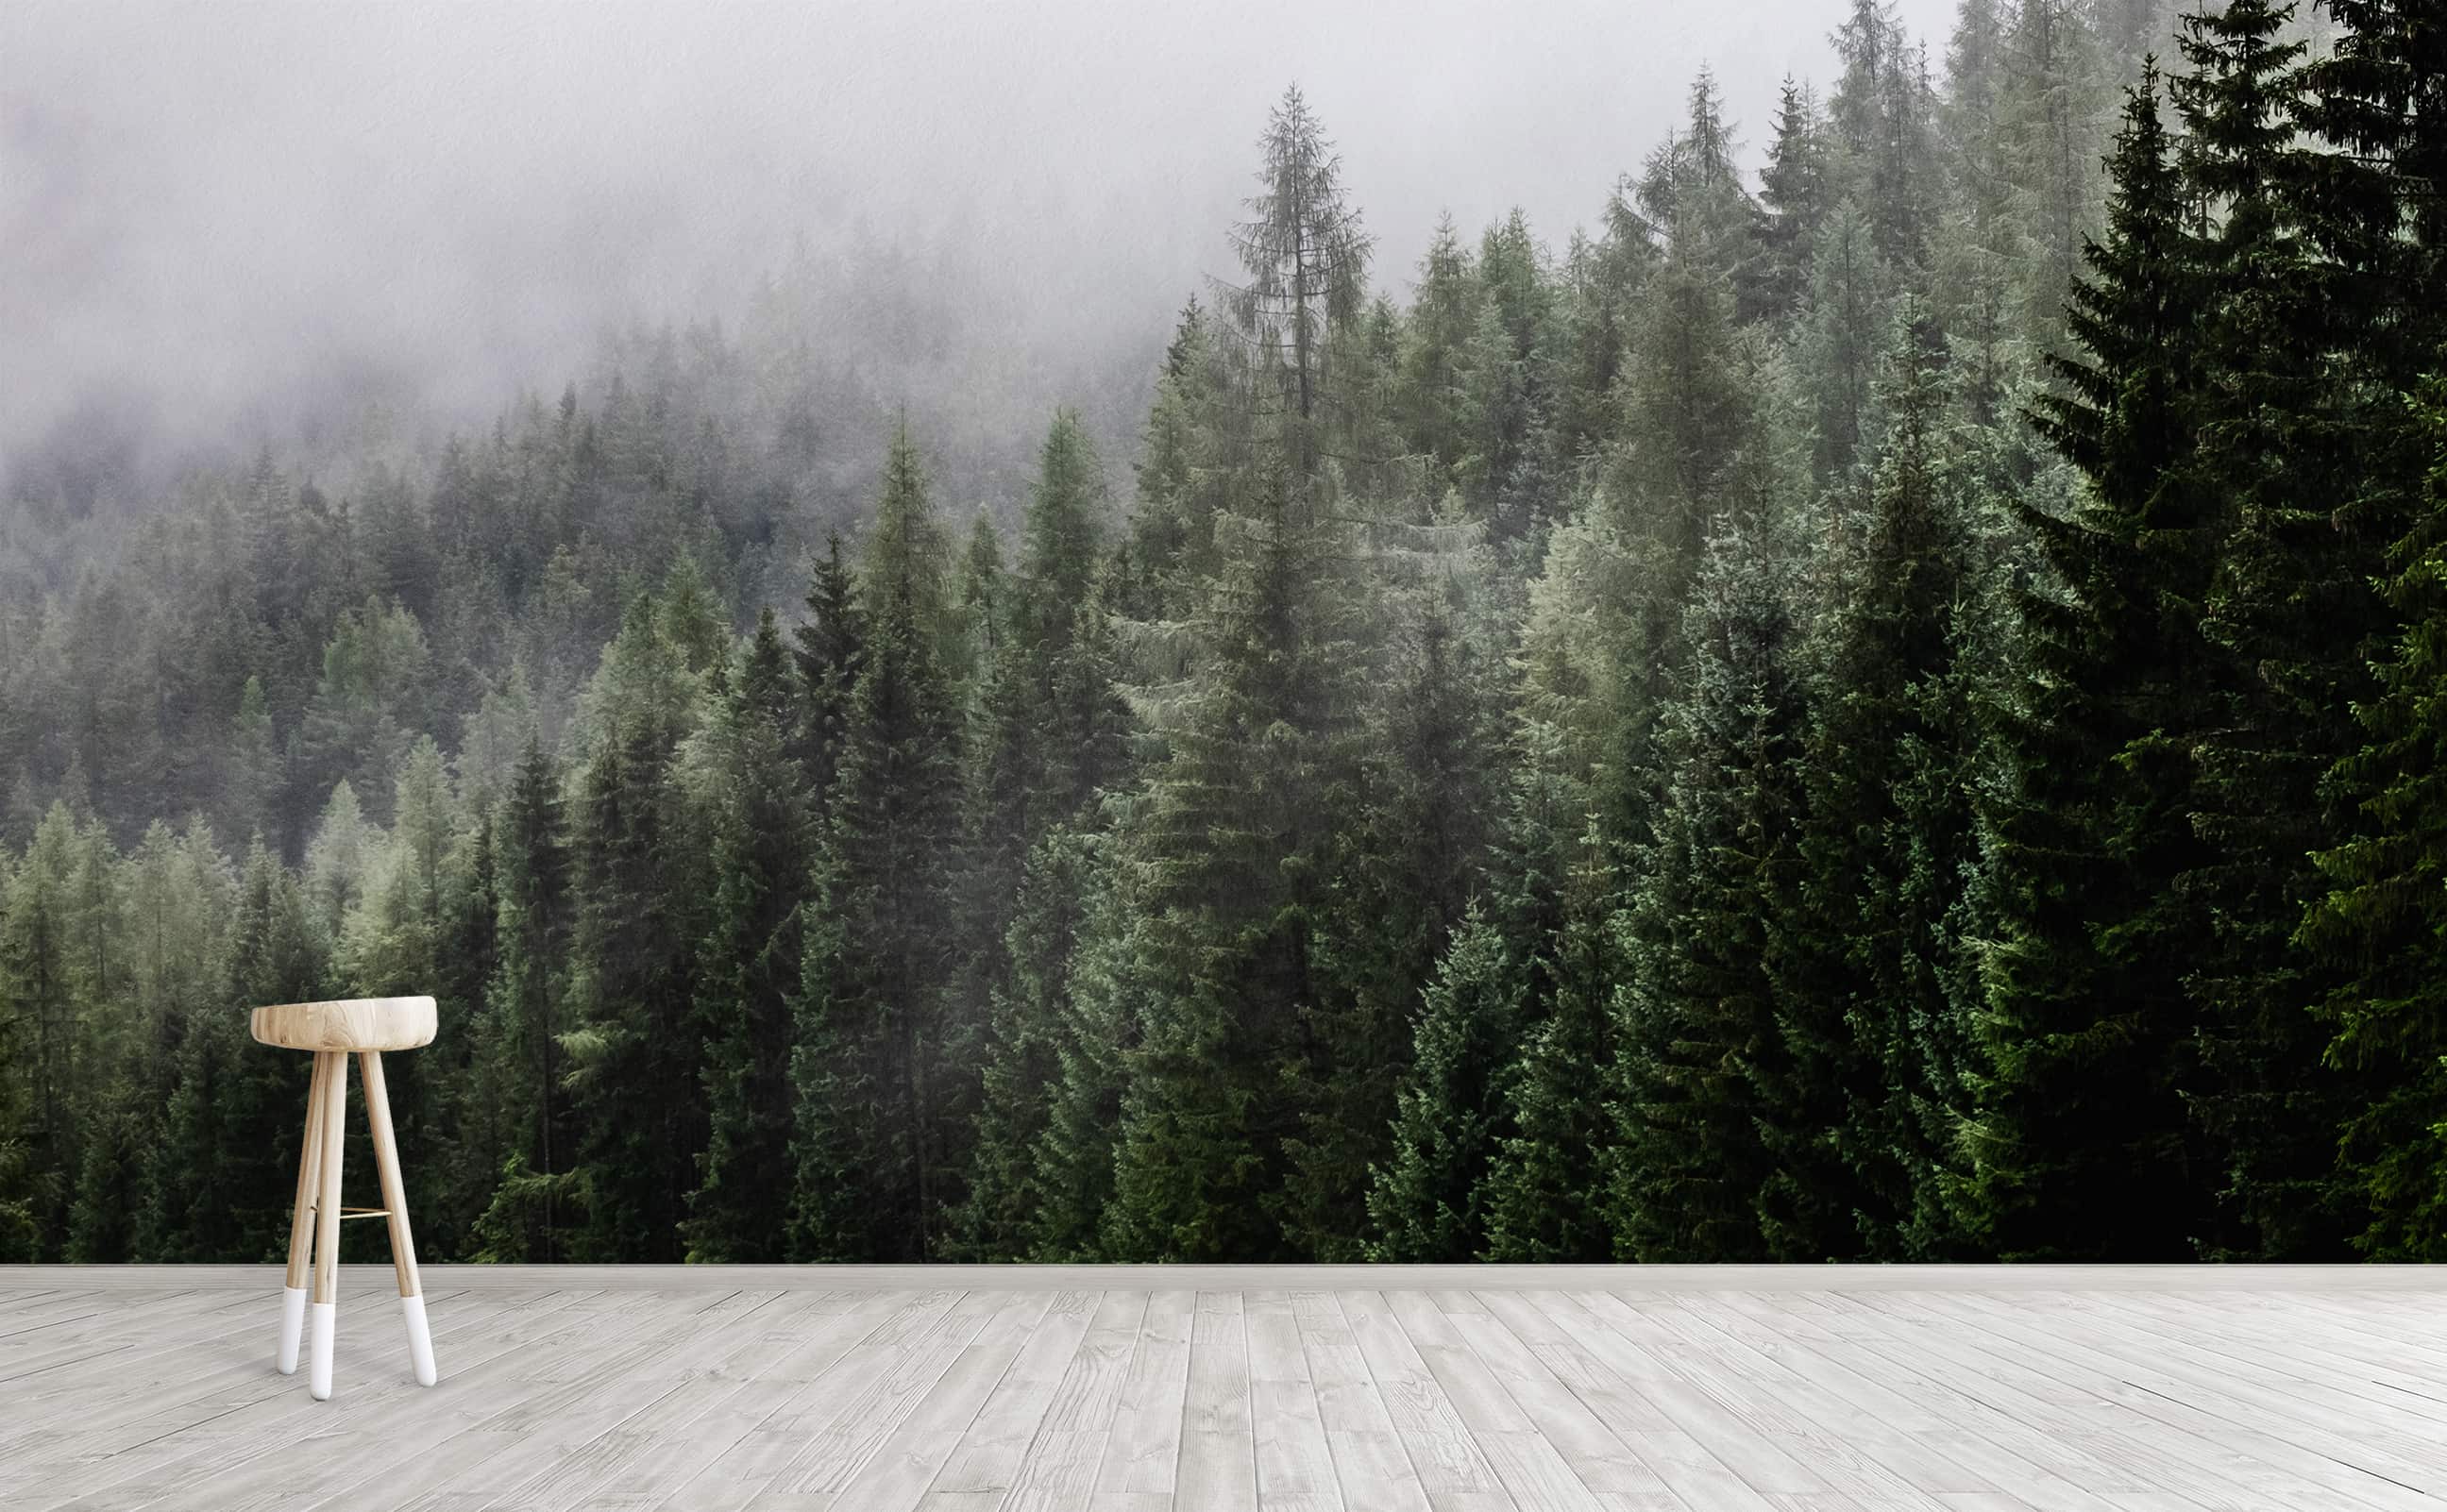
Wildwood
Dark green forest morning mist Wall Mural | Wildwood
Wildwood
Dark green forest morning mist Wall Mural | Wildwood
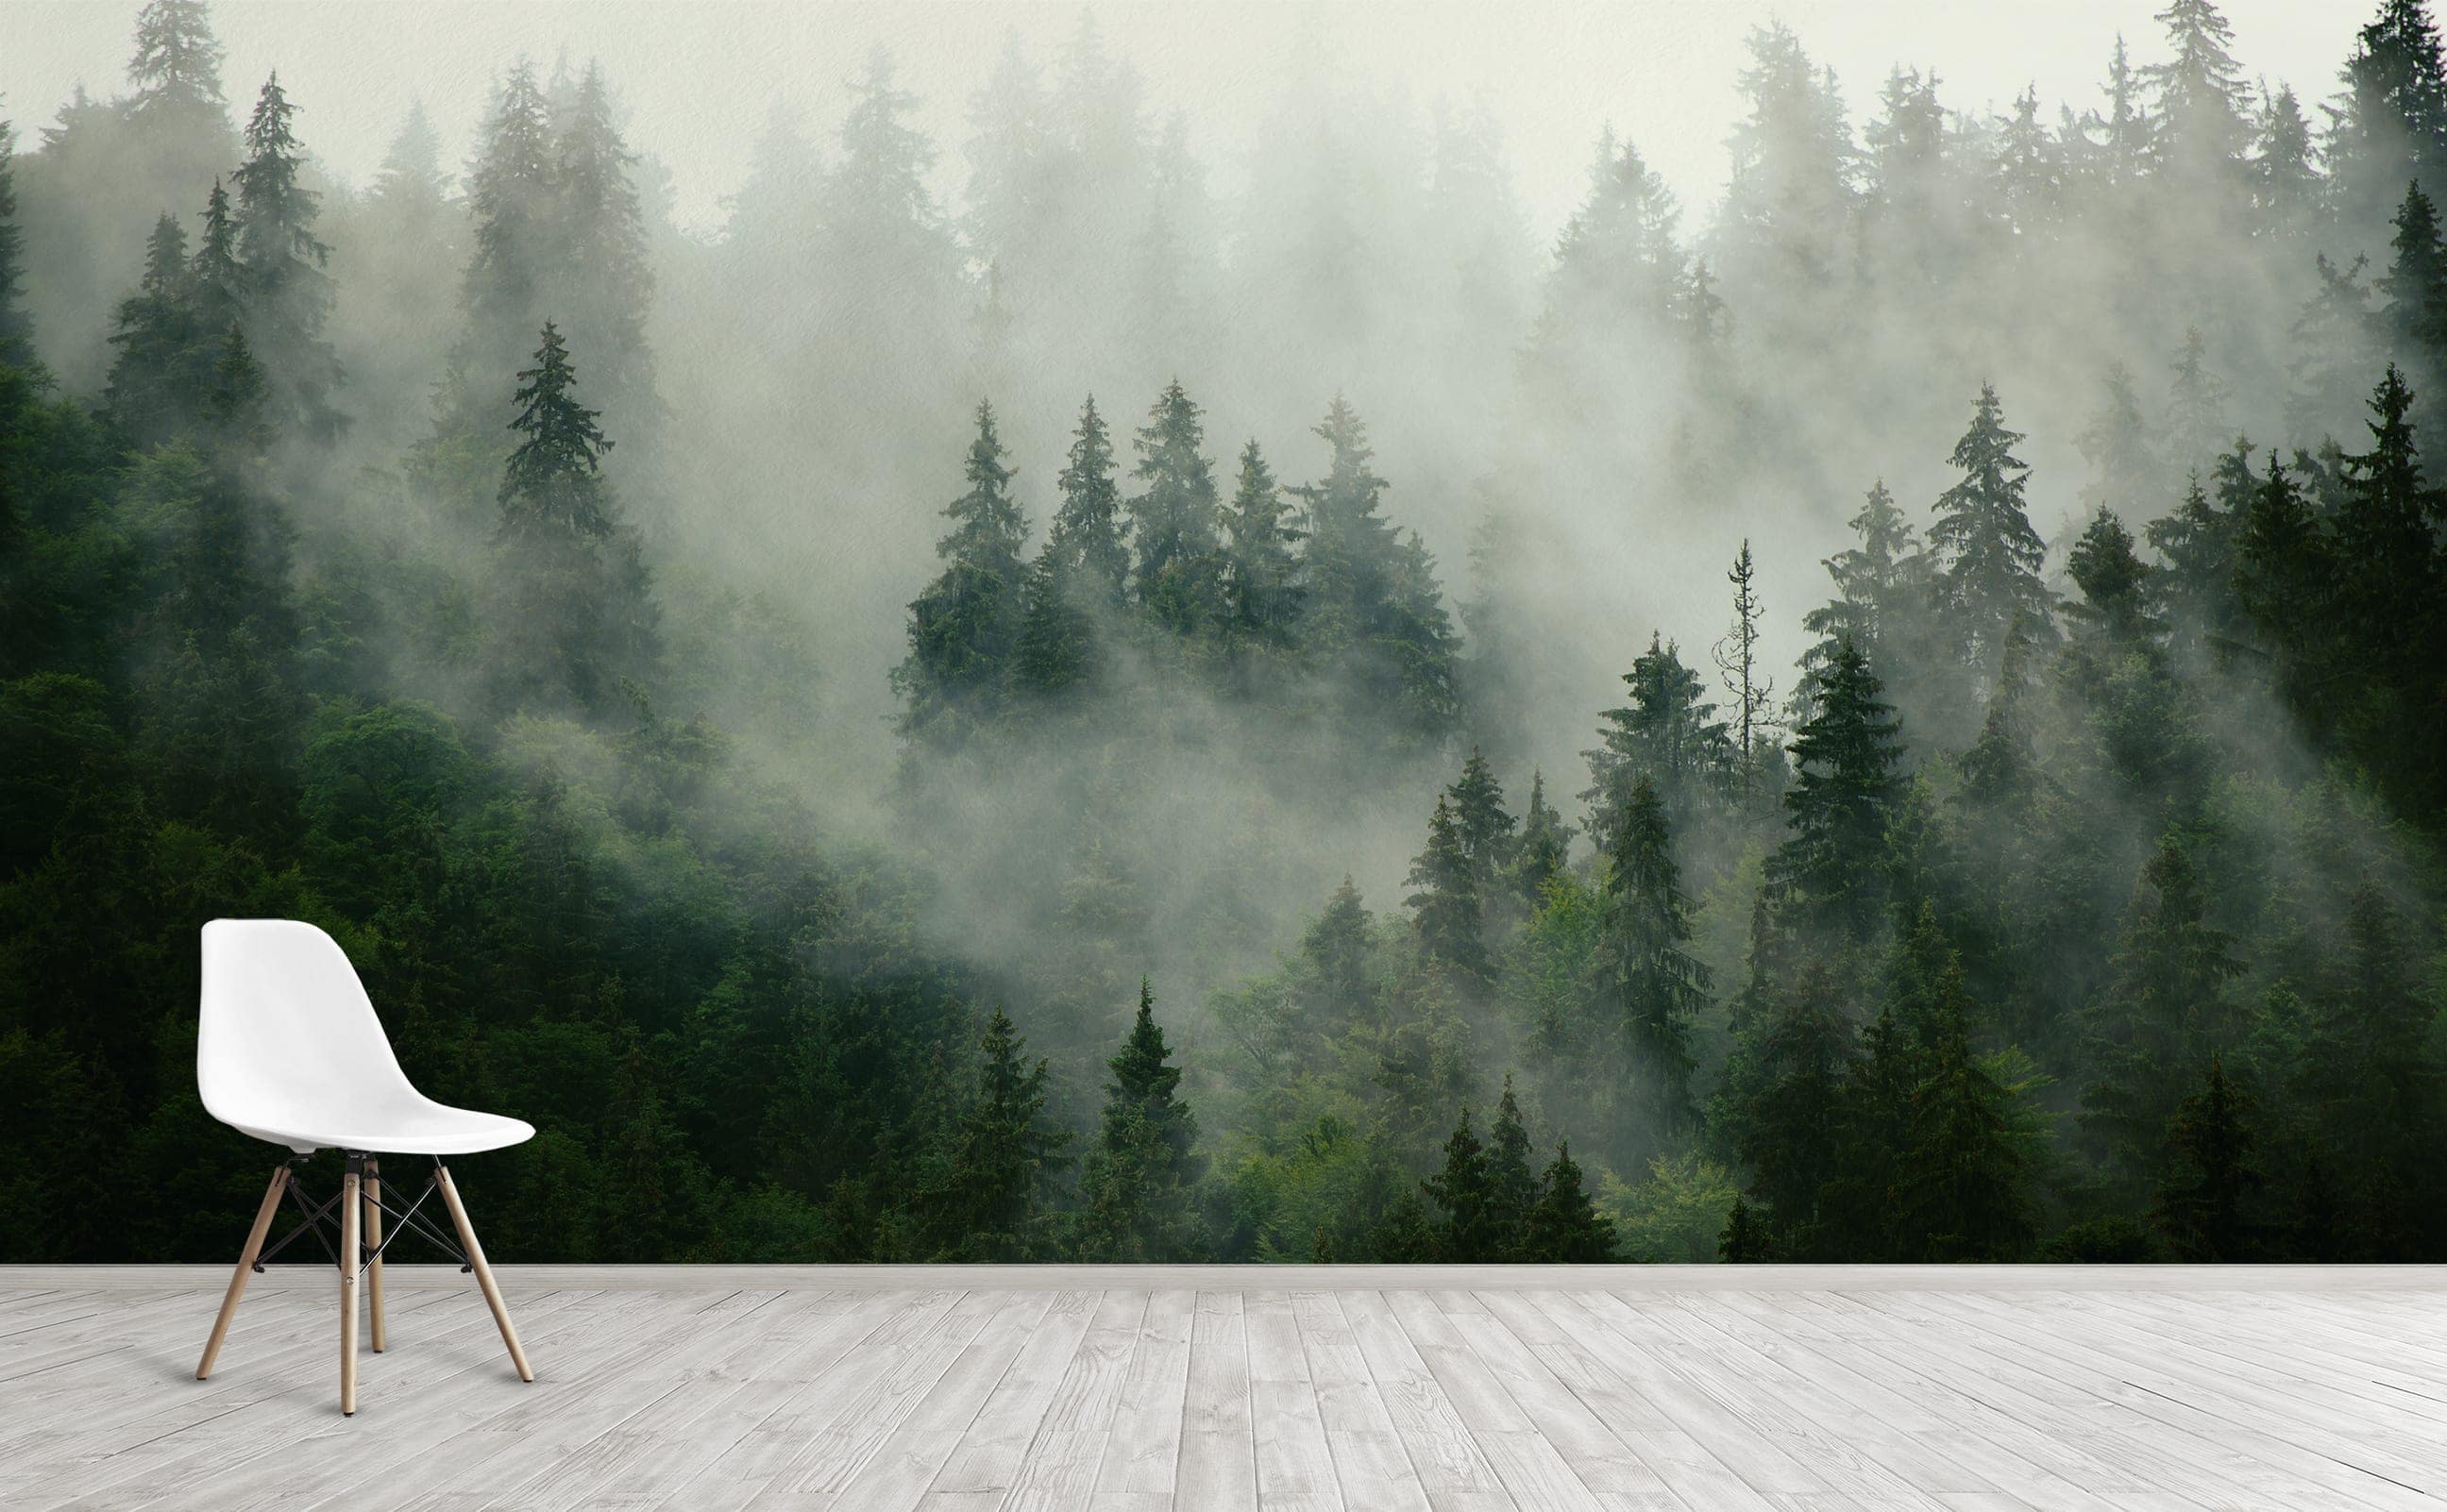
Woodland Spirits
Misty dark green pine forest landscape Wall Mural | Woodland Spirits
Woodland Spirits
Misty dark green pine forest landscape Wall Mural | Woodland Spirits
Forest Dreams
Smokey grey forest mist landscape Wall Mural | Forest Dreams
Forest Dreams
Smokey grey forest mist landscape Wall Mural | Forest Dreams
Northern Beauty
Dreamy cloud-covered green pine forest Wall Mural | Northern Beauty
Northern Beauty
Dreamy cloud-covered green pine forest Wall Mural | Northern Beauty
All That Jazz
Art Deco Arches Wallpaper
All That Jazz
Art Deco Arches Wallpaper
Classic Concept
Carrara herringbone polished marble tile Pattern Wallpaper
Classic Concept
Carrara herringbone polished marble tile Pattern Wallpaper
Classic Concept
Carrara herringbone polished marble tile Pattern Wallpaper
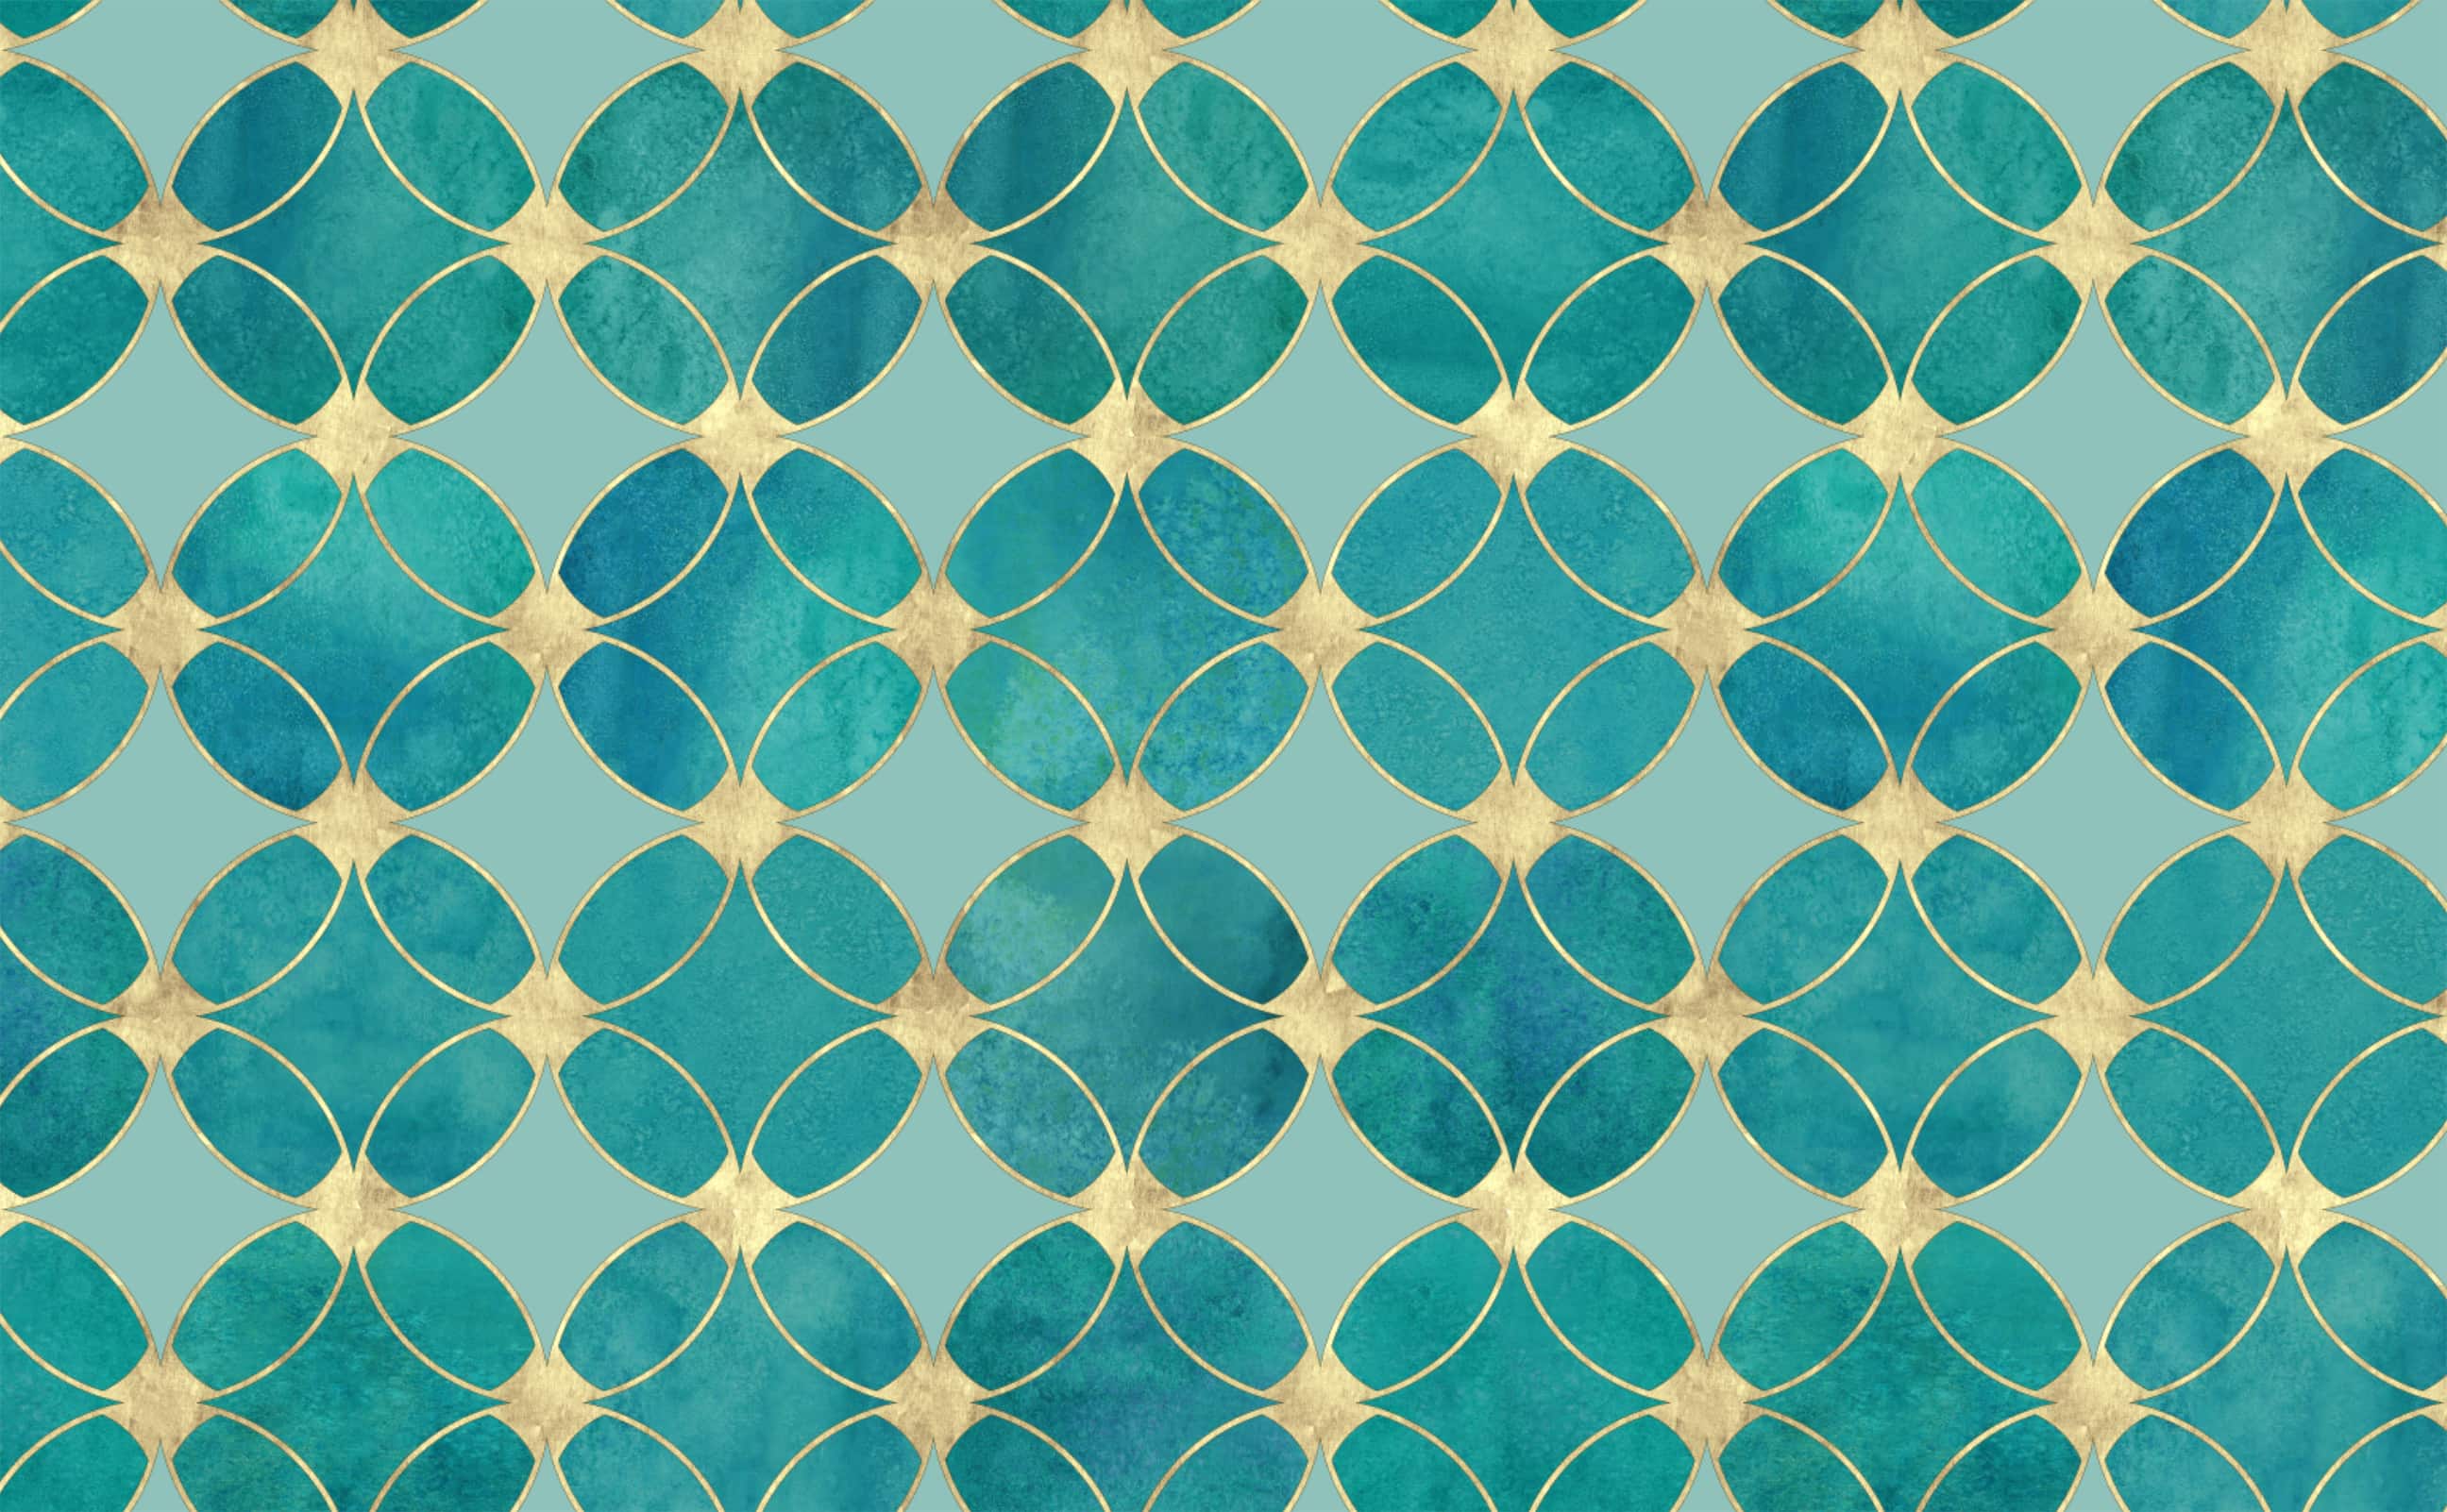
Golden Escape
Teal and Green Watercolor with Gilded Circles Pattern Wallpaper
Golden Escape
Teal and Green Watercolor with Gilded Circles Pattern Wallpaper
Golden Escape
Teal and Green Watercolor with Gilded Circles Pattern Wallpaper
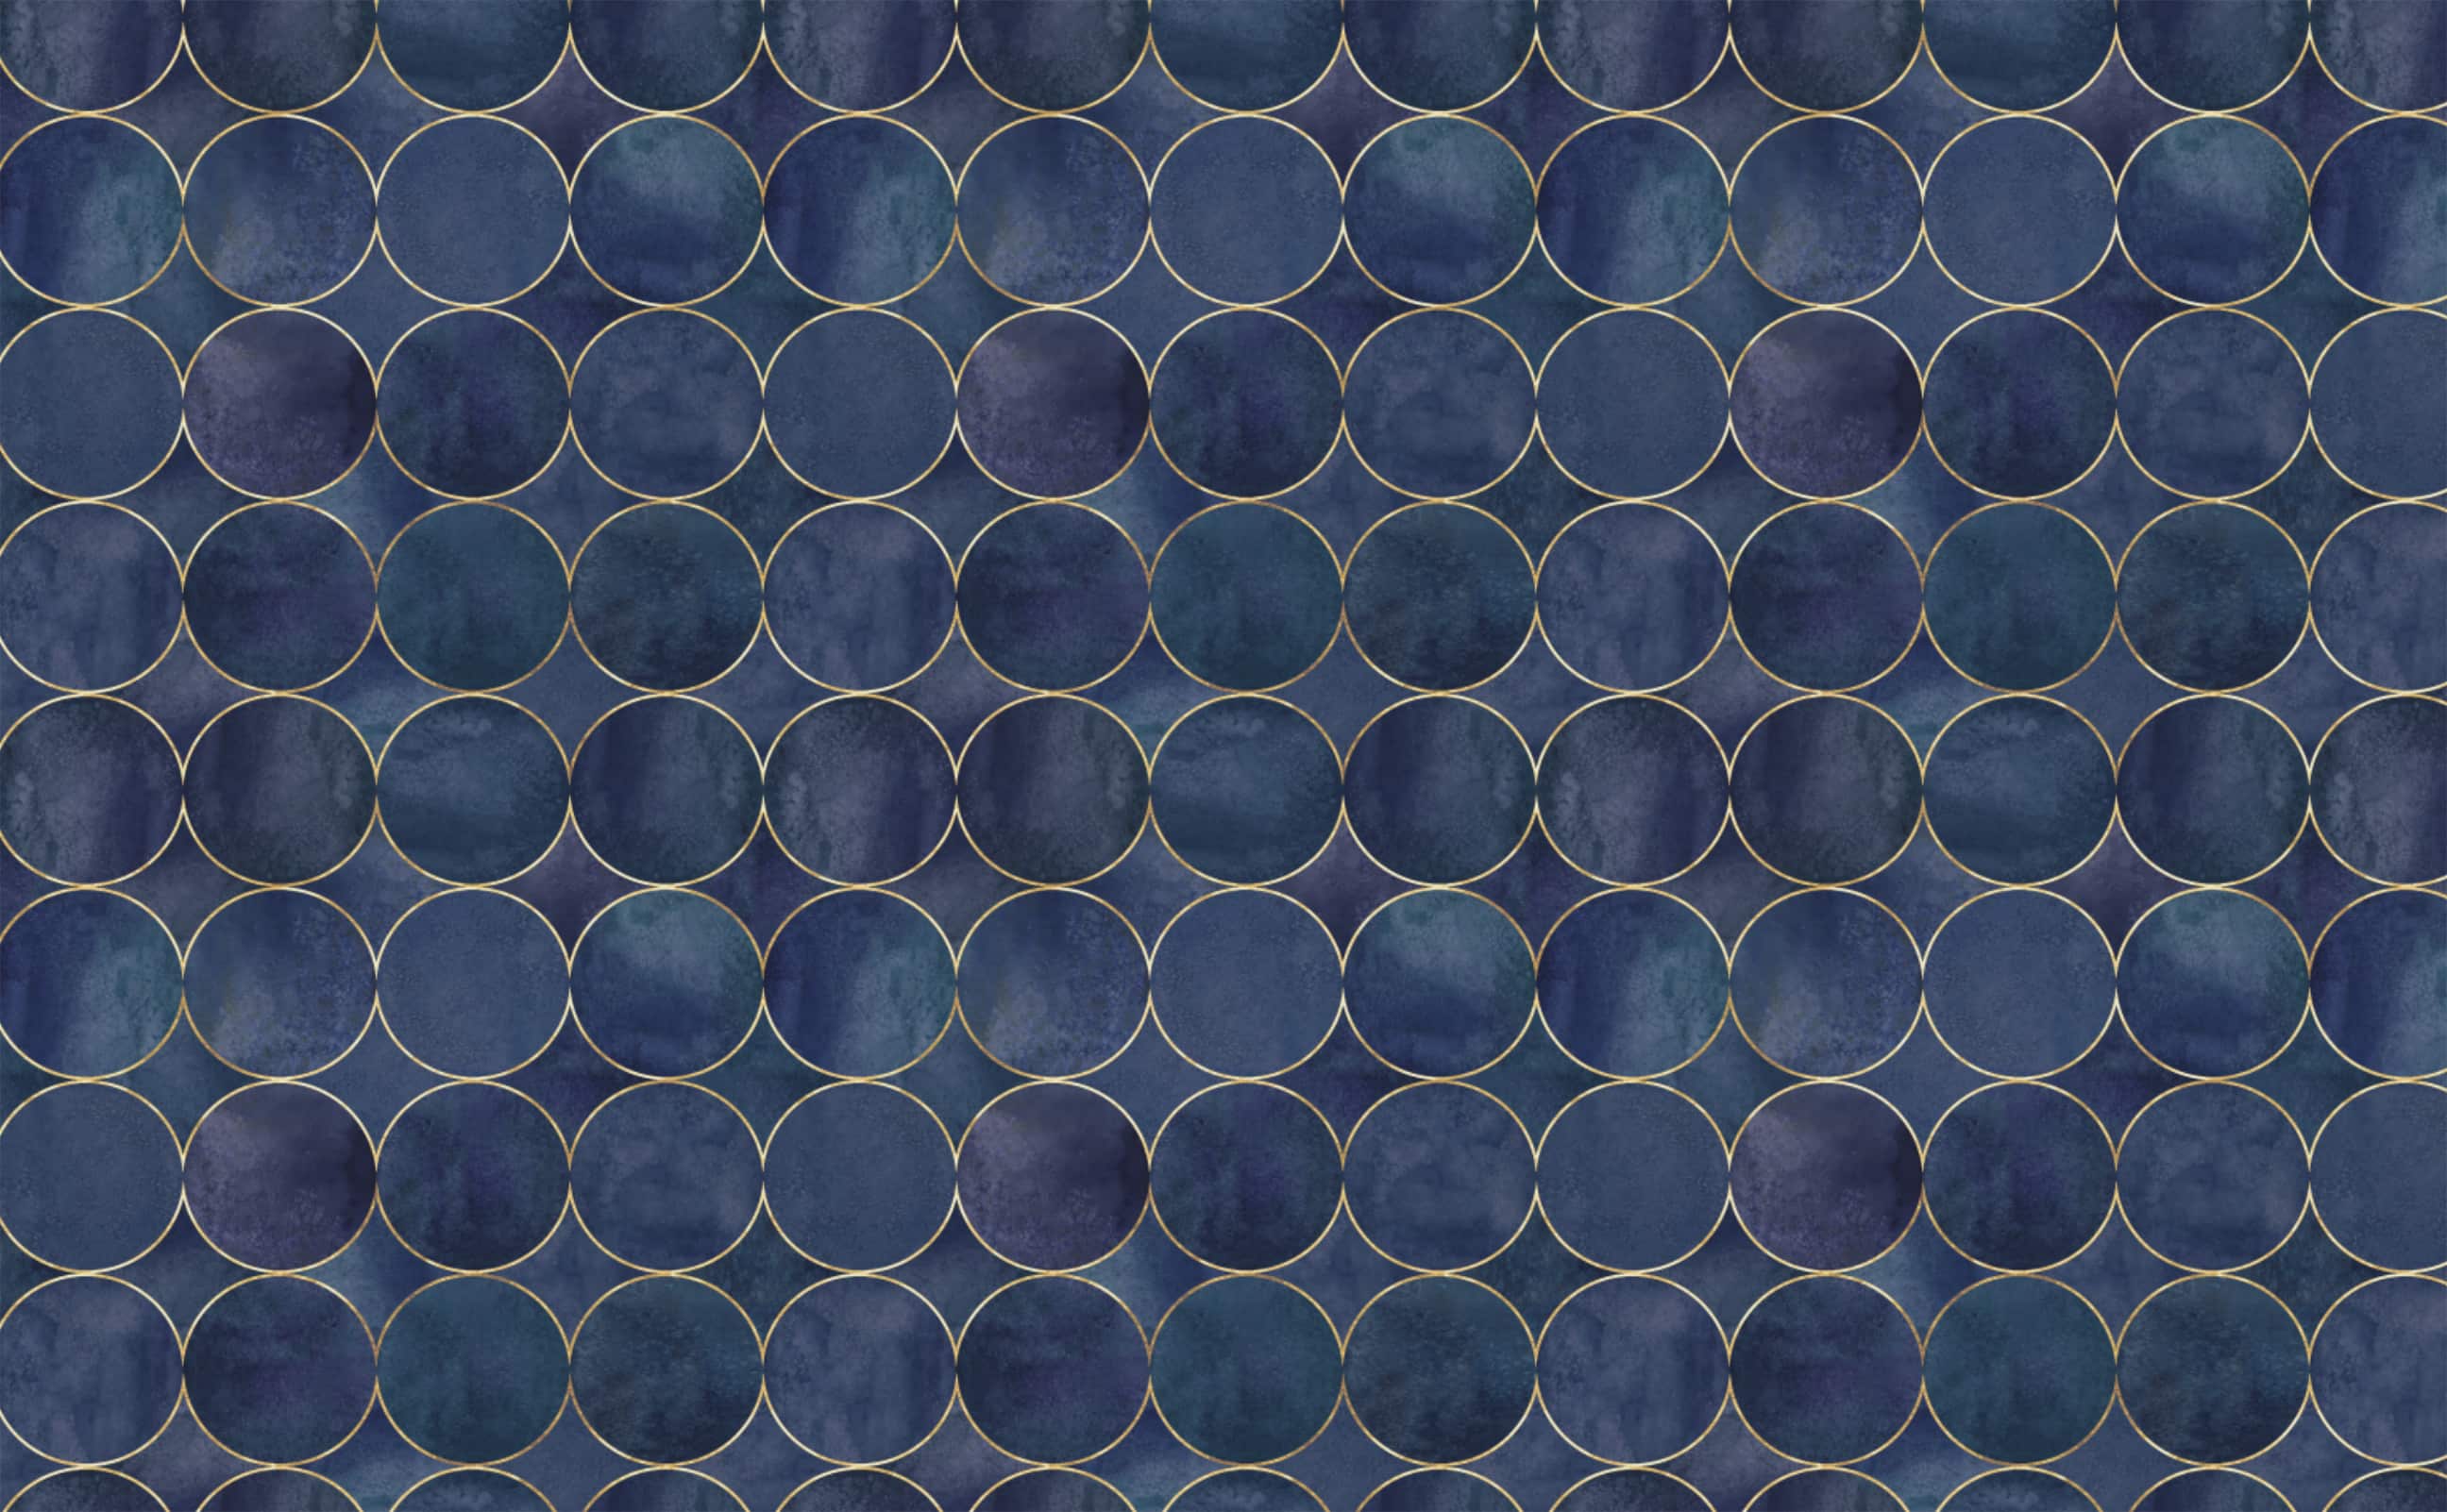
Midnight Eclipse
Dark Navy Blue Watercolor with Gold Bohemian Pattern Wallpaper
Midnight Eclipse
Dark Navy Blue Watercolor with Gold Bohemian Pattern Wallpaper
F. Scott Fitzgerald
Art Deco Hexagonal Pattern Wallpaper
F. Scott Fitzgerald
Art Deco Hexagonal Pattern Wallpaper
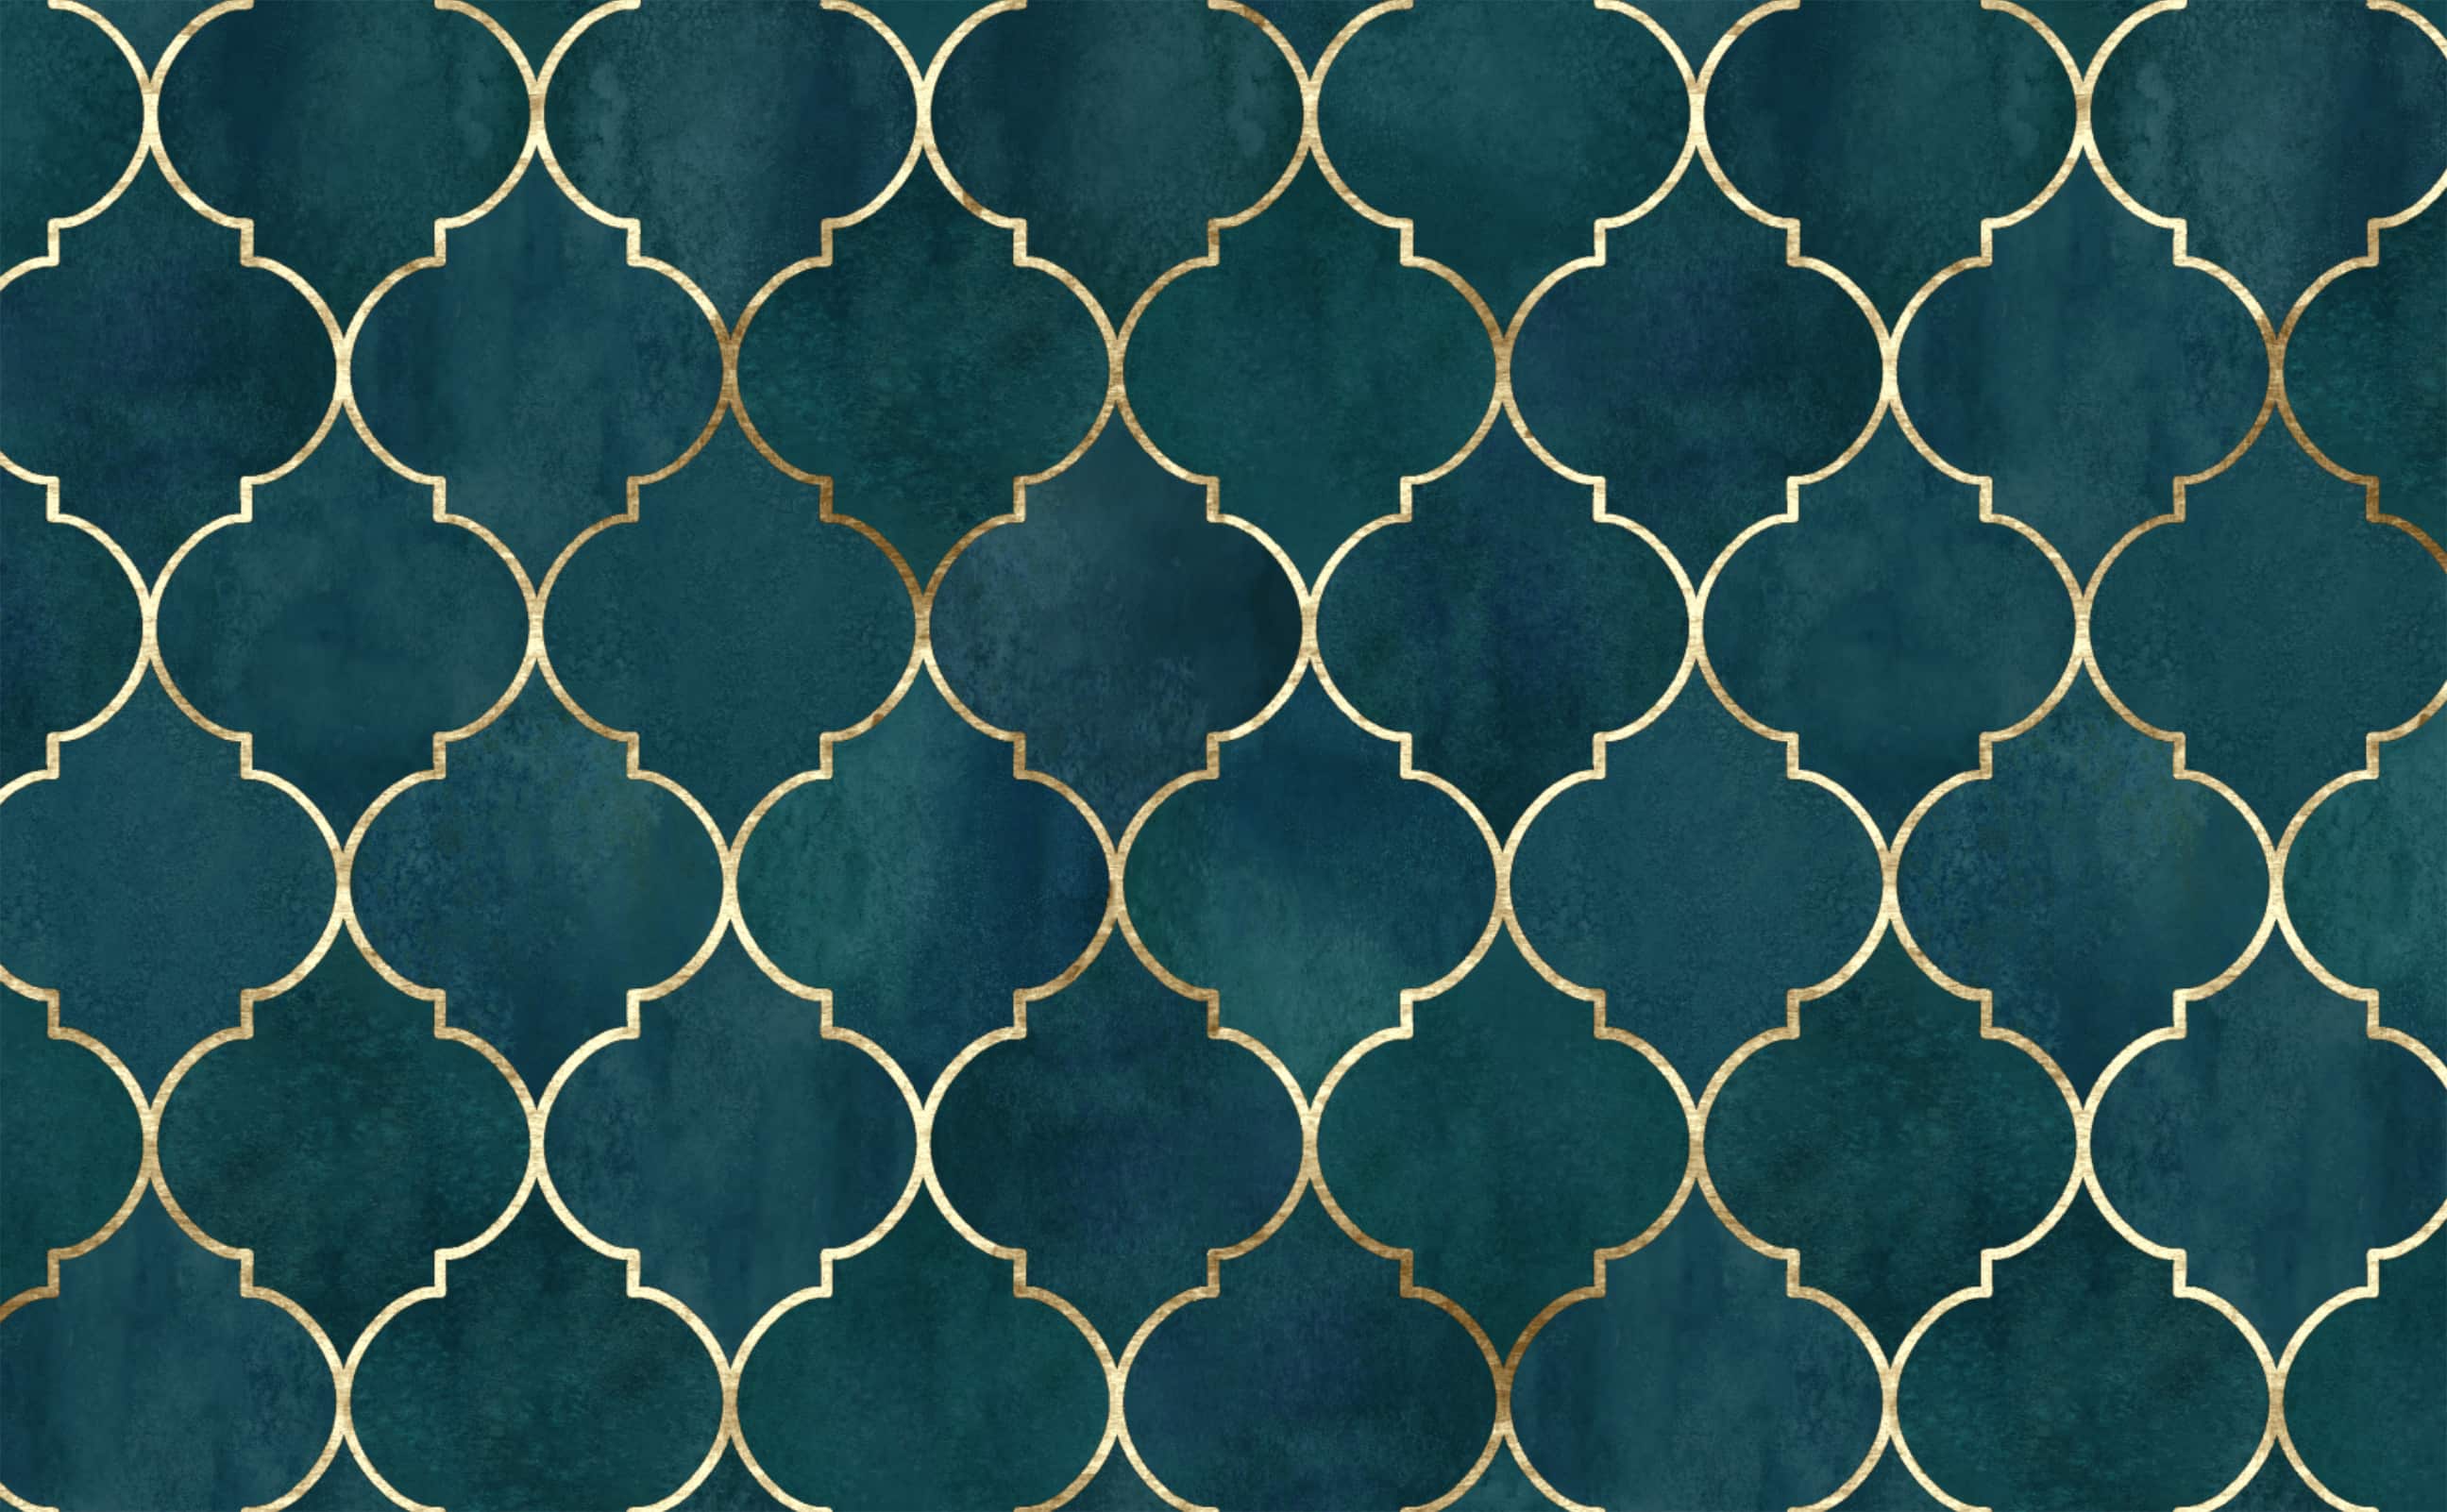
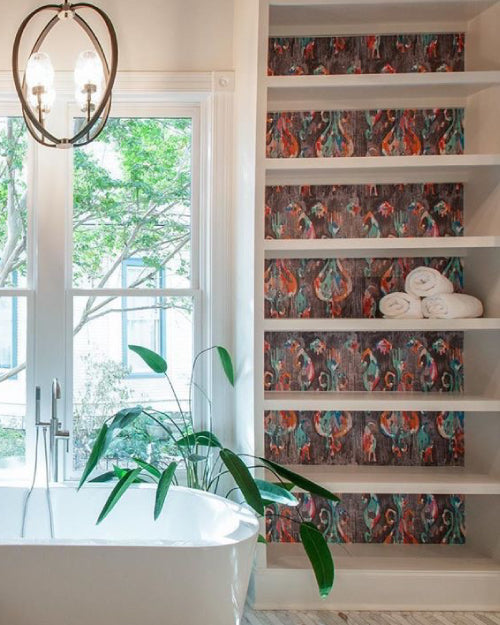
Ancient Seal
Dark Aquamarine Watercolor with Vintage Golden Moroccan Pattern Wallpaper
Ancient Seal
Dark Aquamarine Watercolor with Vintage Golden Moroccan Pattern Wallpaper
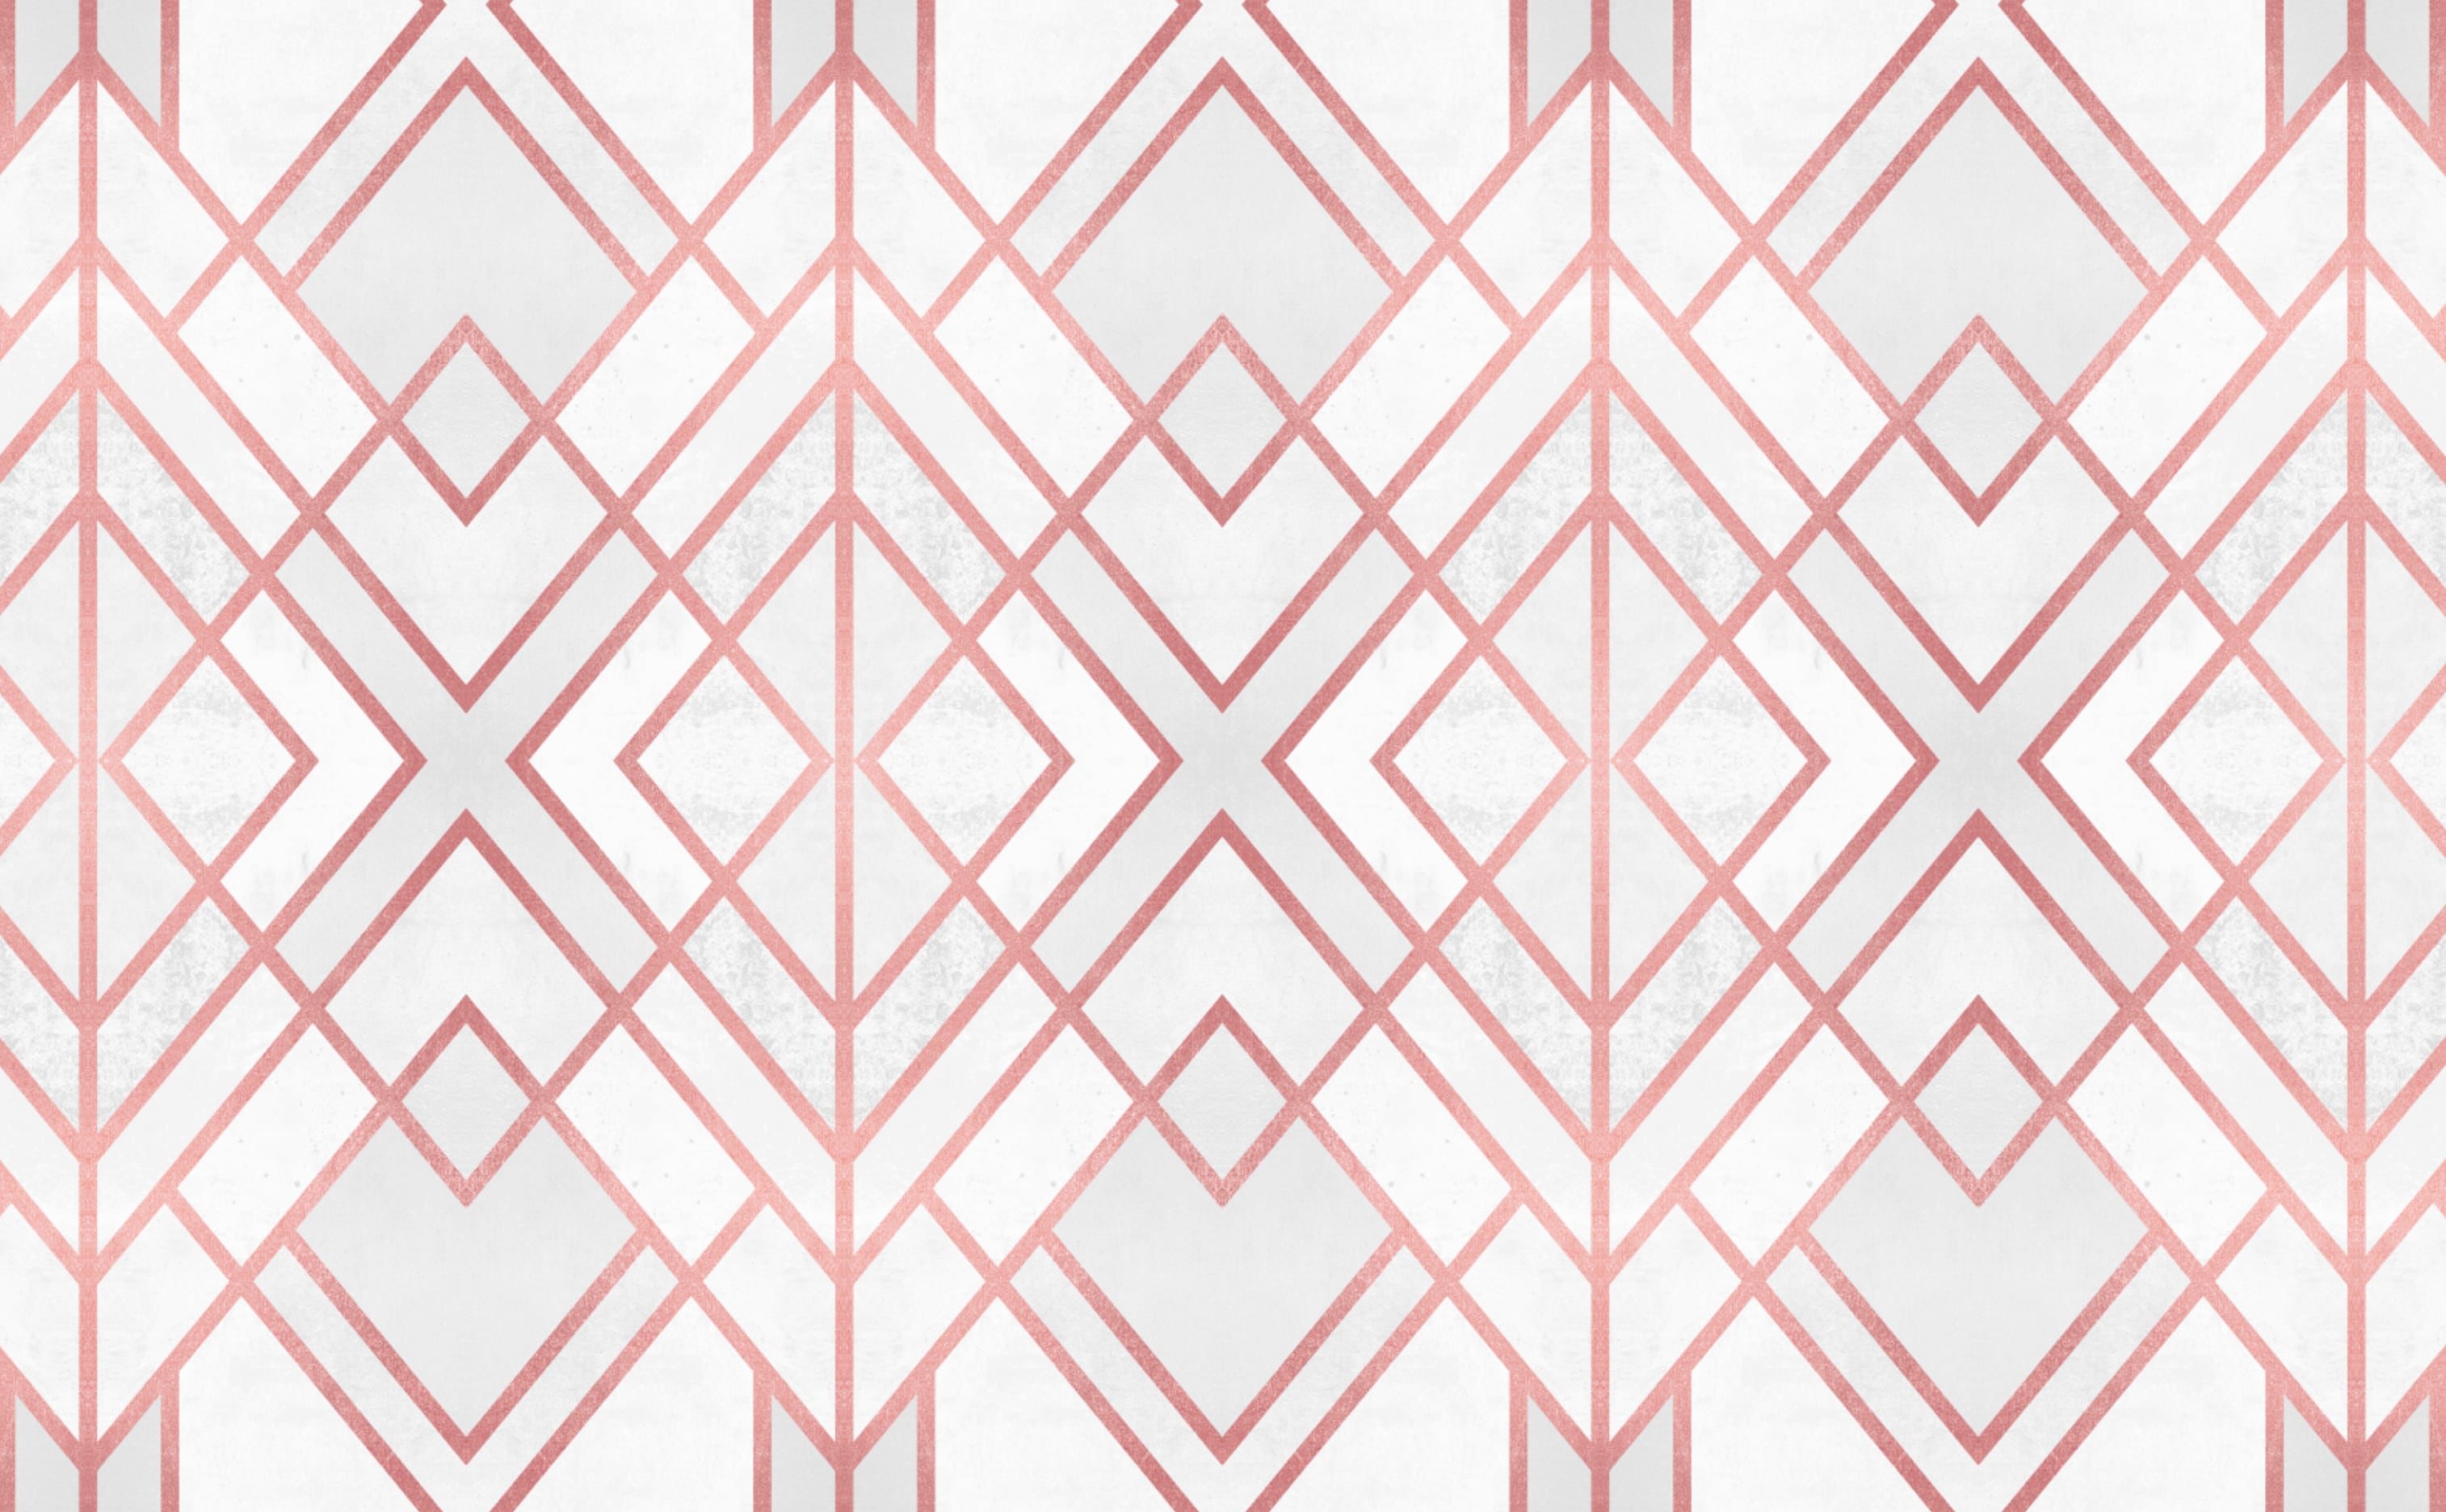
Rose Gold Geo
Art Deco Diamond Pattern Wallpaper
Rose Gold Geo
Art Deco Diamond Pattern Wallpaper
Love Your Space

Since 2008, Walls Need Love has been trusted globally by Interior Designers and DIYers.
As of April 2020, we are proud to offer you a completely revamped online order process that saves time, money, and hassle.
After picking your design, you simply enter your wall dimensions and then select your paper type.
Thats it. No calculating. No puzzles to solve.
We handle it all.
Your wallcovering will arrive at your door in pre-trimmed panels ready for easy application.
That's how Wallpaper is Done.
Click to view top collections
Use left/right arrows to navigate the slideshow or swipe left/right if using a mobile device


 @suzannahstanley

 @oilostudio

 @jessnken

 @fernsnest

 @alika.design

 @sandracozycottage

 @peonyandhoney

 @boldboundlessblonde_


 @suzannahstanley
 @oilostudio
 @jessnken
 @fernsnest
 @alika.design
 @sandracozycottage
 @inmod
 @sweet_domicile
 @peonyandhoney
 @joyfullygreen

 @livefreemiranda
 @allthingskortneywilson